You can send emails from Company name <email@invopop.com> by simply connecting the Email app.If you wish to send emails from your own domain such as Company Name <name@yourdomain.com>, you will need one of the following:
An SMTP server which is authorized to send emails from your domain (Gmail, iCloud, Amazon SES)
In the case of SMTP delivery we strongly recommend using an app password or token if your service provider allows it. This is the best security practice because it allows you to revoke authorization at any time, even if you lose access to Invopop.
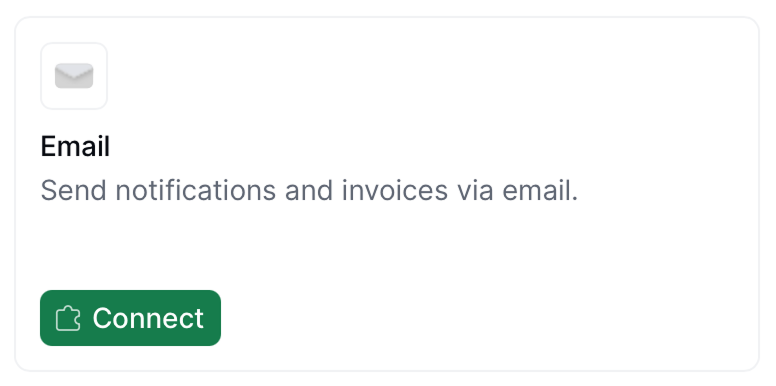
Head over to Configuration → Apps, and find Email from the list of apps to discover. Tap the Connect button to enable.
2
Add Senders
After connecting the Email app, click on Configure. You will find a pre-defined email address Invopop Email <email@invopop.com>. Editing this email address will allow you to customize the Sender name, allowing you to send emails with your company name Company Name <email@invopop.com>.You can add as many senders as you need by tapping on the Add button. Email providers other than Invopop will allow you to use your own domain name (after it’s configured with the email provider).
3
Set up your workflow
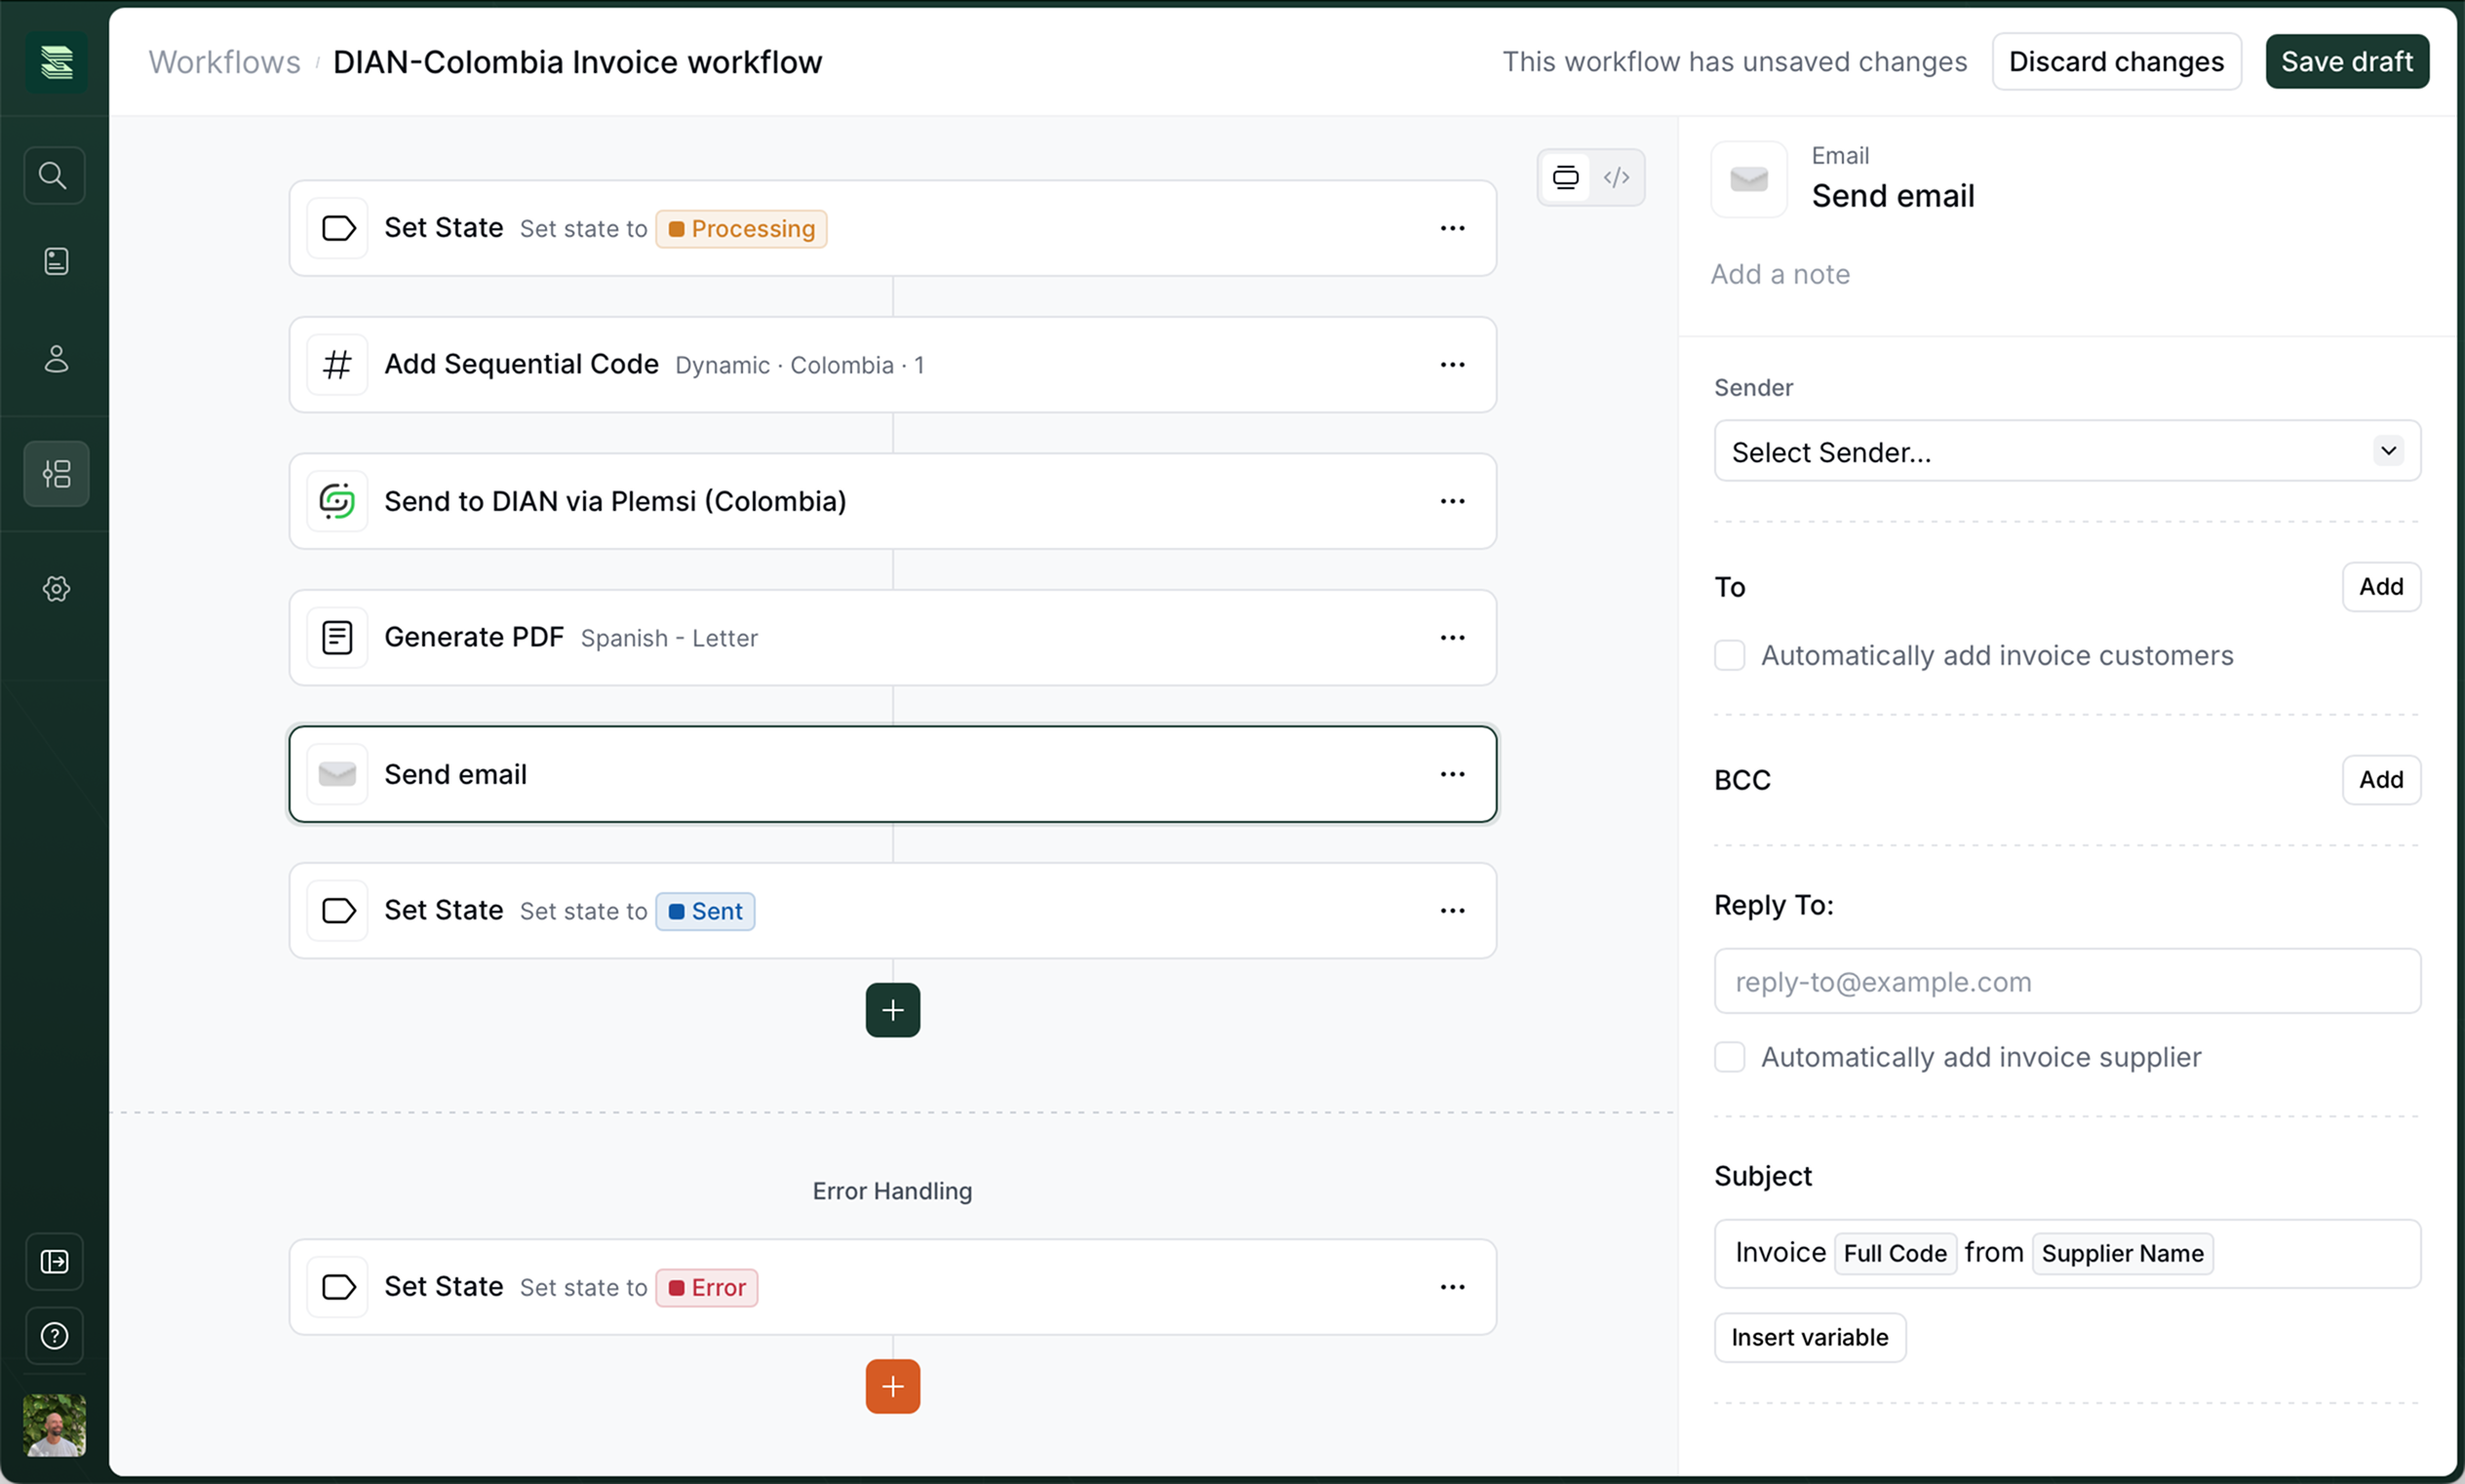
Whether you start from an existing or new workflow, make sure that you add the Send email step after you have issued an invoice via the corresponding tax authority and generated a PDF (if required). This will ensure the necessary files are attached, and that the invoice complies with local regulatory requirements.If you simply want to send a Notification via Email, this suggestion does not apply, as no files are attached.
Sender
Here you will find Senders which were added in the Email app configuration. A sender can be thought of as a person or company name and email address.To
Check Automatically add invoice customers if you wish to send the invoice as an attachment to the customer. This is usually the case for B2C workflows. If you wish to send the email with attachments to a specific address, tap on the Add button and write an address in the email field.You can combine both options: any addresses you add manually are merged with the automatically detected customer or party emails, so all recipients receive the message.BCC
BCC stands for Blind Carbon Copy, and is used when you do not want the recipients in this field to appear in the message header. Other recipients won’t know that a copy was sent to these addresses. This is useful to send a copy of the invoice to yourself, for example.Reply To
The “Reply To” field requires a valid email address where recipients’ responses will be directed. This field determines where replies go, regardless of the sending address.Subject
The email subject field is a brief heading that summarizes your message’s purpose. This field allows you to use template variables in order to customize the subject for the recipient.
For maximum effectiveness, keep it clear and specific (e.g., “Invoice #12345 from Acme Inc.”). Many email clients display only the first 60-70 characters of a subject, so prioritize key information at the beginning.
Body
The email body textarea is where you compose your message’s main content. This field allows template variables and will preserve whitespace.Combine attachments into a single zip file
It’s possible that your workflow generates several files per invoice (sometimes an XML and a PDF file are required by legislation). This option allows you to combine and compress all files into a single .zip file.
In addition to the predefined variables available in the Insert variable menu, you can inject custom variables into your email templates using job args. This is particularly useful for dynamic content like payment links, conditional text, and other external data.
When using the API to run a workflow you pass an args data object with custom variables you want to inject into your email. You will then introduce the variable into the email’s subject or body with the following syntax: {{args.variable_name}}. If you need to provide a fallback in case the variable is not present, we recommend using the following syntax: {{ or args.value "Default value" }}.
Let’s say you want to send an email with a custom payment link. Here’s how to set it up:
1
Configure your email template
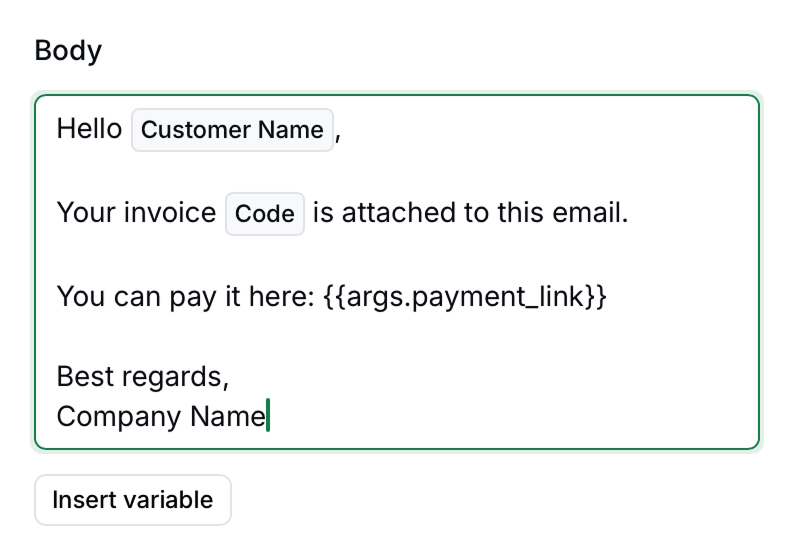
In the email body field you can use both UI variables (in this case Customer Name and Full Code) and custom variables {{args.payment_link}}.
Body field example with custom arguments
2
Execute the job with custom args
Arguments (args) are key-value pairs tailored to specific applications, in this case we are creating a payment_link which will be available to the Email App. Create the job via API with the proper payload:
The email recipient should receive an email with the following content:
Hello John Doe,Your invoice INV-2025-001 is attached to this email.You can pay it here: https://your-payment-link.comBest regards,Invopop
Key points
Use {{args.variable_name}} syntax in email templates for custom variables
Include the same variable names in the args object when executing the job via API
Custom variables work in both email body and subject fields
Variable names must match exactly between template and API payload
FAQ
How do I get errors emailed to me when a workflow fails?
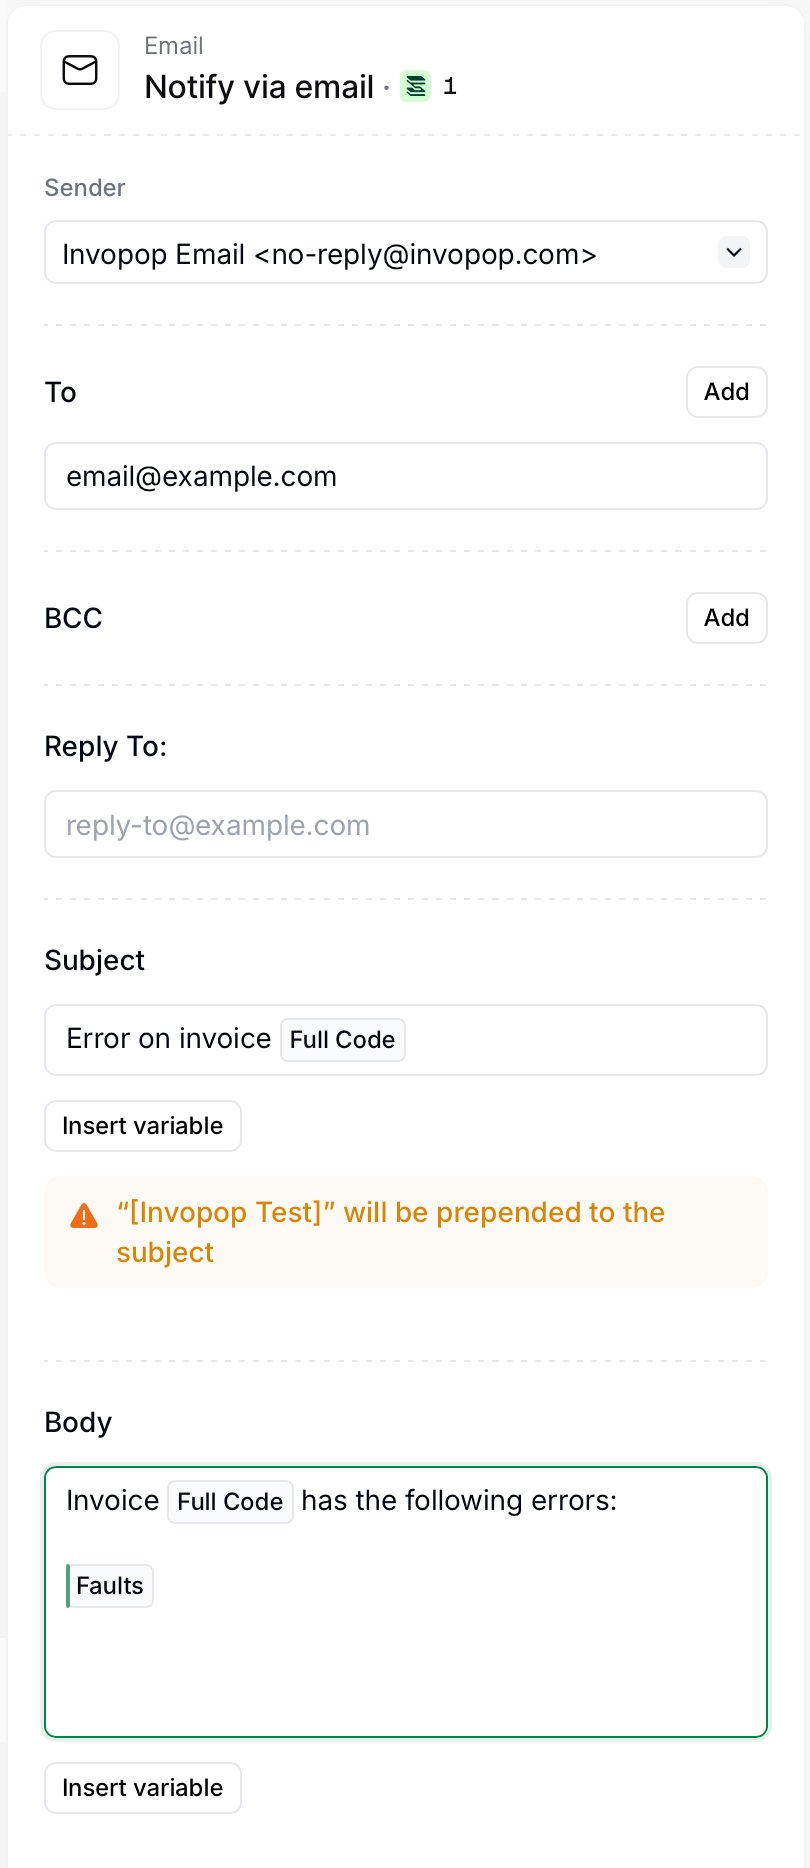
Notify via email configuration
Add a Notify via email step to the error handling area at the end of your workflow. The error handler only runs when something upstream fails, so the email is sent just for failed jobs. Alternatively, if you handle the exception, add it in the exception handling area nested in the step.Configure the step like this:
To — your own address (or a shared inbox / distribution list).
Subject — write a short label such as Error on invoice. You can use the Insert variable button to append the Full Code so you can identify which document failed.
Body — describe the problem, then use Insert variable to add the Full Code and the Faults variable. Faults expands into the list of errors that caused the job to fail, so you get the full reason without opening the console.
For example, a body of Invoice [Full Code] has the following errors: [Faults] produces a message naming the document and listing every error.Once saved, any job that fails will trigger this step and send you the error details automatically.
Is email in sandbox limited in any way?
We strive to make our sandbox workspaces as similar to our live workspaces as possible. However, in order to prevent abuse and email mistakes, the following differences should be observed in Sandbox:
Emailing customers is disabled in sandbox workspaces.
Emailing suppliers is disabled in sandbox workspaces.
Invoice PDFs will have a “Sample” watermark.
[Invopop Test] will be prepended to the subject.
How do I set up Gmail as my SMTP server
Follow the instructions in this support guide. Setting up an SMTP relay allows you more fine-grained control over your email needs and has the largest quota (up to 10,000 recipients per day); but can only be set up by an account administrator.Gmail’s SMTP server allows up to 2,000 emails per day. It can be set up by an end-user by creating an app password and using the set-up configuration listed in the Google support guide.


 If you simply want to send a