

- Sign up for an Invopop account and get your first sandbox workspace working.
- Invite your colleagues to join your workspace.
- Create a simple workflow to issue an invoice.
- Upload the invoice to the workflow and process it.
Signing up
Sign up for an Invopop Account
Go to console.invopop.com and select your sign up method. Selecting “Google” will take you to the Google sign-up page.
Fill in your information
Fill in the form with your name, company, and position. The company will become your organization in Invopop, more on that later.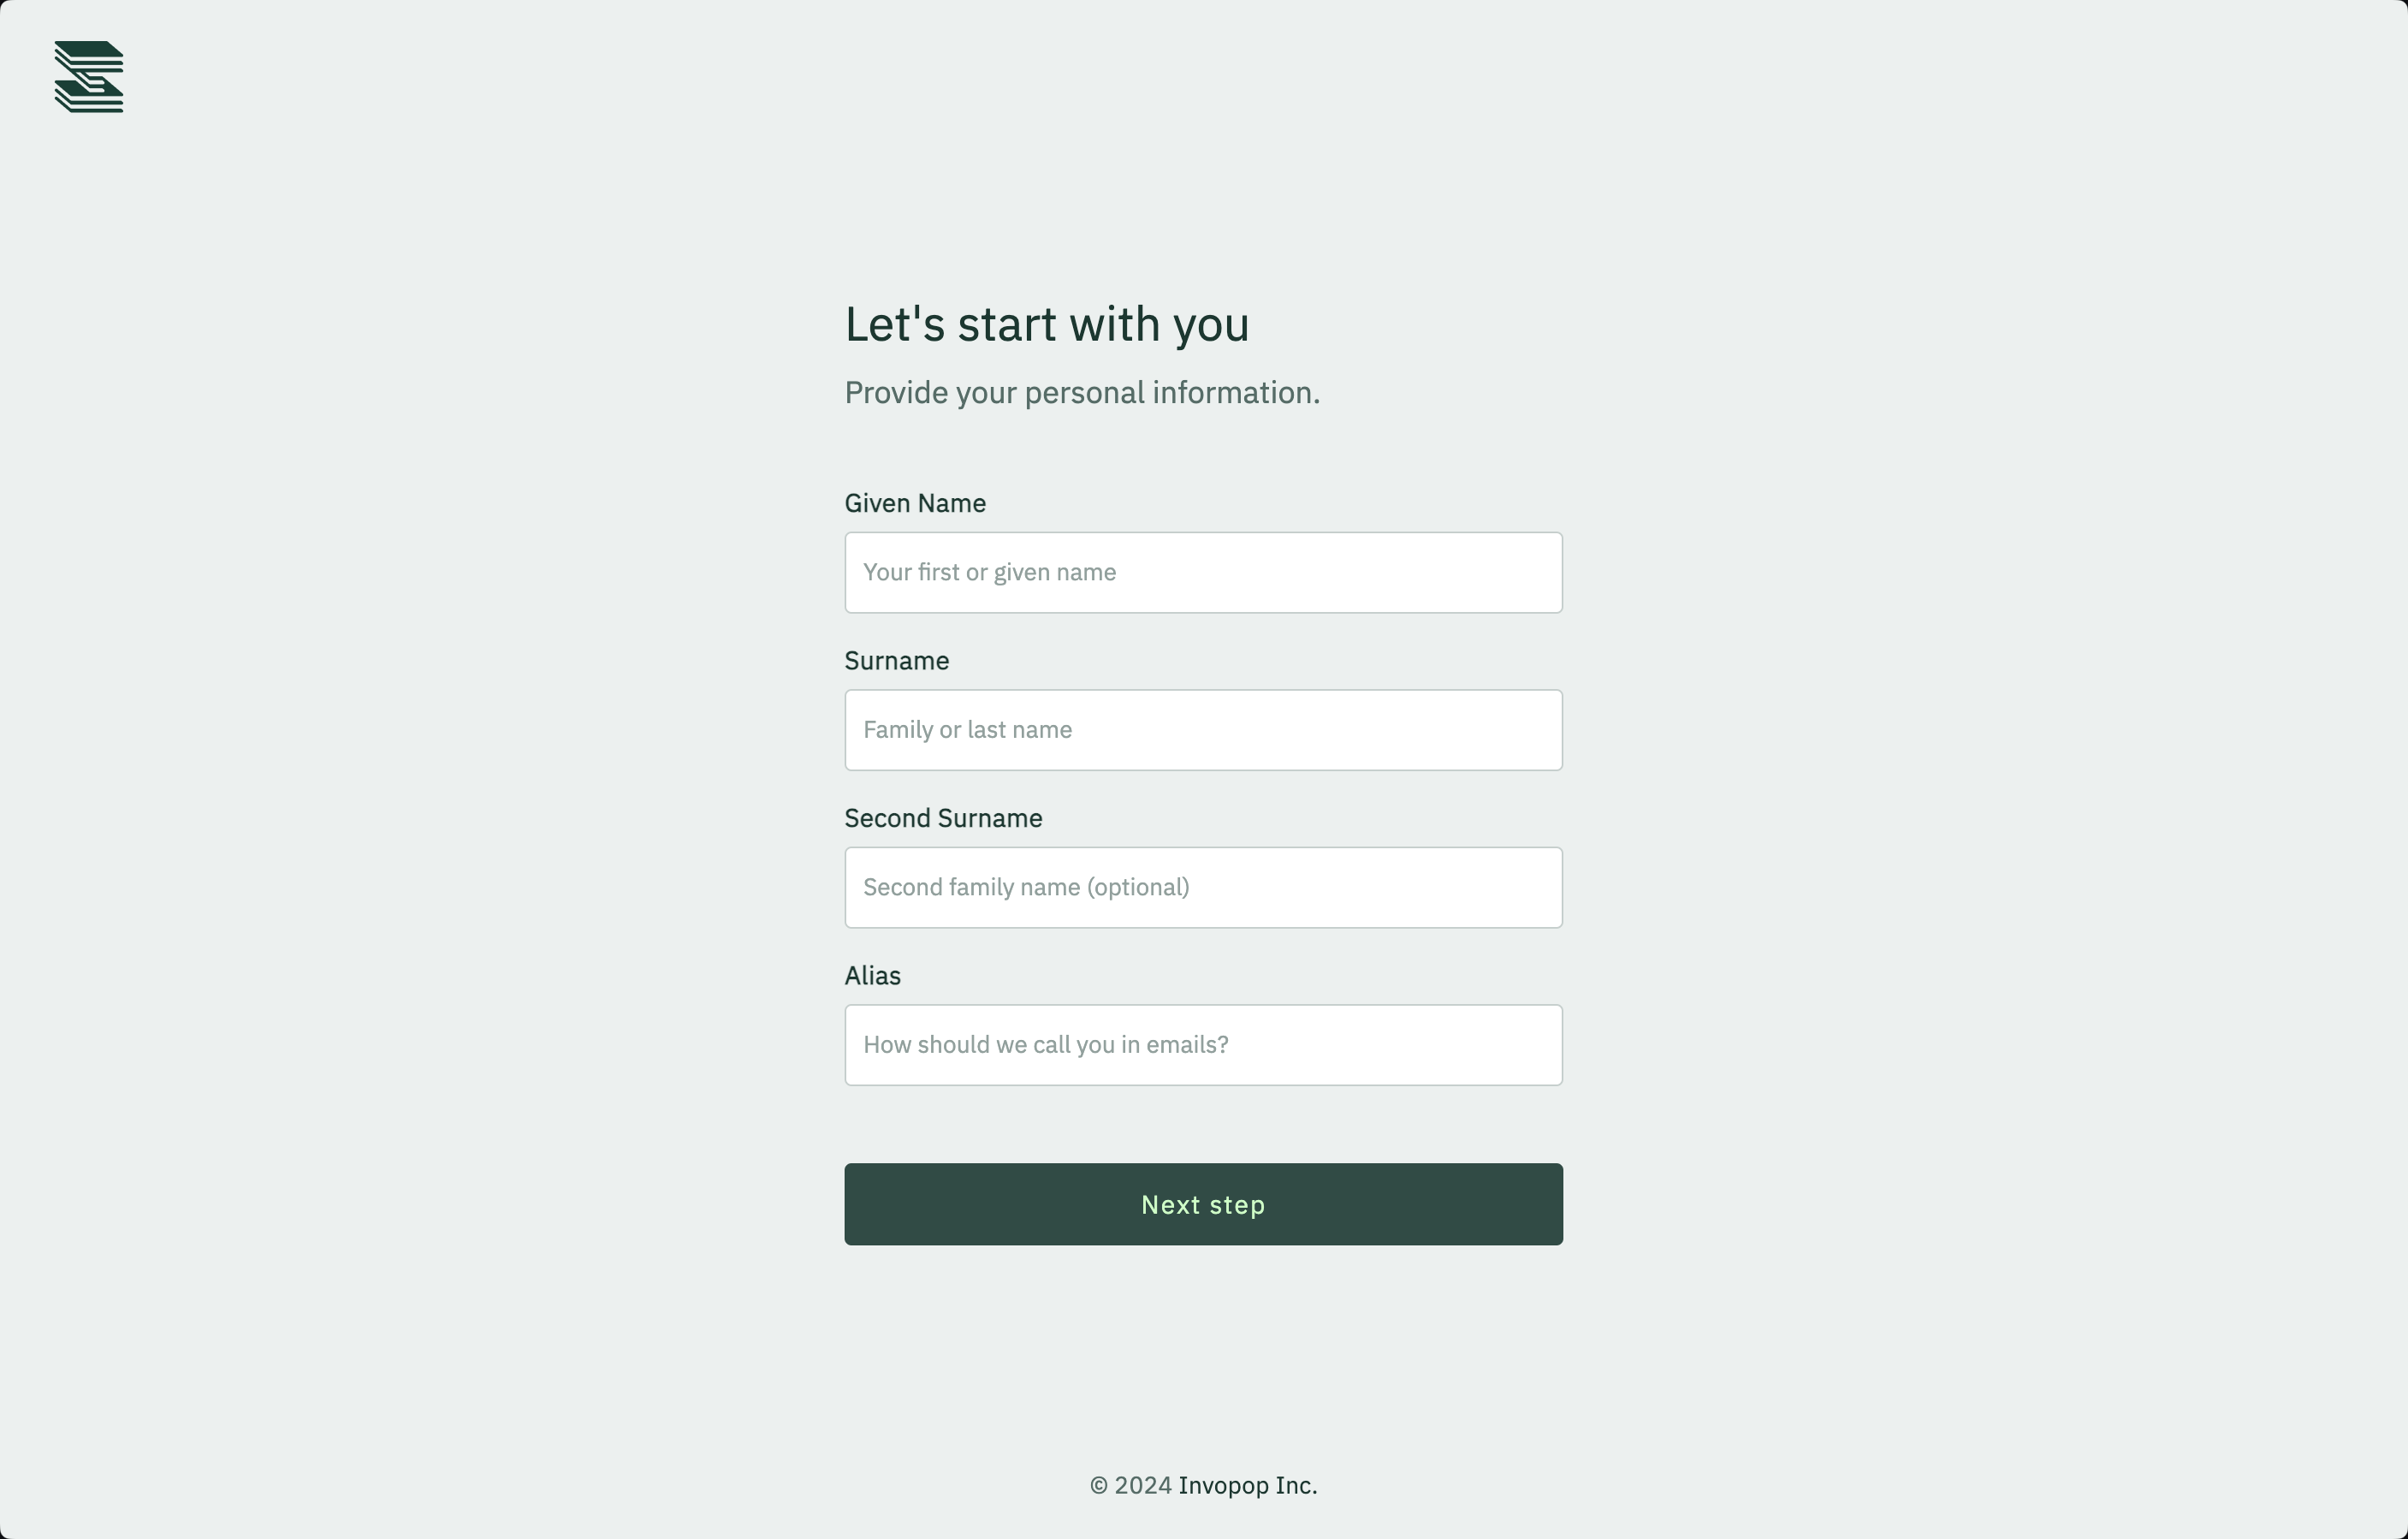
Create a first sandbox workspace
You’ll be prompted to create a first sandbox workspace. Don’t worry, you can always create more workspaces later.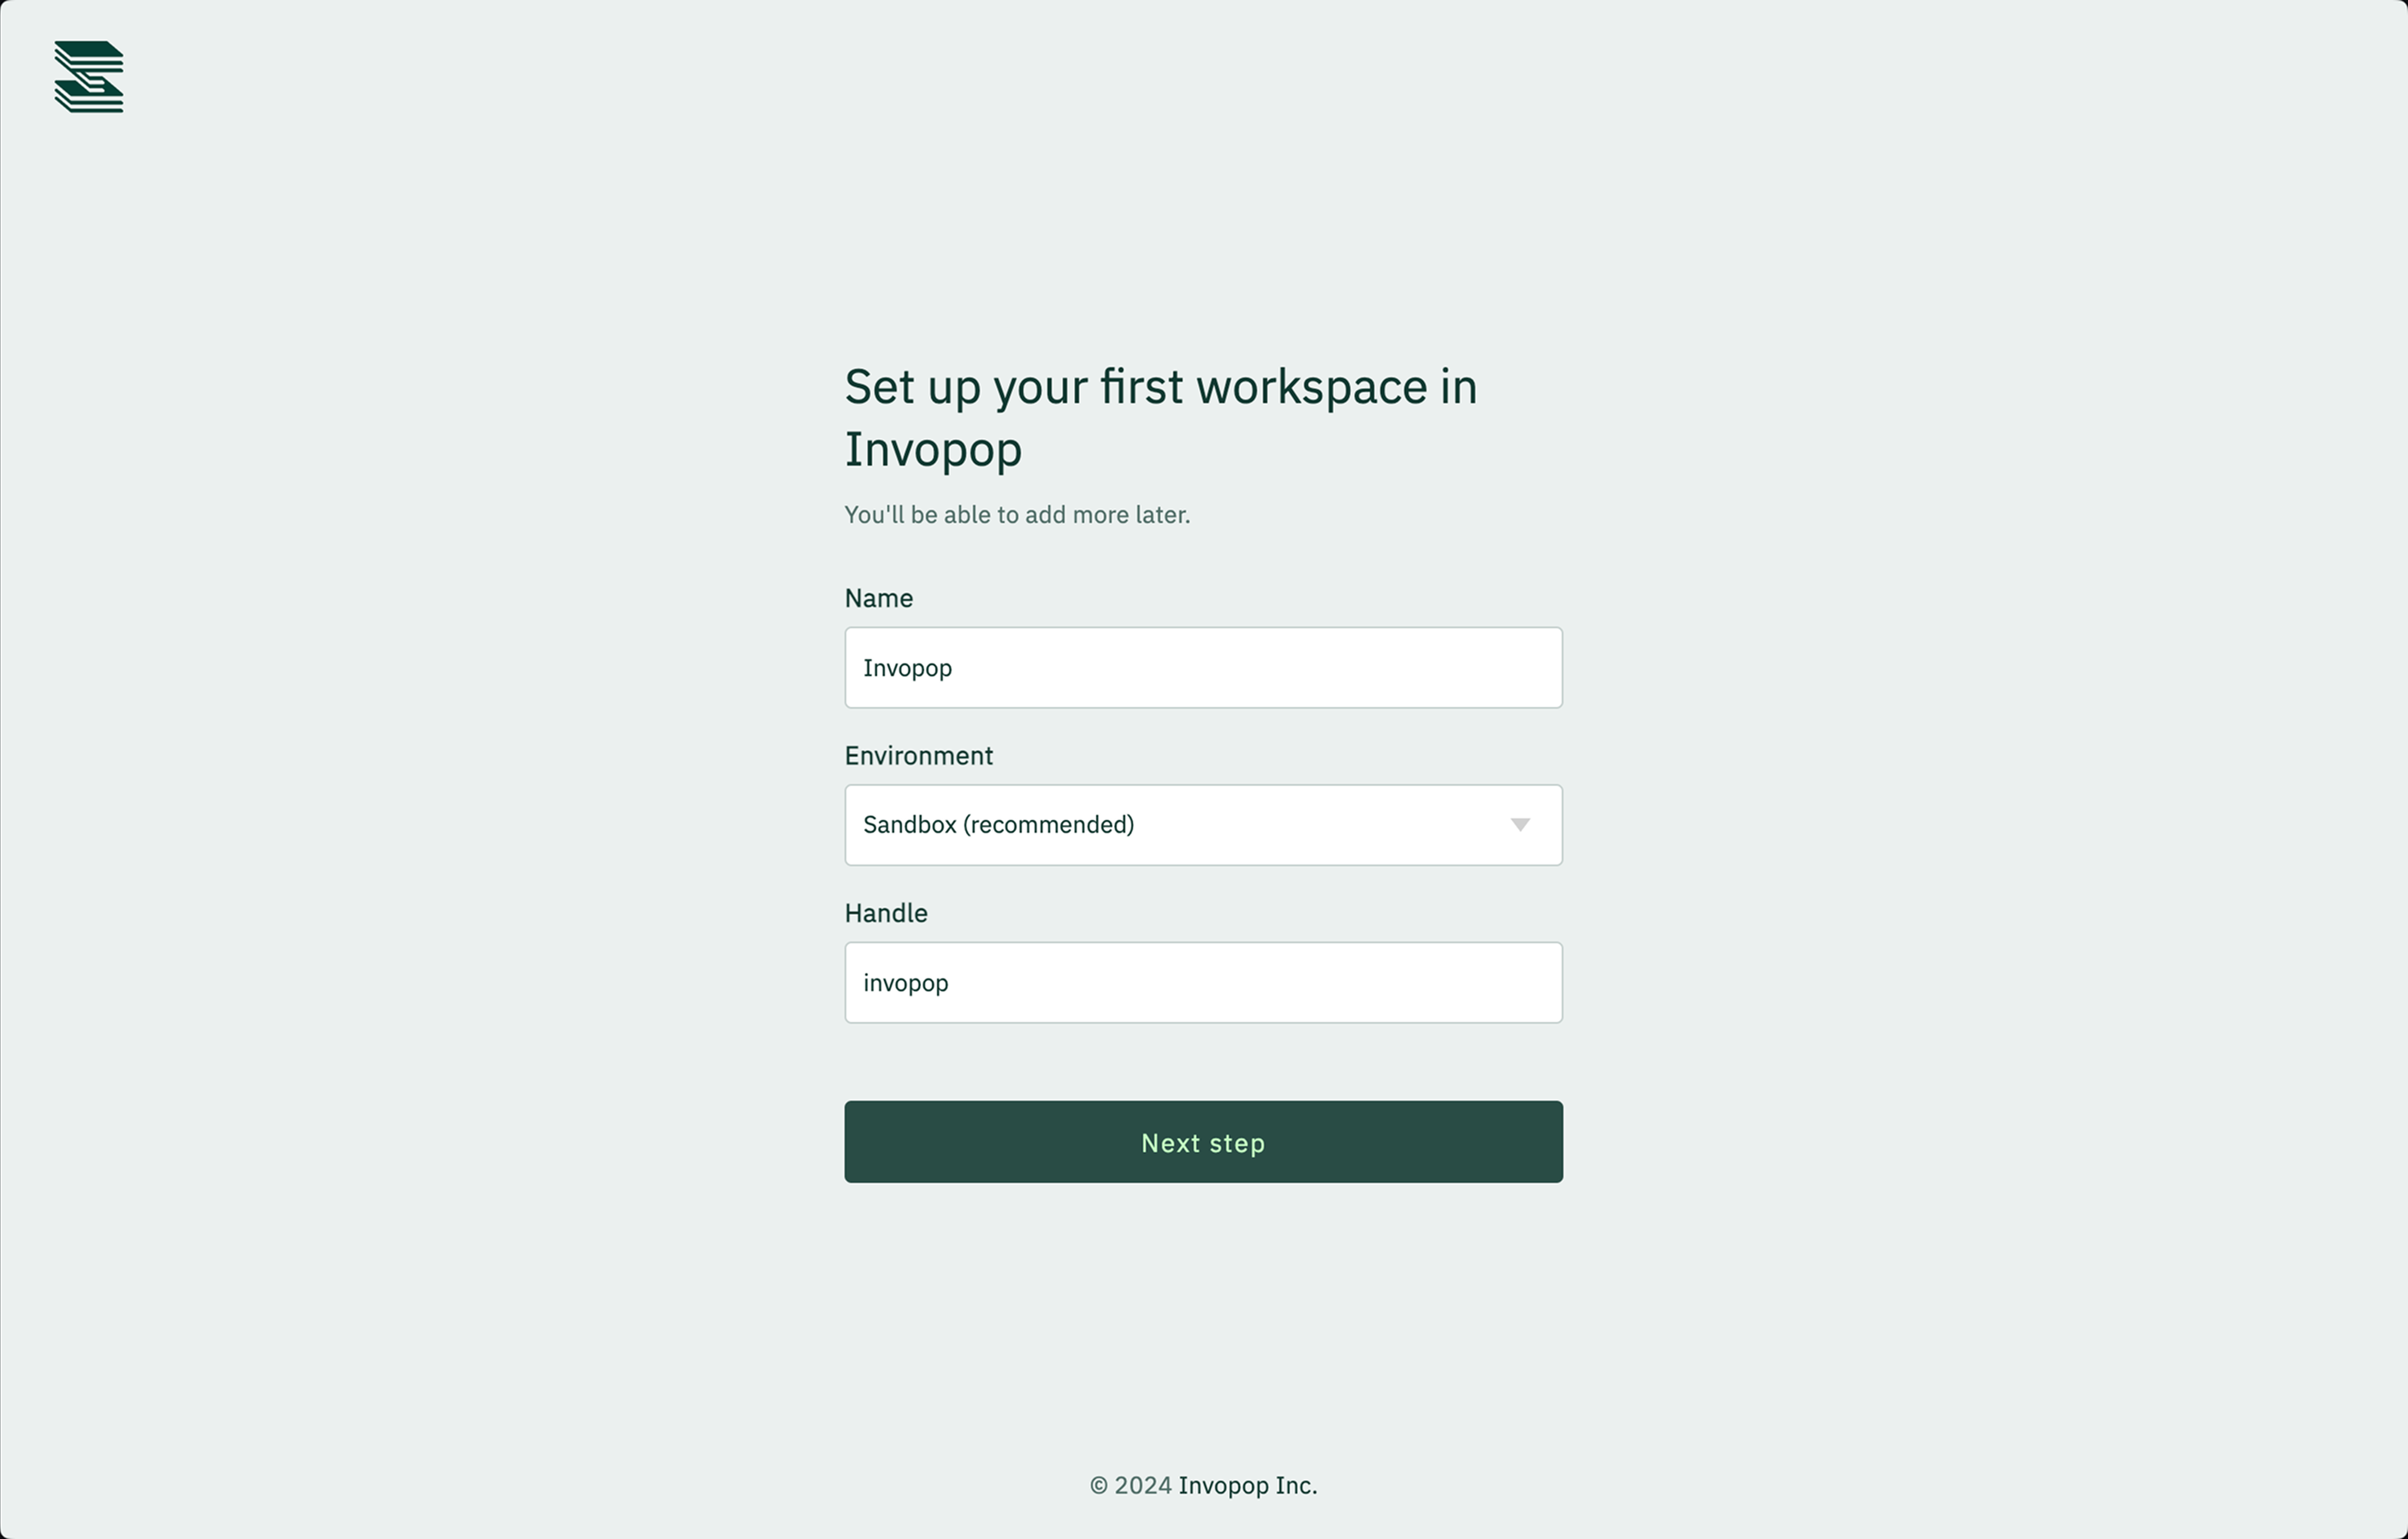
Inviting colleagues
Now that you’ve signed up, you can invite your colleagues to join your organization. 1.Go to Admin
Within the Invopop console, click on your name on the bottom left corner, and select Configure organization.
You may be prompted login again, and you’ll be redirected to the workspaces page.
Go to the members' page
Click on the Members tab on the left. You’ll see a list of all the members in your organization.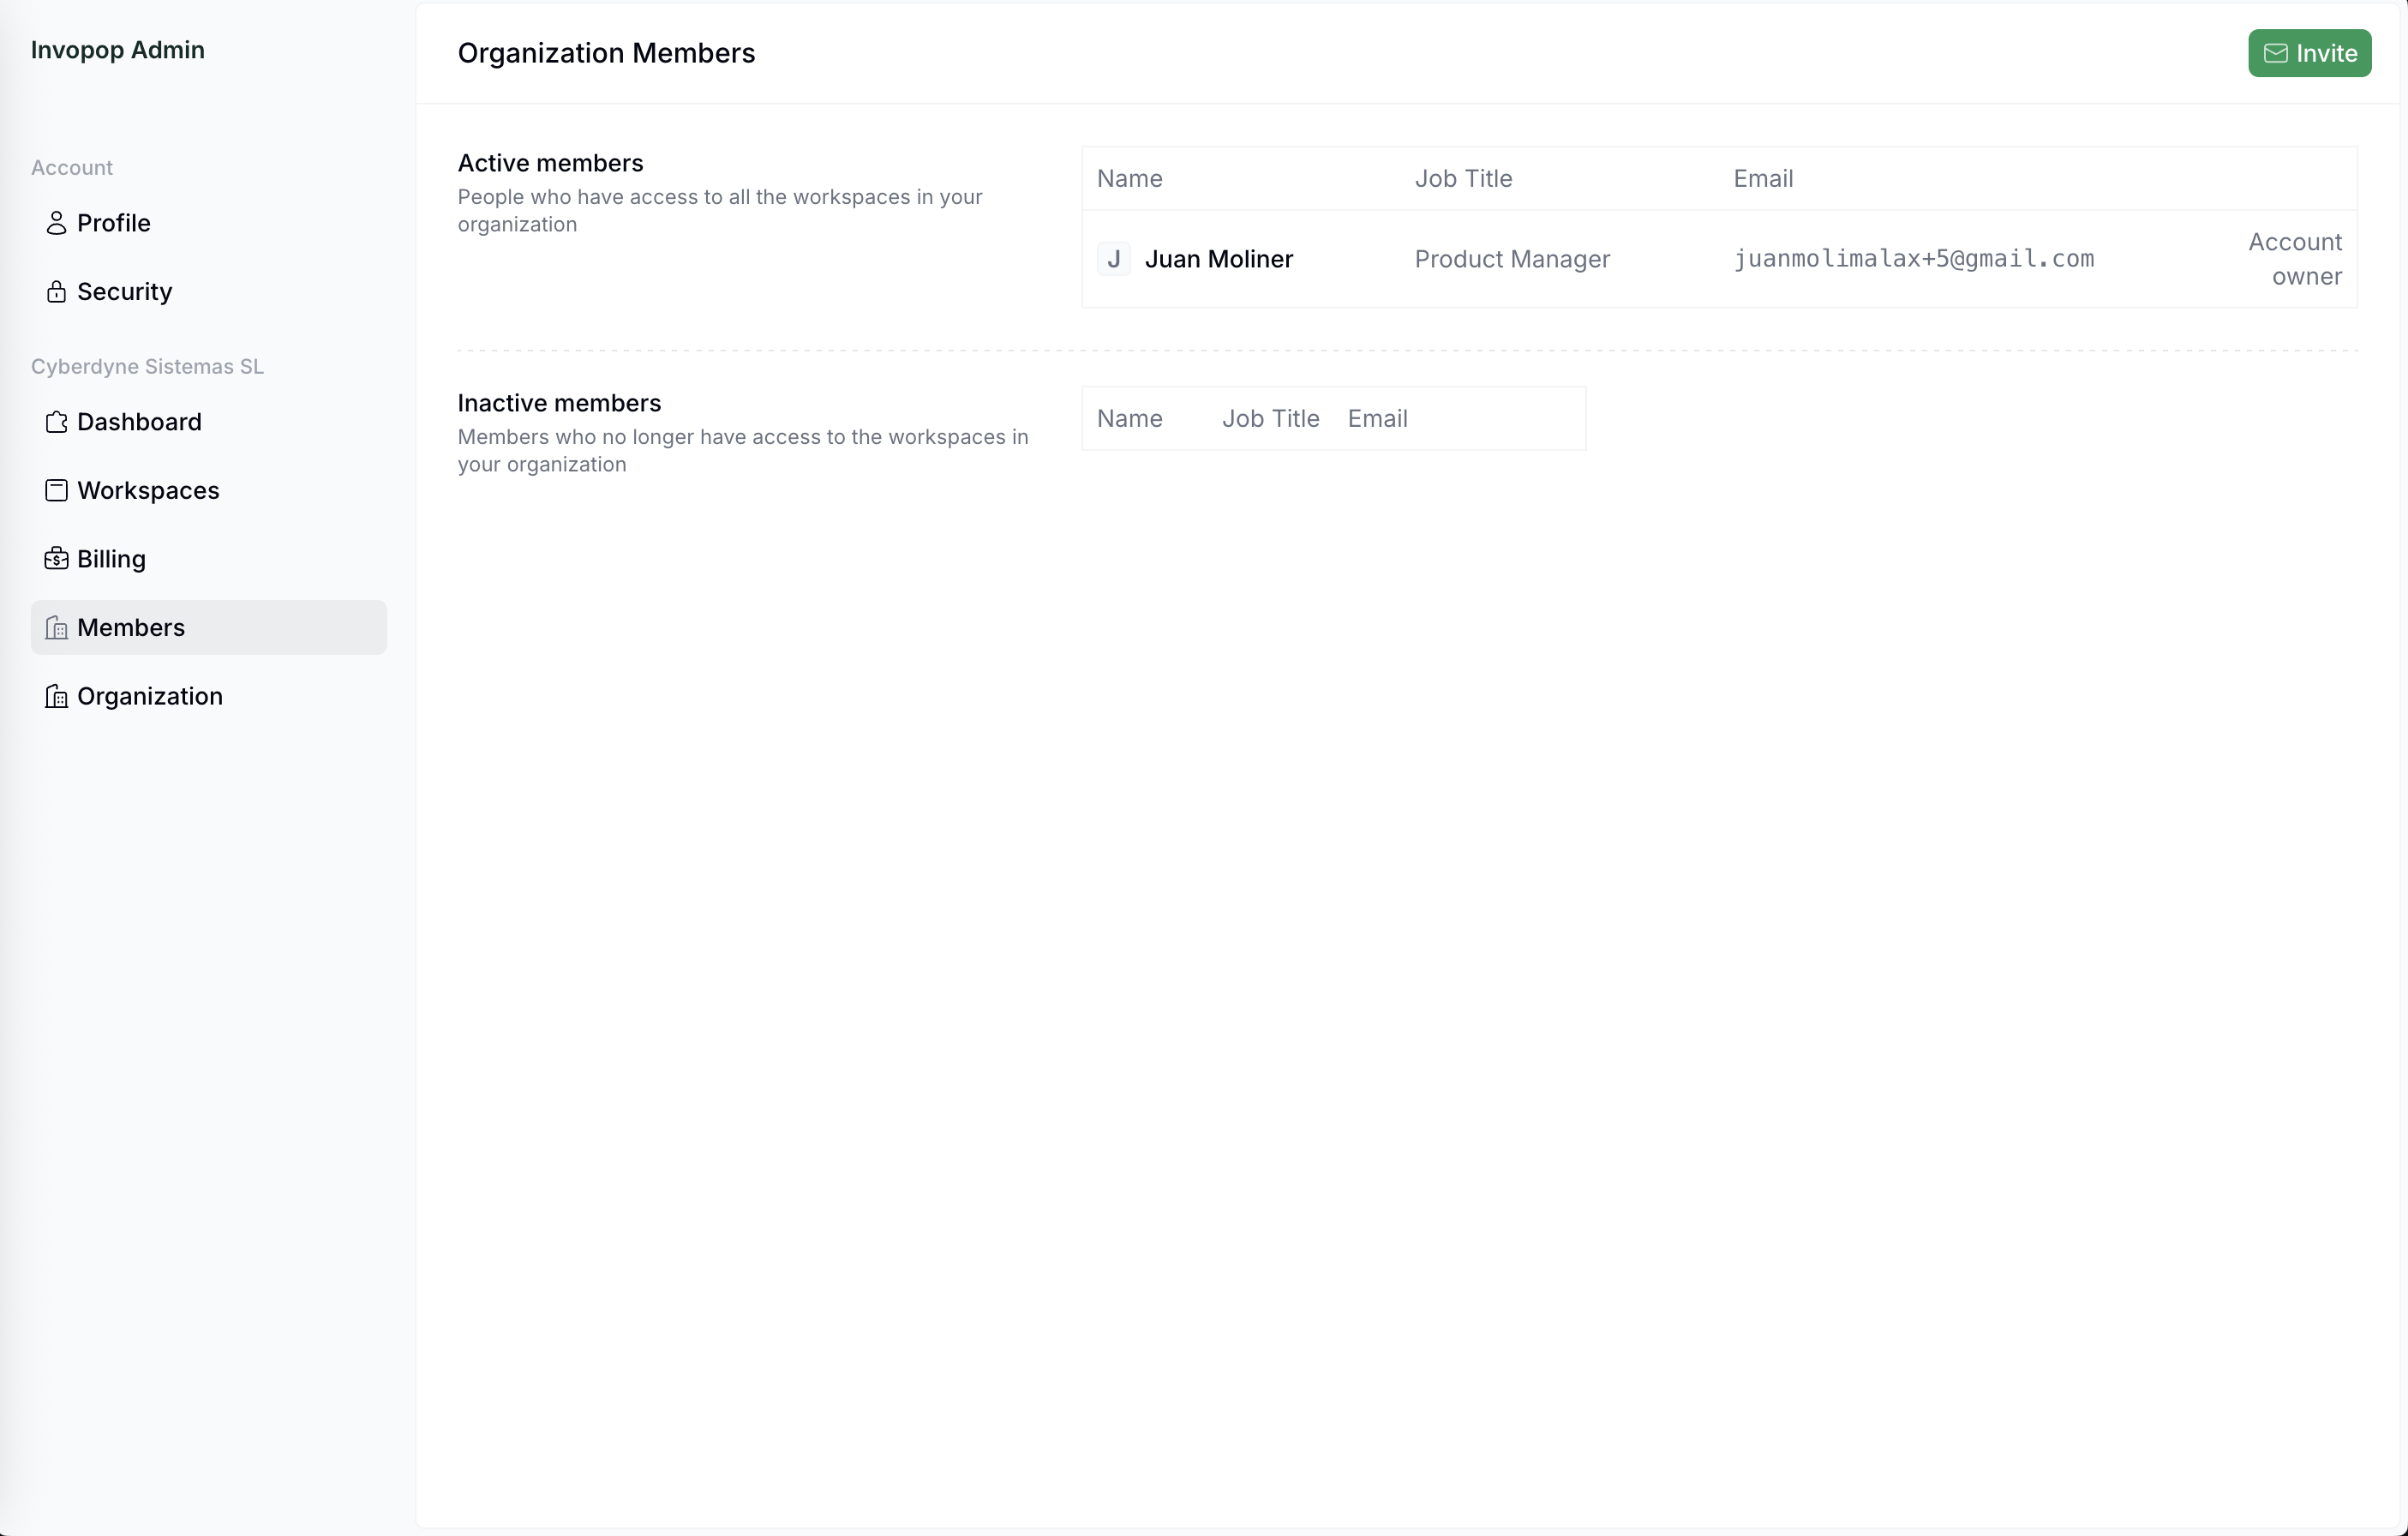
Click on the 'Invite' button on the top right corner
Fill in the form with your colleagues’ email addresses and position and click on Send.
Creating a workflow
Now let’s create your first workflow. We’ll start with a simple workflow that generates a PDF invoice.Go to Console
Go back to the workspace by clicking on the Workspaces tab, selecting your workspace and clicking on Go to Console or simply opening a new tab in https://console.invopop.com.
Go to Workflows
Click on the Workflows on the left sidebar. You’ll see a list of all the workflows in your workspace.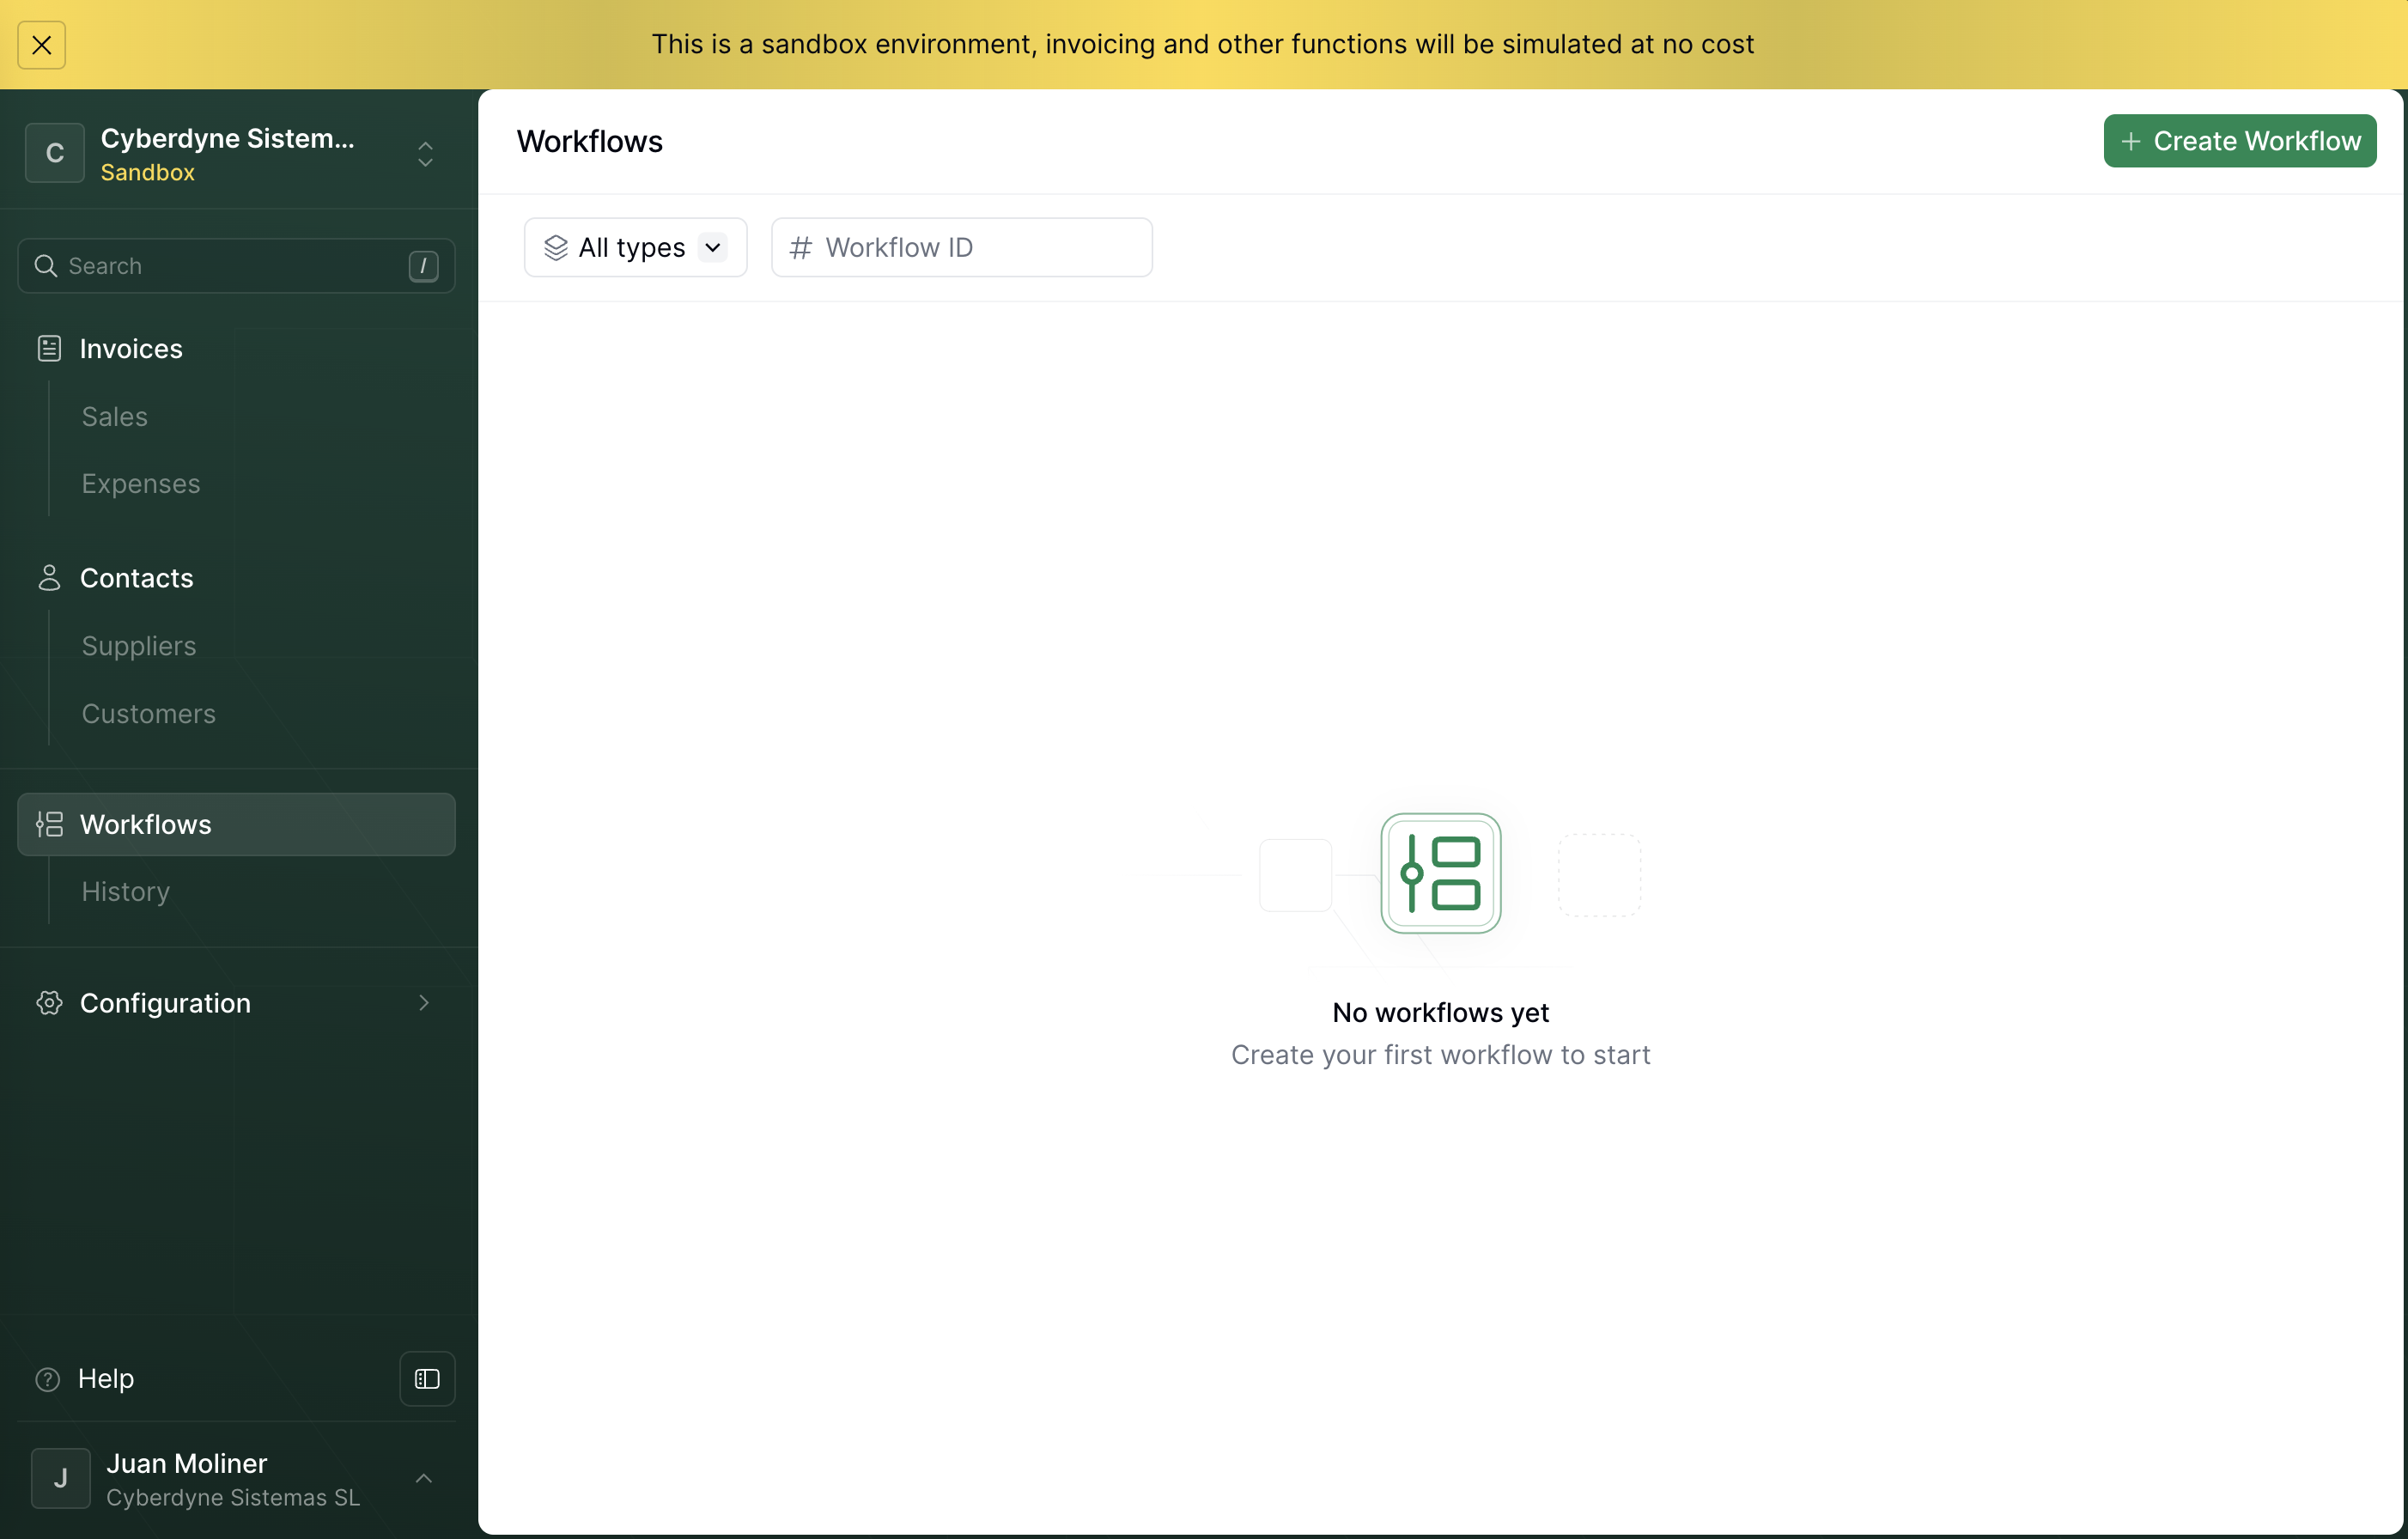
Create a workflow
Click on the Create workflow button on the top right corner. You’ll see a list of template workflows that you can use to get started.
Modify the workflow
Let’s add a step that sets the Document state to 
Sent after the PDF is generated. Click on the + button below the top right corner and select Set state in the right sidebar.Configure the step
You should now see the configuration of the Set state step, otherwise click on the step you’ve just added. Select
Sent in the State dropdown.Uploading an invoice
Now let’s upload an invoice to your workspace that we’ll later send to the ‘PDF Invoice’ workflow. You can upload document manually from the Console or by using the API.- Console
- API
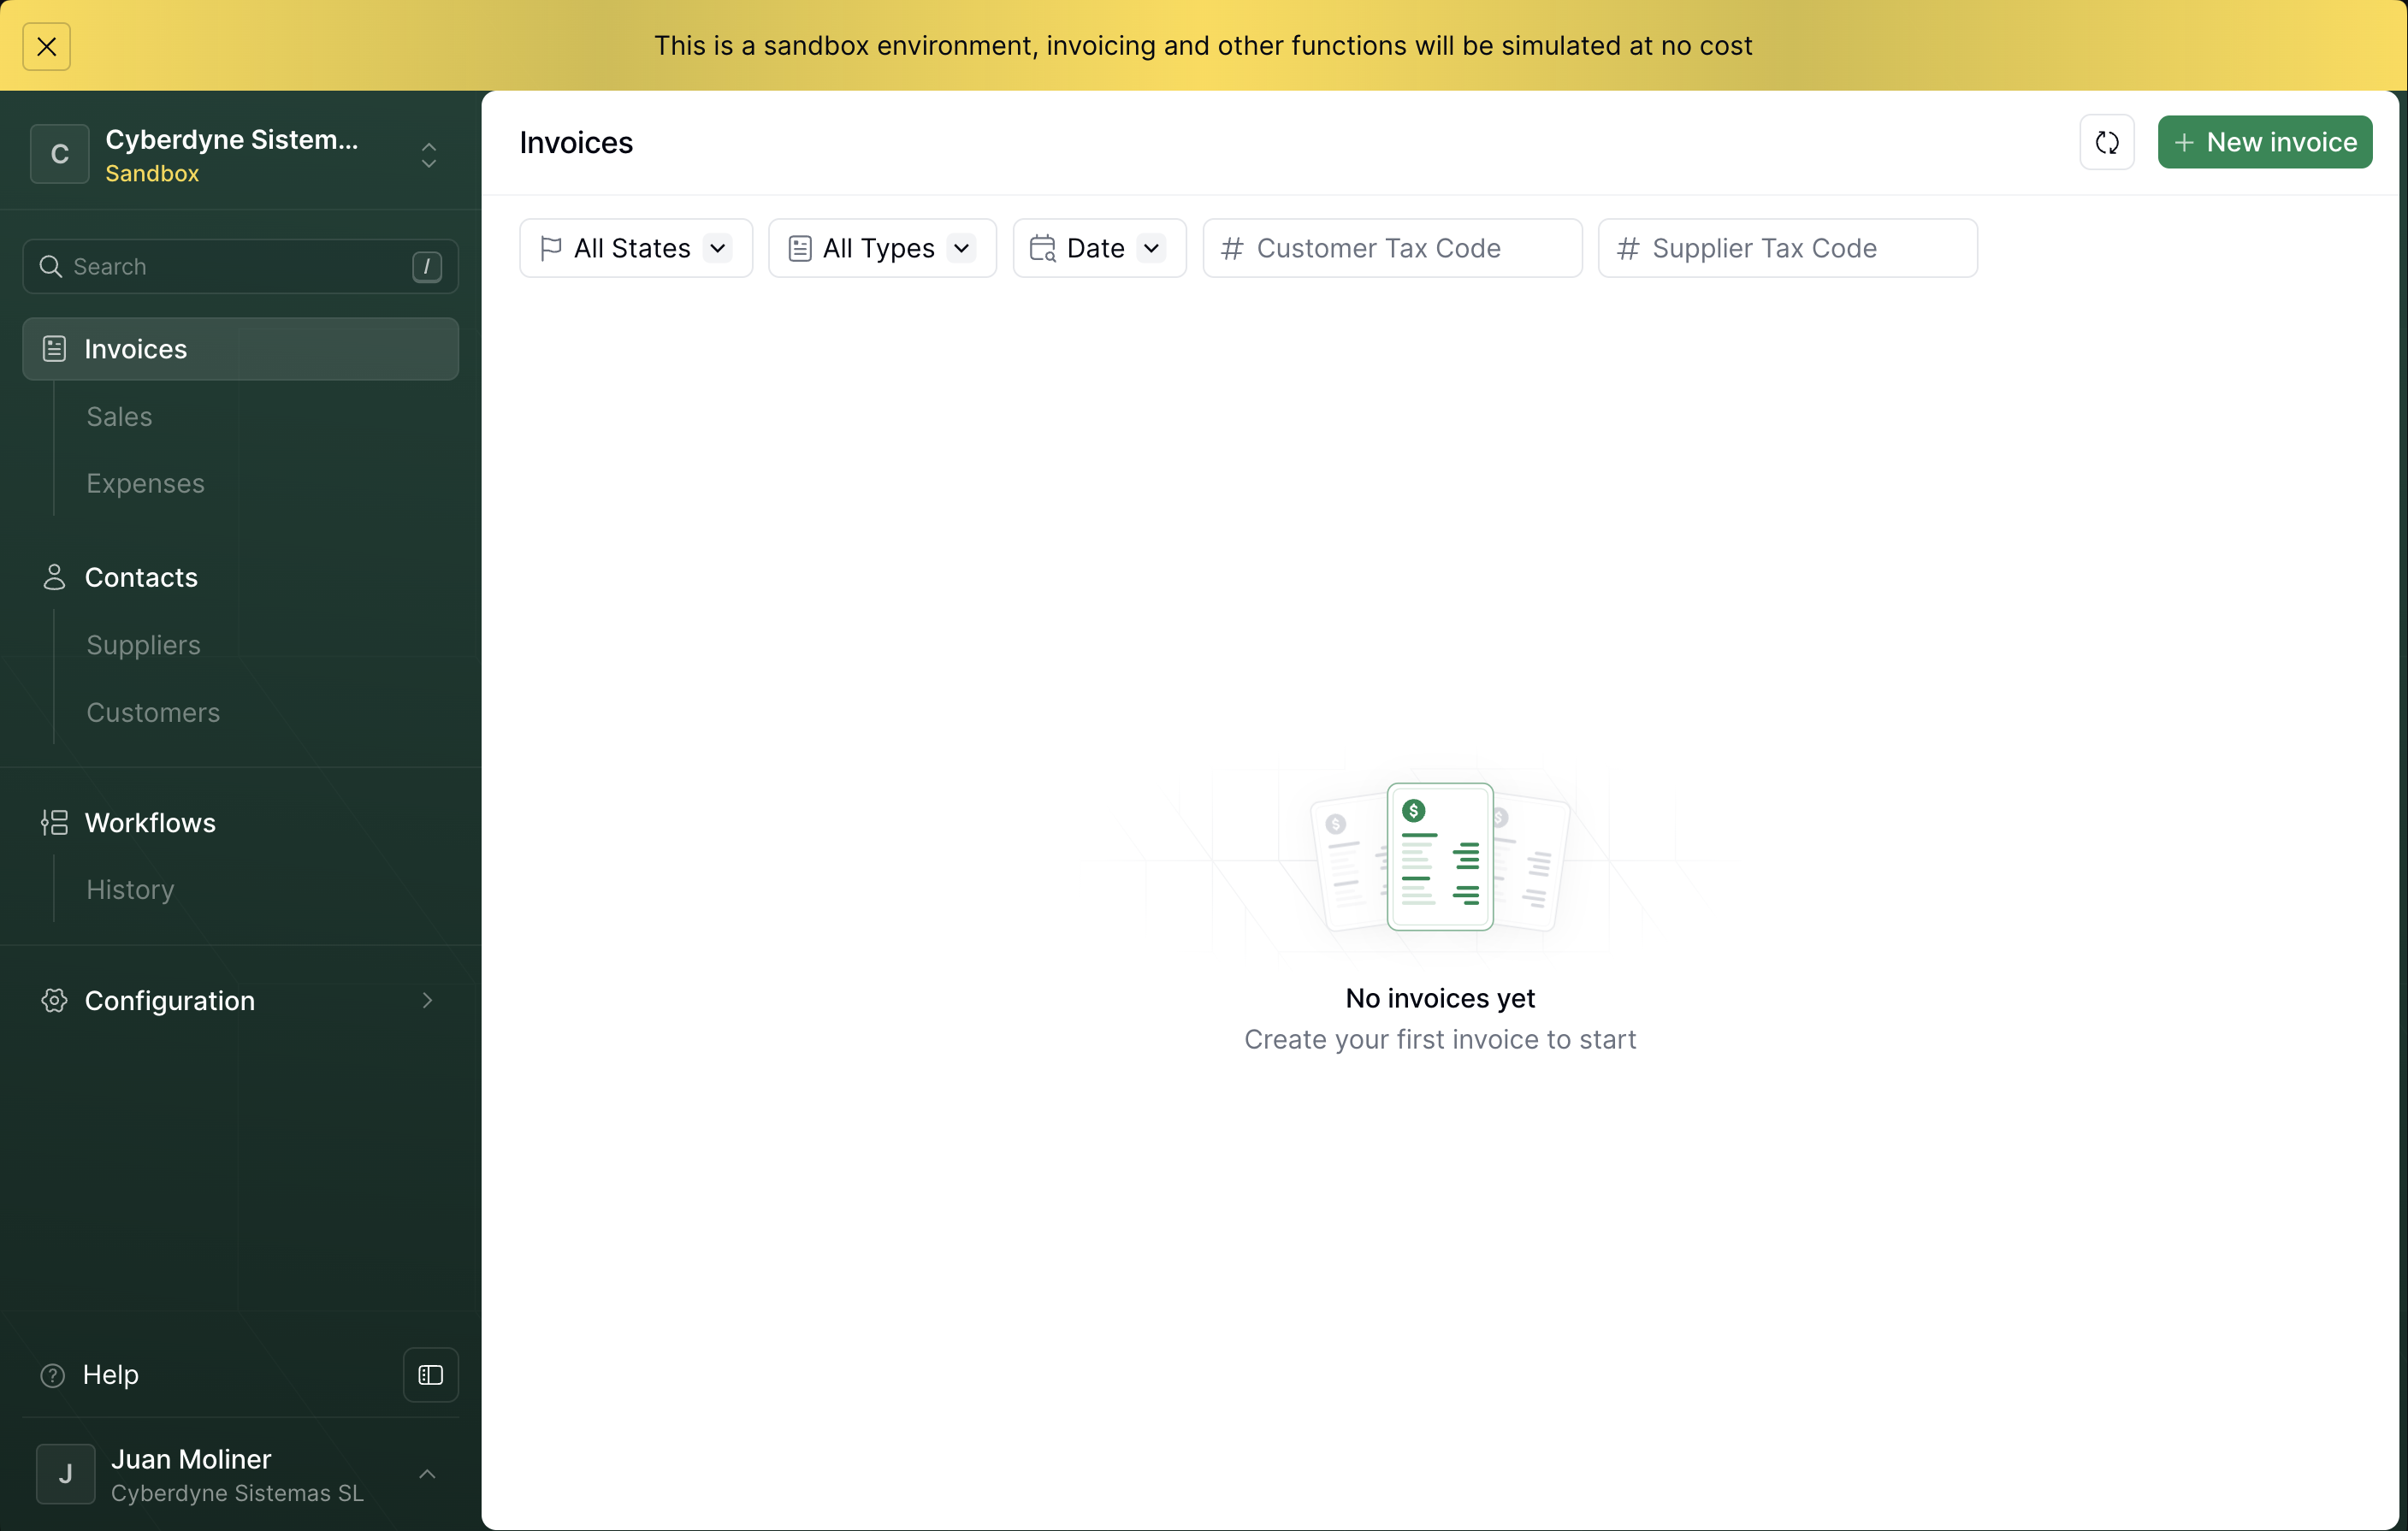
- In the Console, click on Invoices on the left sidebar.
- Click on the New invoice button on the top right corner. You’ll be redirected to the document editor.
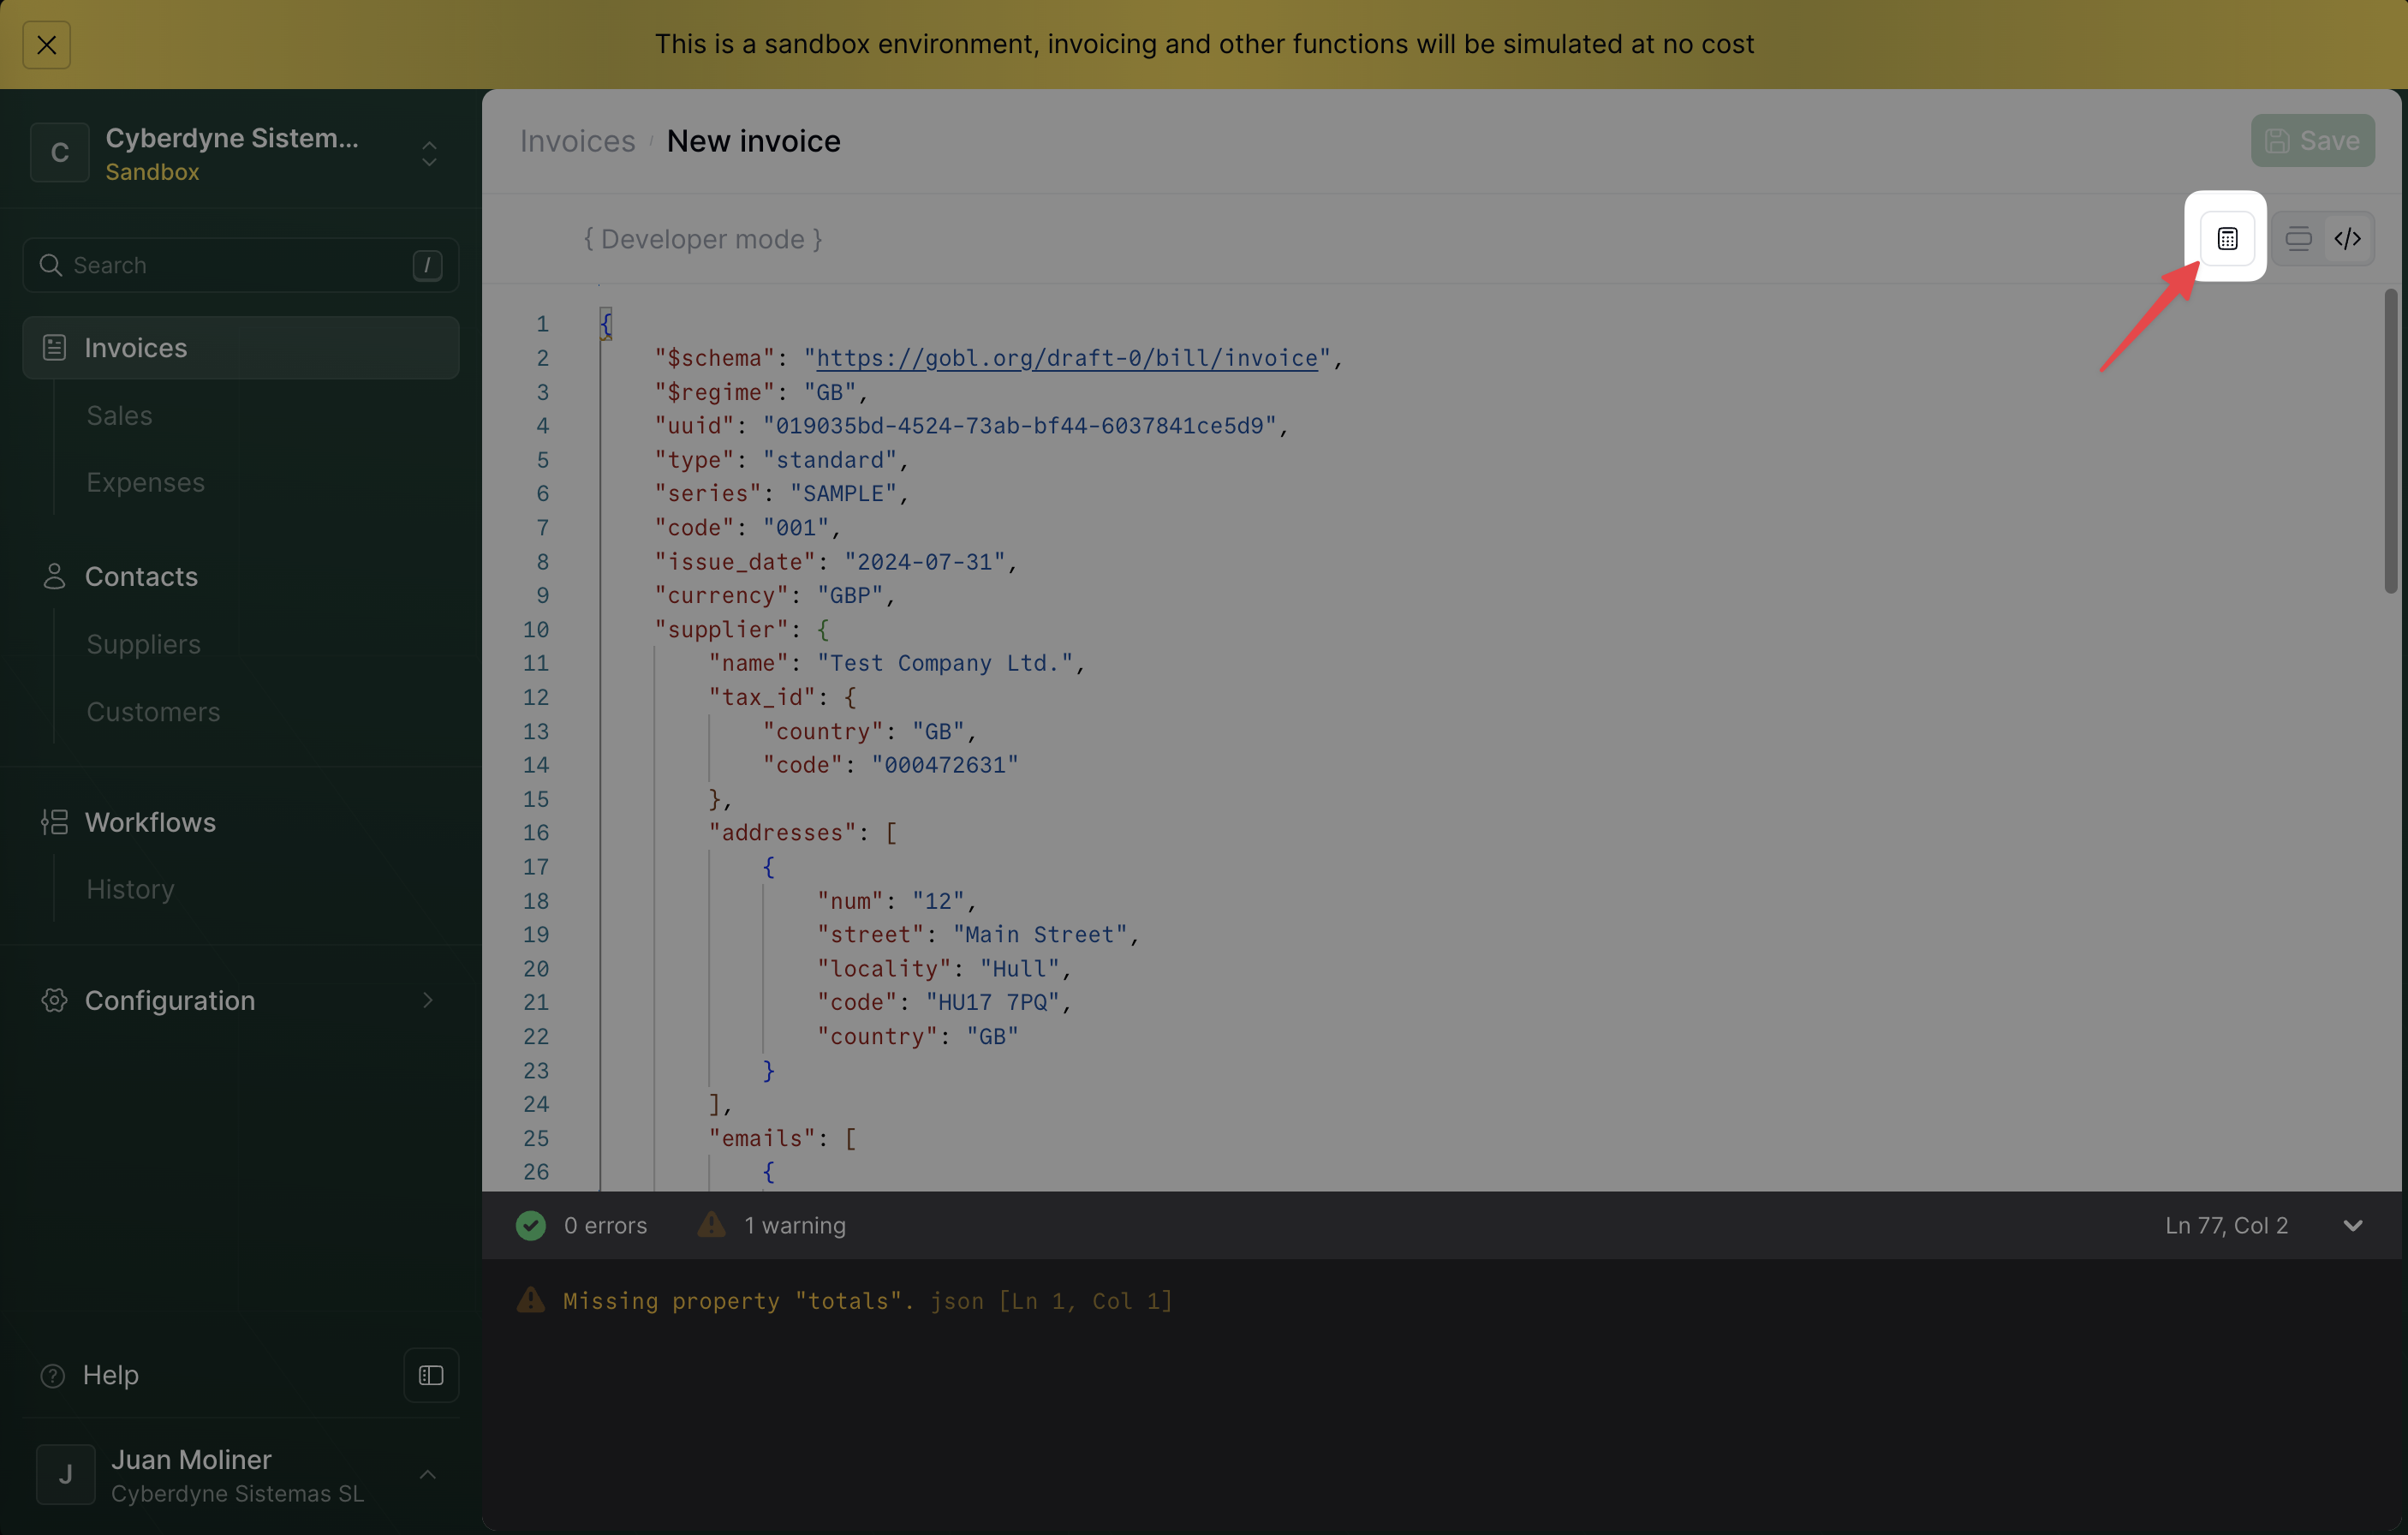
- The document editor has two modes: the visual view and the code view. Switch to the code view by clicking on the toggle below the Save button.
- Copy the invoice example below and paste it in the code view.
Example invoice
- Click on the calculator icon to build the invoice. This will normalize and validate fields and add any calculated fields.
- Click on the Save button on the top right corner to save the invoice. You’ll be redirected to the invoice detail view.
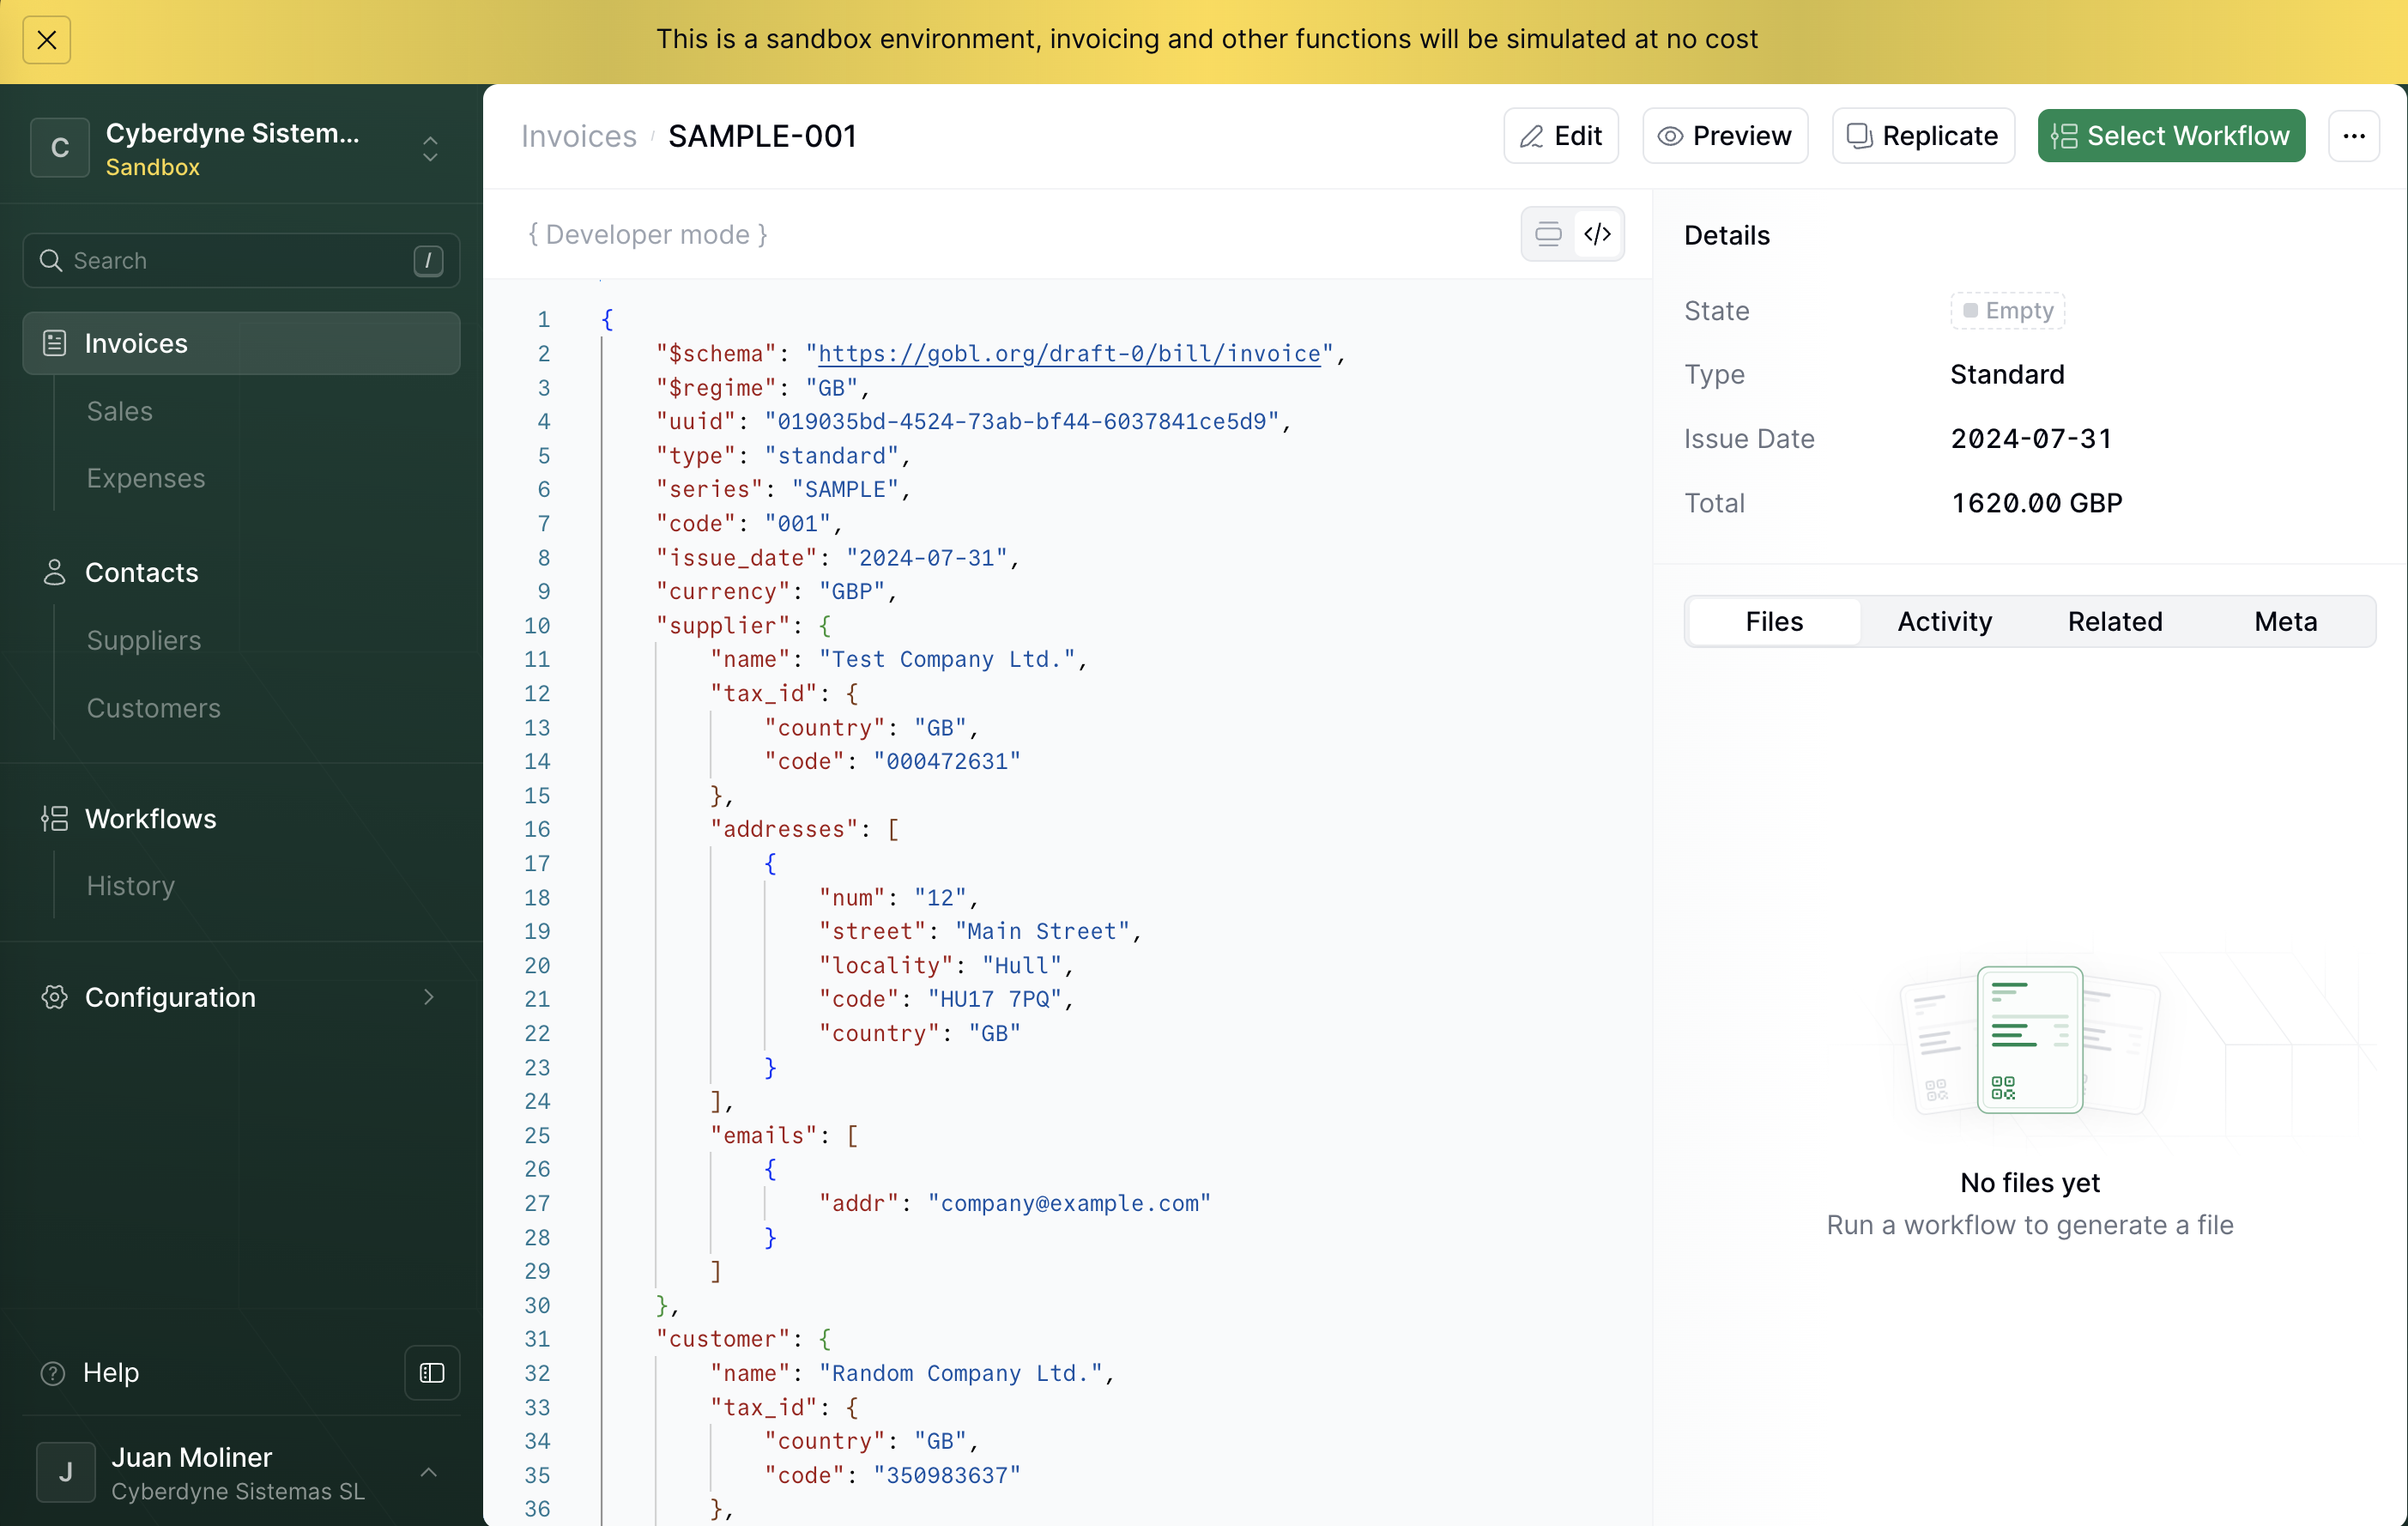
Processing an invoice
Next, we’ll process the invoice by sending it to the ‘PDF Invoice’ workflow we set up earlier. You can do this manually from the Console or by using the API.- Console
- API
- In the Console, click on Invoices in the left sidebar.
Select the invoice you just uploaded. This will open the document editor.
- Click Select Workflow in the top-right corner to open the workflow selection dialog.
- Select the workflow you want to run — in this case, PDF Invoice — and click Run Workflow.
- You’ll see the Status of the invoice update to Sent, confirming it’s been processed.