Goal of this tutorial
In this tutorial, you will:- Understand what invoice corrections are and when to use them.
- Learn about the three main correction types: credit notes, debit notes, and corrective invoice.
- Explore different ways to issue a credit note to correct an invoice:
- Using the API:
- Upload a fully defined credit note
- Auto-generate a credit note from an existing invoice
- Using the Invopop Console to create the credit note through the interface.
- Using the API:
Understanding Invoice Corrections
Billing mistakes happen, and when they do, they need to be addressed correctly. Depending on the nature of the error, different types of financial documents can be issued to correct an invoice. These are credit notes, debit notes, and corrective invoices. Let’s walk through how each of these works:Credit Note (Most Common)
At Invopop, we generally recommend issuing a credit note if you need to cancel, refund, or adjust a validated invoice. They’re the most widely accepted and straightforward method for making corrections. A credit note is a document issued by the supplier to the buyer to indicate the intent to credit a specified amount. This doesn’t modify the original invoice but adjusts the total amount due. Credit notes are typically issued when there’s an error in the invoice, when goods are returned or services are rejected, or when the goods delivered are damaged.Debit Note (Rarely Used)
A debit note is a document issued by the supplier to request additional funds related to a previously issued invoice (e.g., to account for omitted shipping costs). For example, suppose a supplier sends an invoice to the buyer for a total of €400, and later realizes they forgot to include an additional €50. To correct this, the supplier could issue a debit note, linked to the original invoice, for the missing $50 to inform the buyer of the outstanding amount. Now, you might wonder: Why not just issue a new invoice for €50? Well, they could, and that’s exactly what we recommend at Invopop. While debit notes are a valid financial document, they’re not commonly used in practice. It’s worth noting that some sources describe a debit note as a document issued by the buyer to the supplier. However, GOBL does not support this interpretation. In GOBL, documents from buyer to supplier fall under order management workflows.Corrective Invoice (Country-Specific)
Some local regulations require a corrective invoice (also known as a rectifying invoice), when certain key details on an invoice need to be changed. A corrective invoice is a new document that references and replaces the original one. It’s typically used when there are significant errors in fields such as the buyer’s name, tax ID, or invoice date, and it fully replaces the original invoice for legal and accounting purposes. Countries that support corrective invoices include Spain and Poland. It’s worth noting that not all countries support corrective invoices, and in some countries where the tax regime does, such as Spain, GOBL may attempt to map credit and debit notes into the appropriate corrective format.Correcting Your First Invoice Using a Credit Note
Before we dive in, let’s quickly recap where we are. If you’ve completed the Quickstart tutorial, you should now have a processed invoice in your workspace. Let’s say there was a mistake in the invoice and we need to fix it. Once an invoice has been issued, it shouldn’t be edited. Instead, we issue a credit note to make the correction. There are two ways to do this:- From the Invopop Console
- Using the API
- Console
- API
Steps
- In the Console, click on Invoices in the left sidebar.
- Select the invoice you want to correct.
- Click on the Correct button in the top-right corner. This will open the Correction dialog.
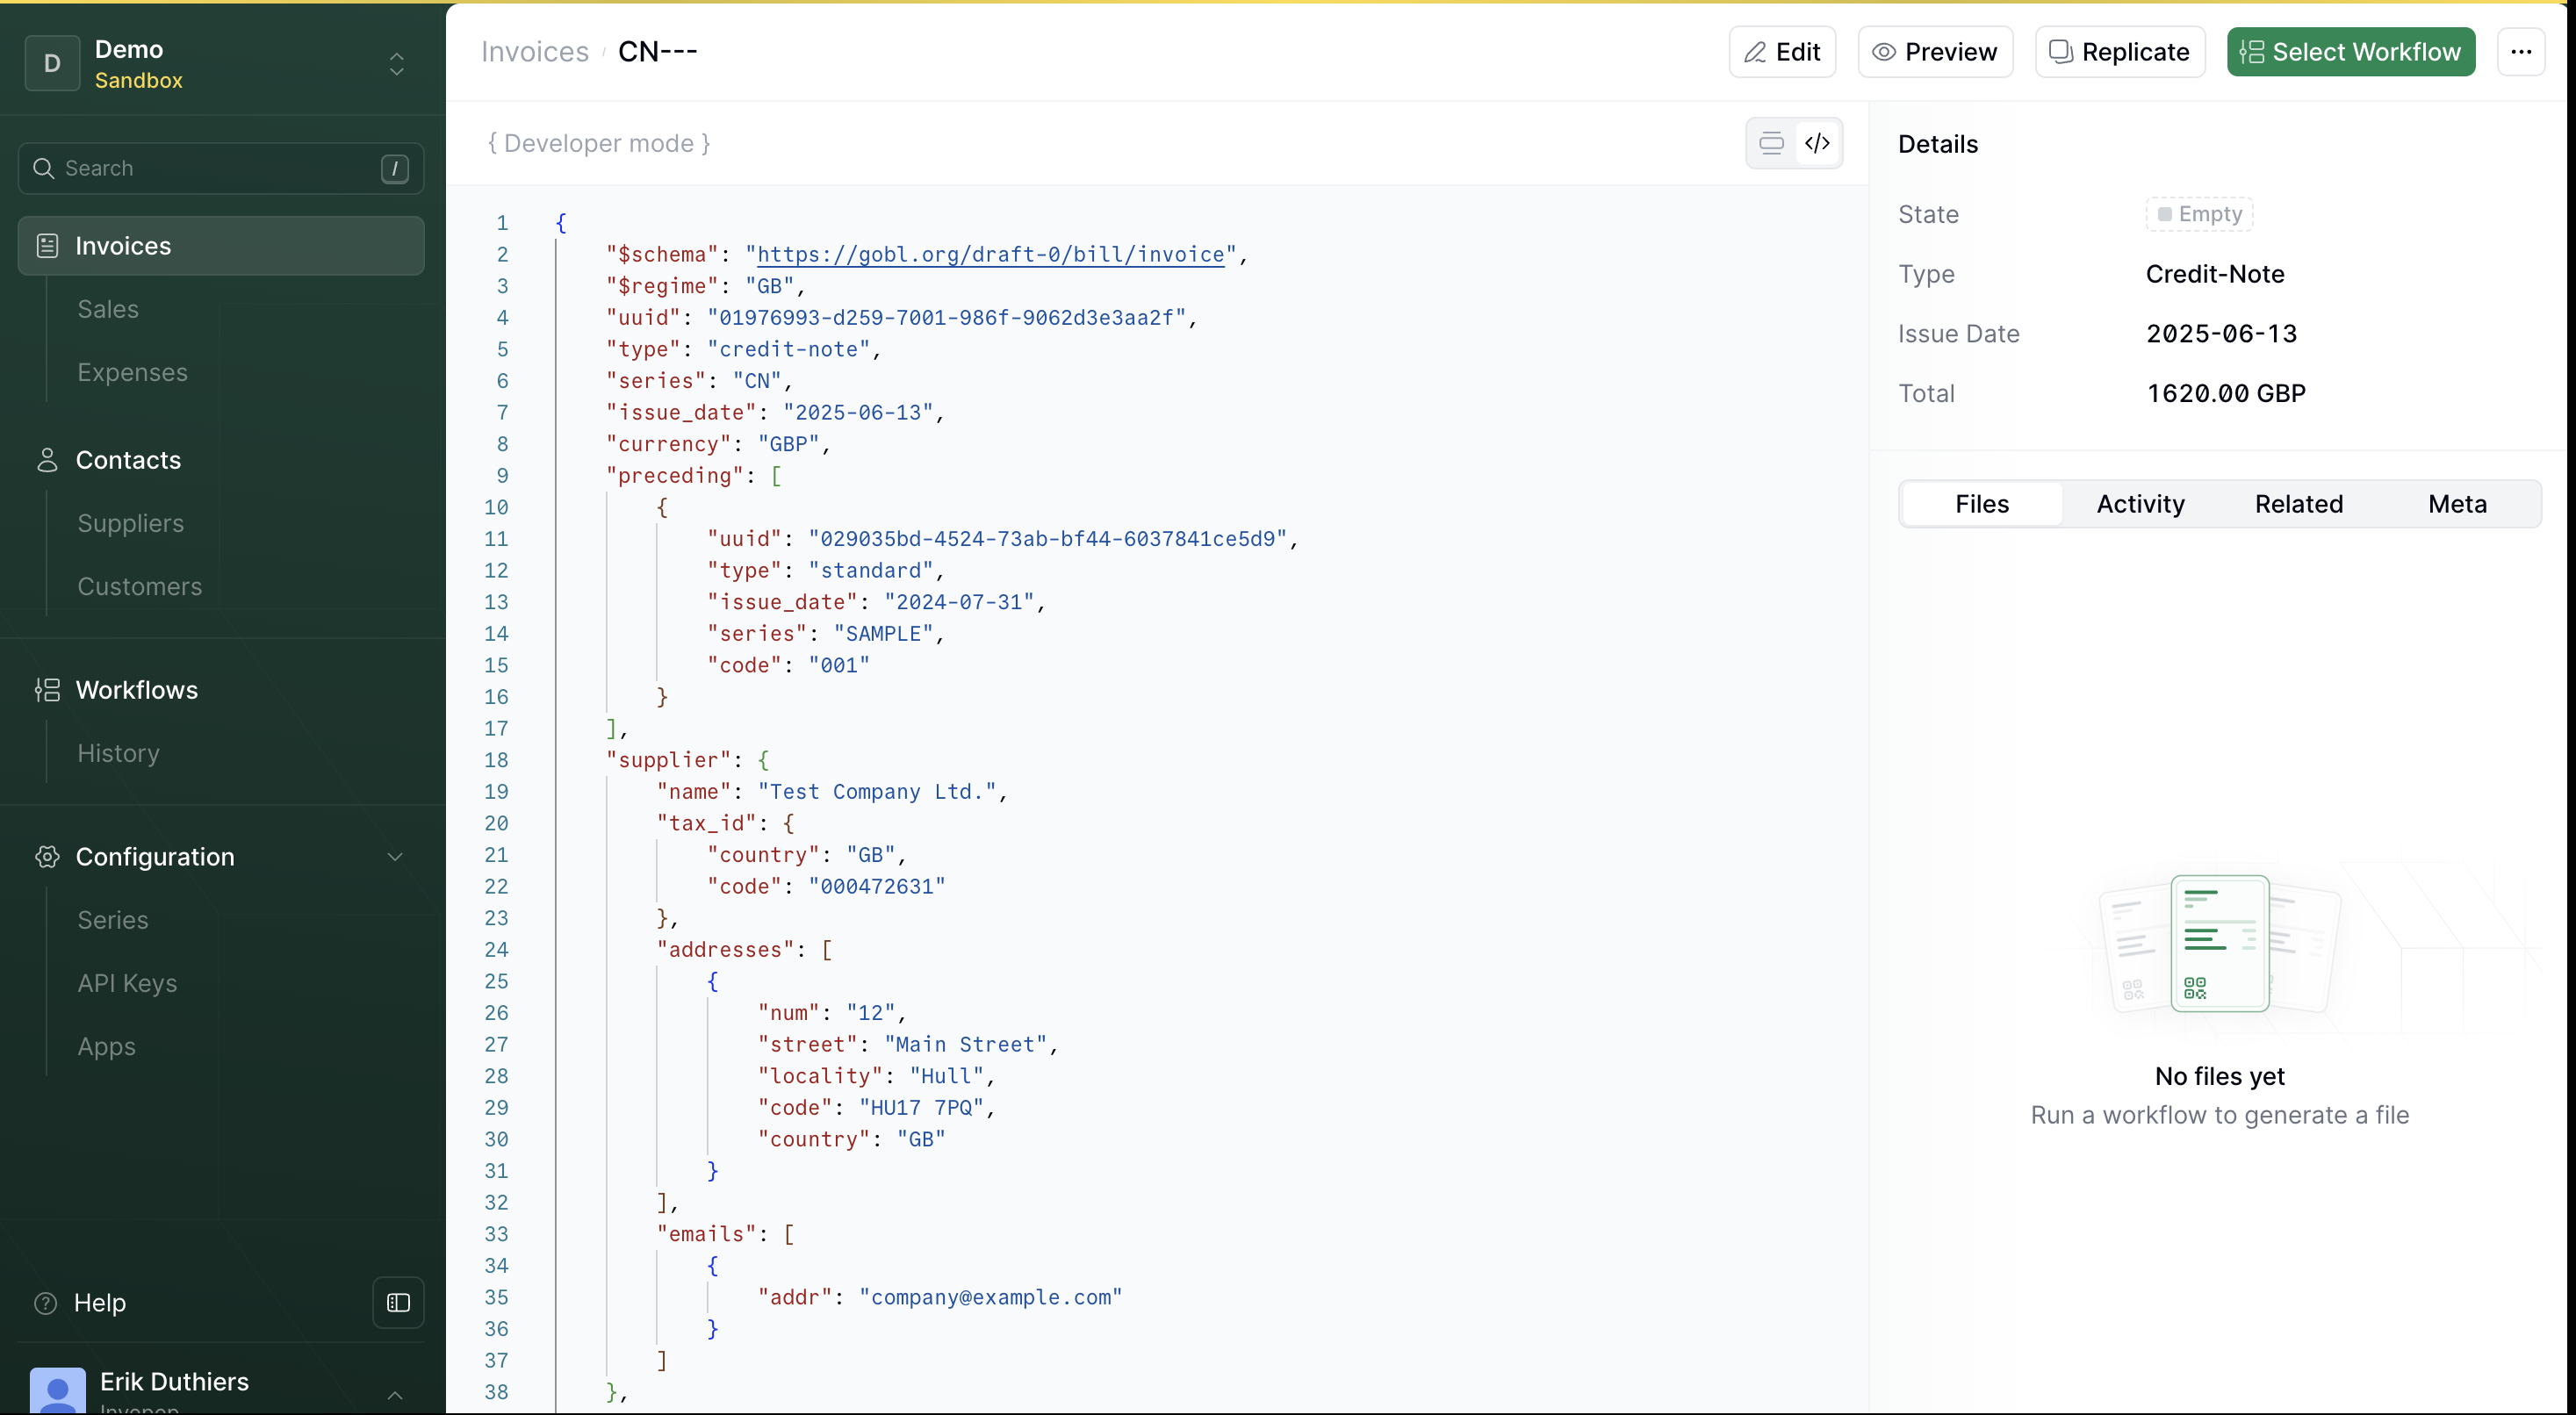
- In the Series field, enter the series code for credit note (e.g.,
CN). - Under Type, select
credit-notefrom the dropdown. - Click the Correct button at the bottom right of the dialog.
This will generate the credit note based on the original invoice.
- Click the Save button in the top-right corner to store the credit note.
You’ll be redirected to the invoice detail view.