Introduction
This guide will show you how to configure the Send Webhook workflow step to send HTTP requests automatically from your workflows. You can use webhooks to notify external systems, trigger automations, or synchronize data with third-party APIs whenever an event occurs. Included in this guide are the configuration options for the “Send Webhook” workflow step, a sample response with an explanation for each field, and the procedure for retries.Setup and configuration
Add the Send Webhook step to your workflow by searching or locating it in the actions list under the Notify section.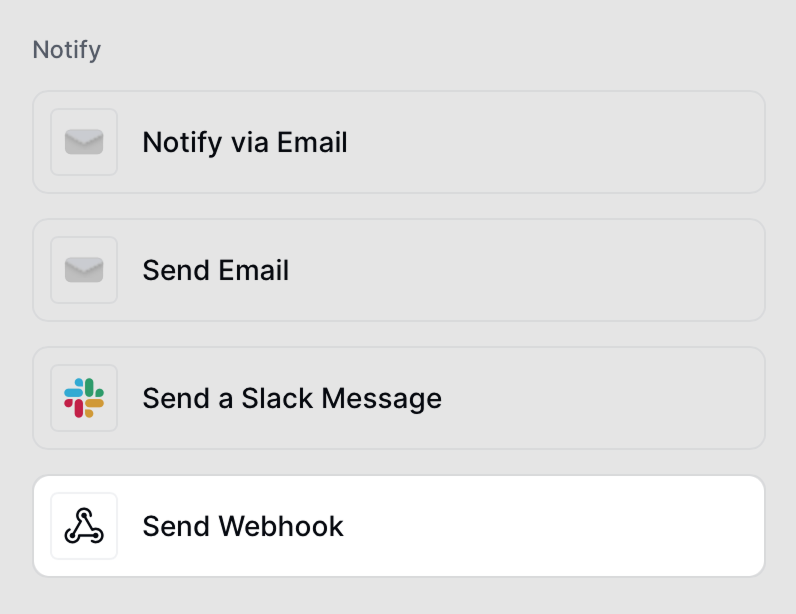
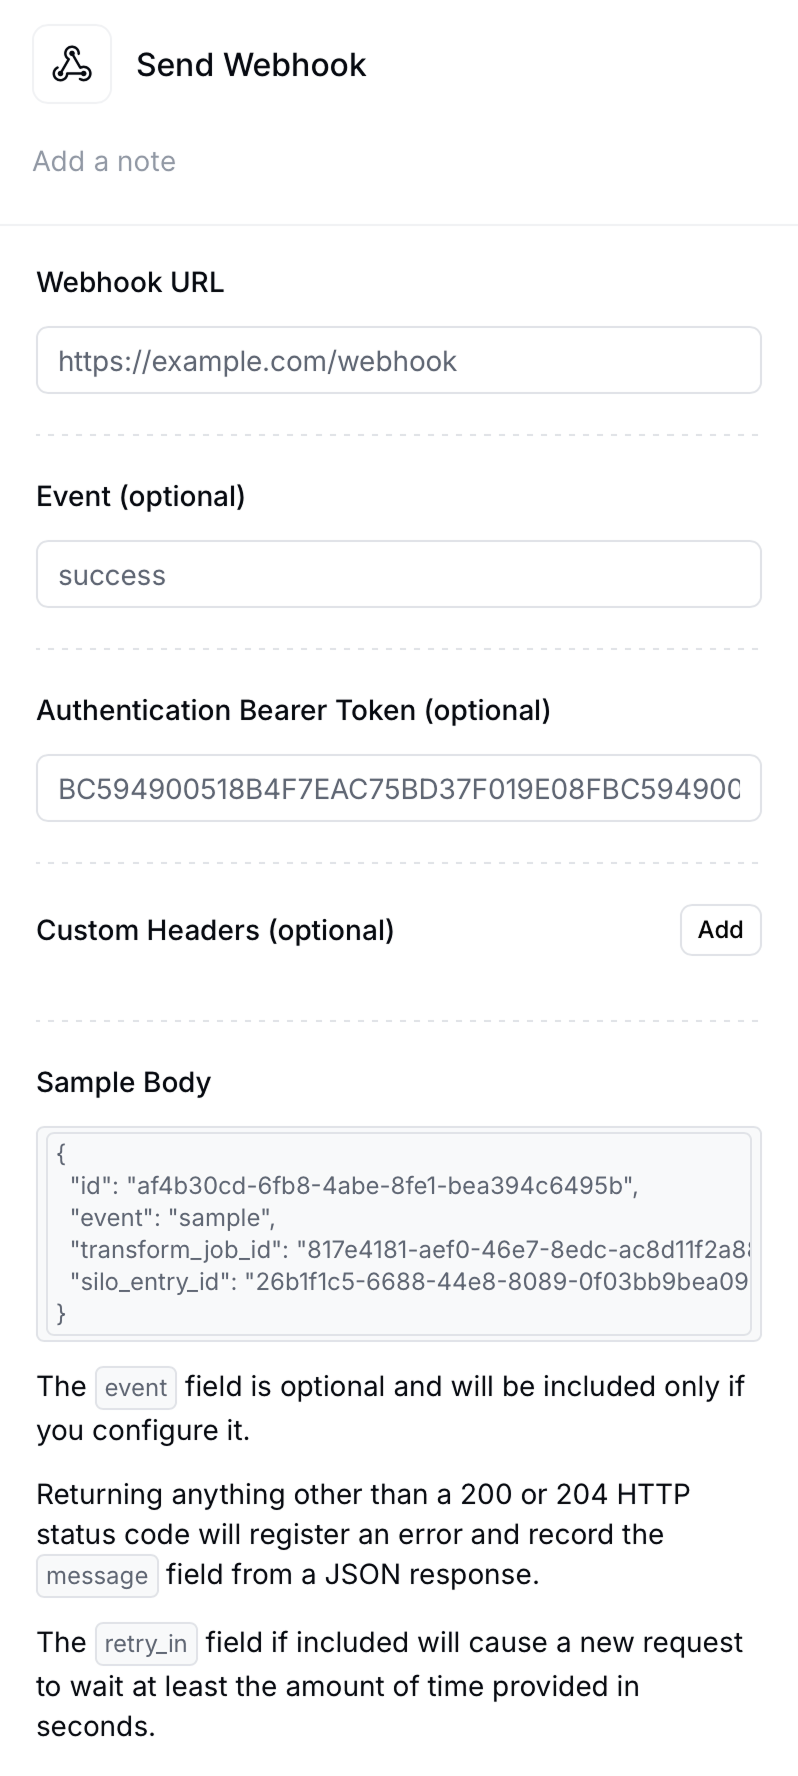
The endpoint that will receive the
POST request.
Event (optional)Specify a custom event name such as
success, error, or invoice_sent. This will appear under the event field in the JSON payload.
Authentication Bearer Token (optional)If your endpoint requires authorization, include a token here. The request will include a header:
Authorization: Bearer <your_token>. Invopop does not recommend whitelisting IPs for security as the static IP is likely to change in the future.
Custom Headers (optional)Add one or more HTTP headers. This is useful for services that require API keys, content types, or verification signatures. Sample Body
Below is an example of the JSON payload that will be sent:
idthe id of the webhook event.eventcustom event name set up in the step (if any).transform_job_idthe id of a job run through the Transform Job endpointsilo_entry_idthe id of the silo entrykeythe job’s key to ensure idempotency.metacertain workflow steps can add data to the meta field which is then made available to subsequent steps and to webhook payloads.faultsarray of fault objects that represent errors that occurred during the processing of the job.
The webhook will expect a
200 or 204 response code. Any other response will be treated as an error and will be automatically retried after a delay. Retries
When a webhook is triggered, Invopop will wait for a response. The behavior is as follows:- Success (
200/204) → Webhook will produce anOKstatus and no retry process will be triggered. - Anything else → Webhook will trigger the retry process.
retry_in field in your response with the number of seconds you wish to wait between retries. The system will then retry up to 32 times returning a KO status code. Here is an example of such a response:
FAQ
What happens if my webhook endpoint is down?
What happens if my webhook endpoint is down?
If your endpoint fails to respond or returns a non-
200/204 status code, Invopop will retry automatically. If the
error persists, the webhook step will return a KO status.Can I send multiple webhooks in the same workflow?
Can I send multiple webhooks in the same workflow?
Yes. You can add multiple Send Webhook actions in the same workflow, each targeting a different endpoint or event.
What security options are available?
What security options are available?
You can authenticate using Bearer Tokens or custom headers (e.g.
X-Signature, X-API-Key). It’s recommended to use HTTPS and verify the token or header server-side.What content type do webhooks use?
What content type do webhooks use?
All webhook requests are sent with
Content-Type: application/json.