

Introduction
In this guide, you’ll learn how to connect Stripe with Invopop to automatically generate tax-compliant invoices and credit notes, from your Stripe dashboard. The Stripe integration consists of two components:- An Invopop app within your Stripe dashboard
- An app in your Invopop console

Track invoice status directly in your Stripe dashboard
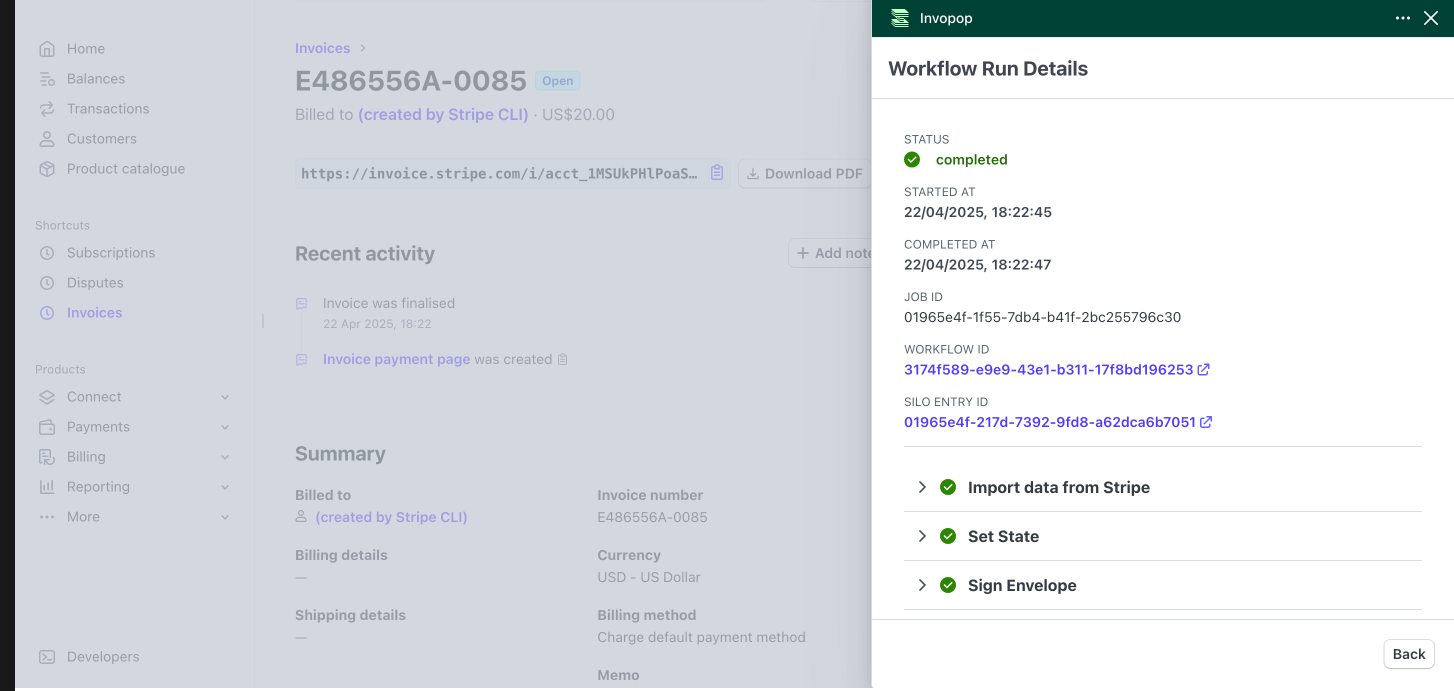
View the job information
Setup
Before you begin, ensure you have an active Stripe account.Install Invopop in Stripe
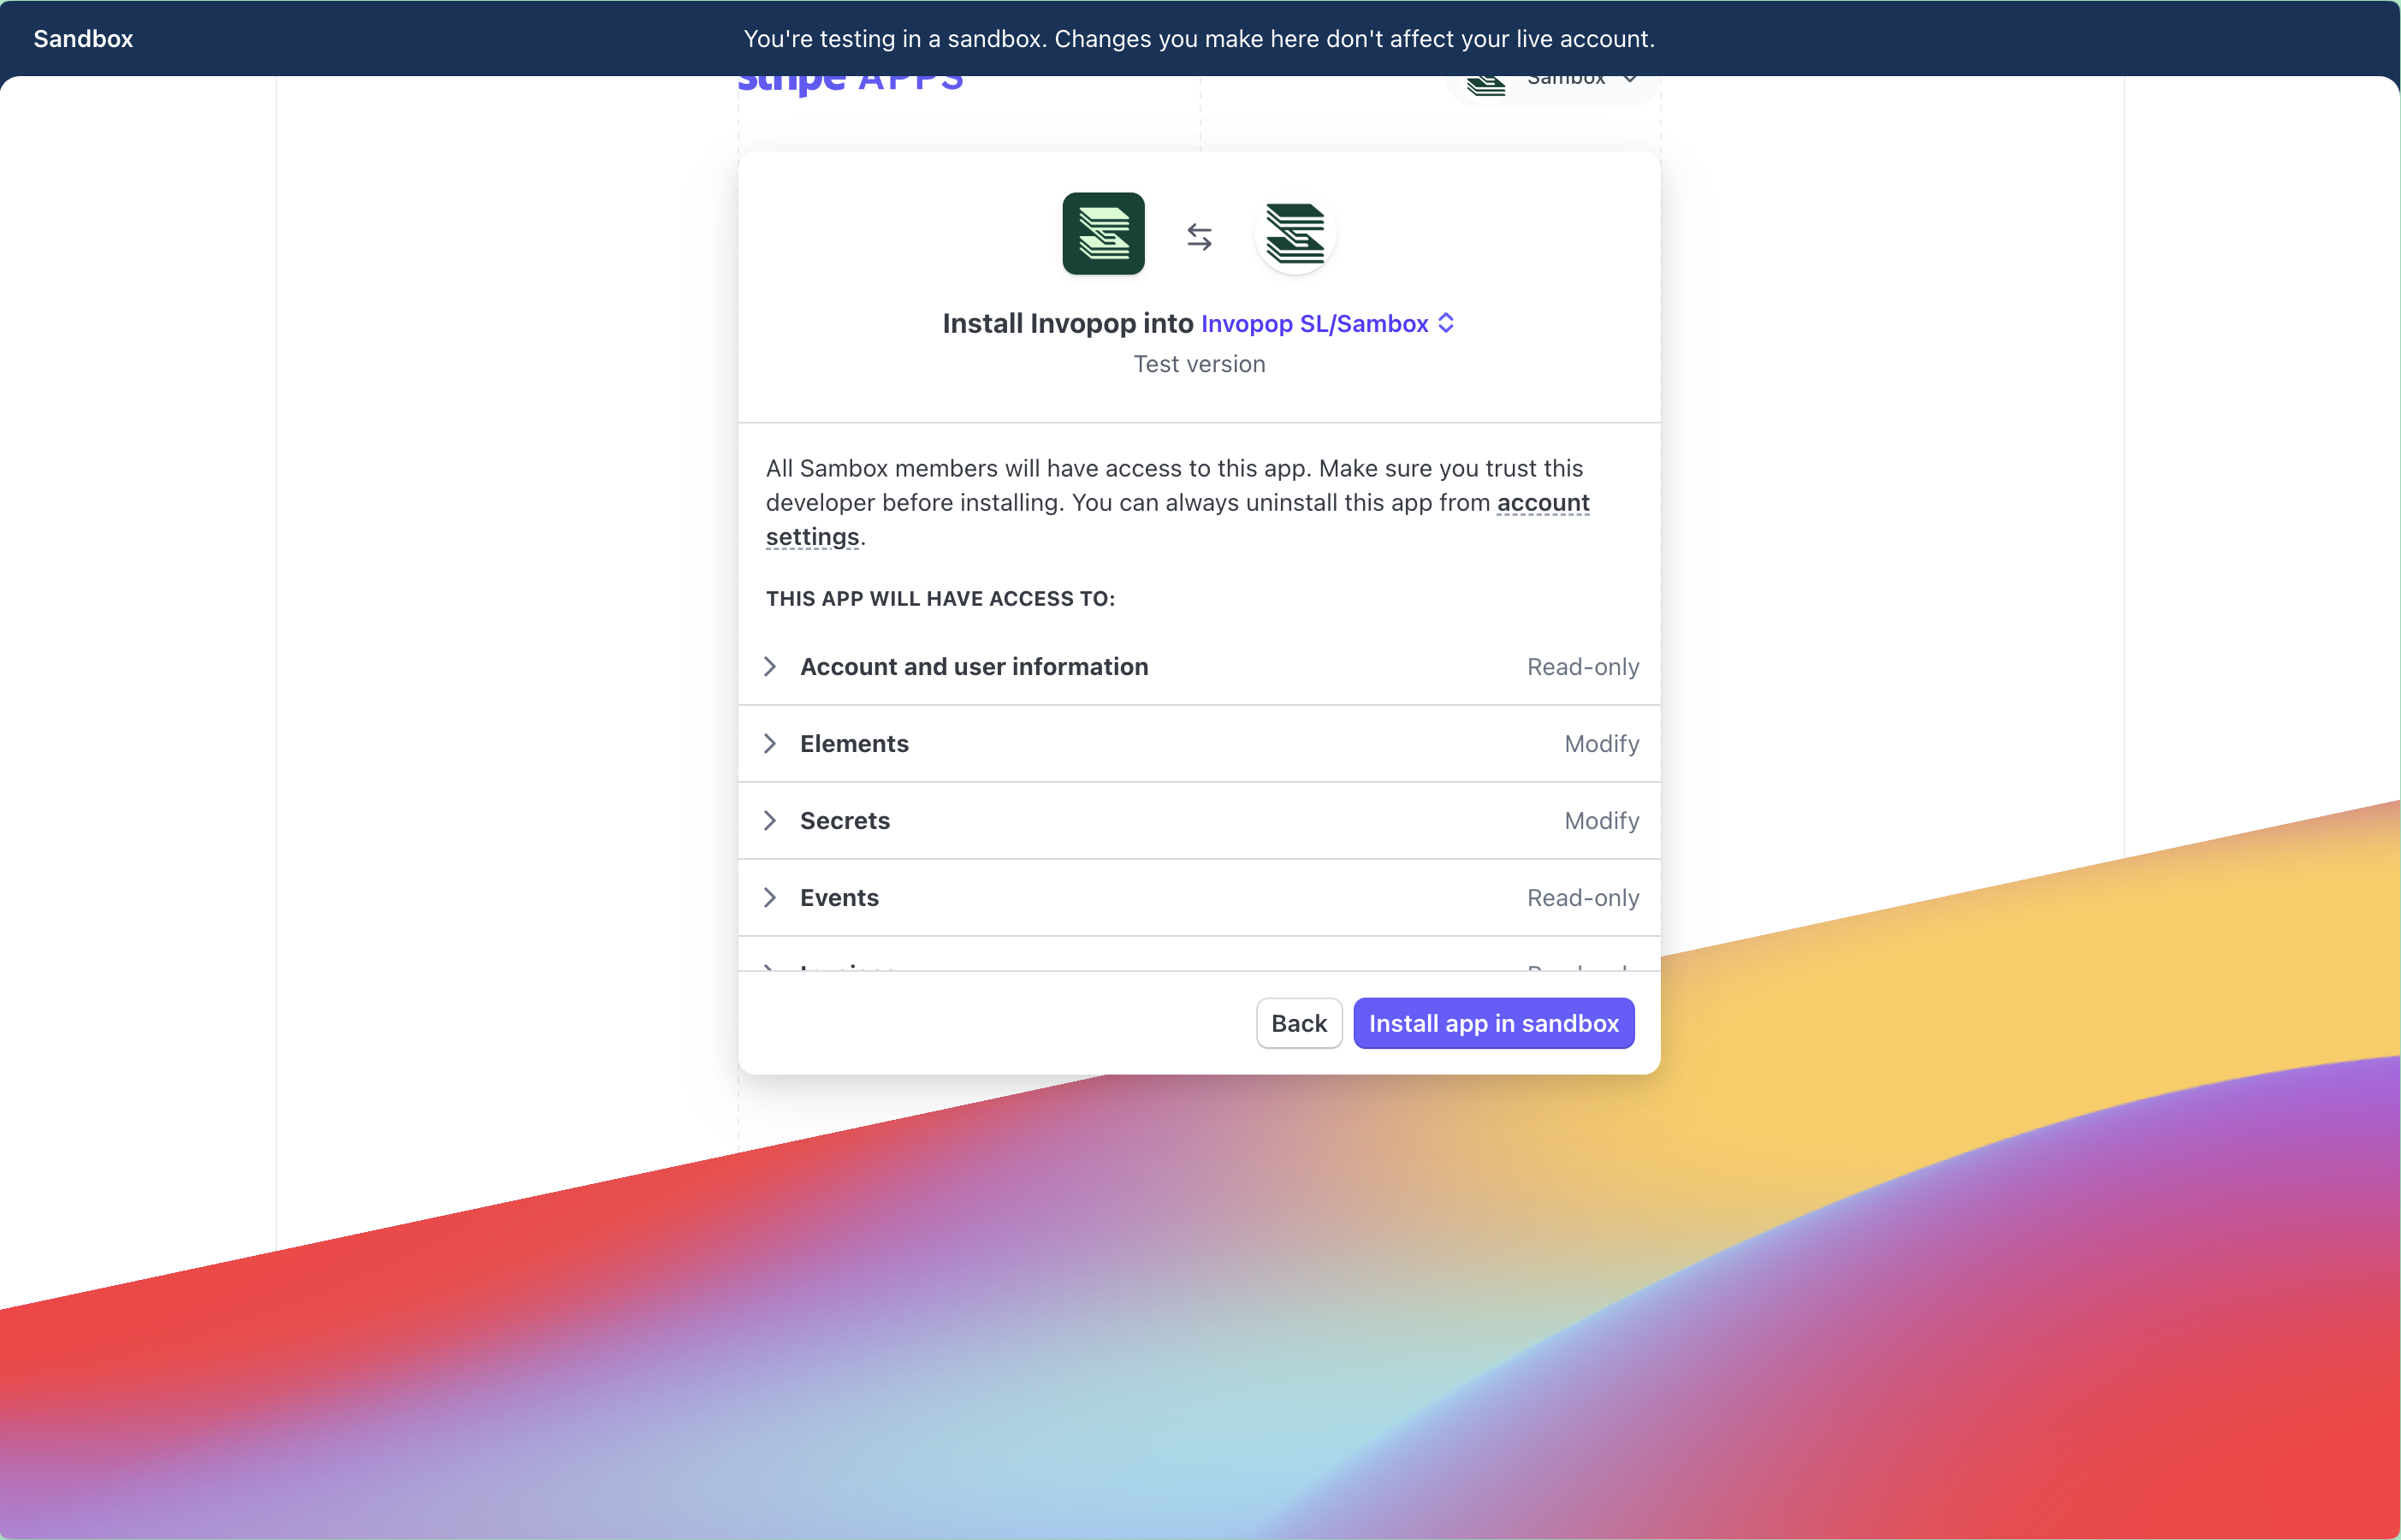
Install Invopop in Stripe
Connect Stripe to Invopop

Connect your Invopop account
Select a workspace
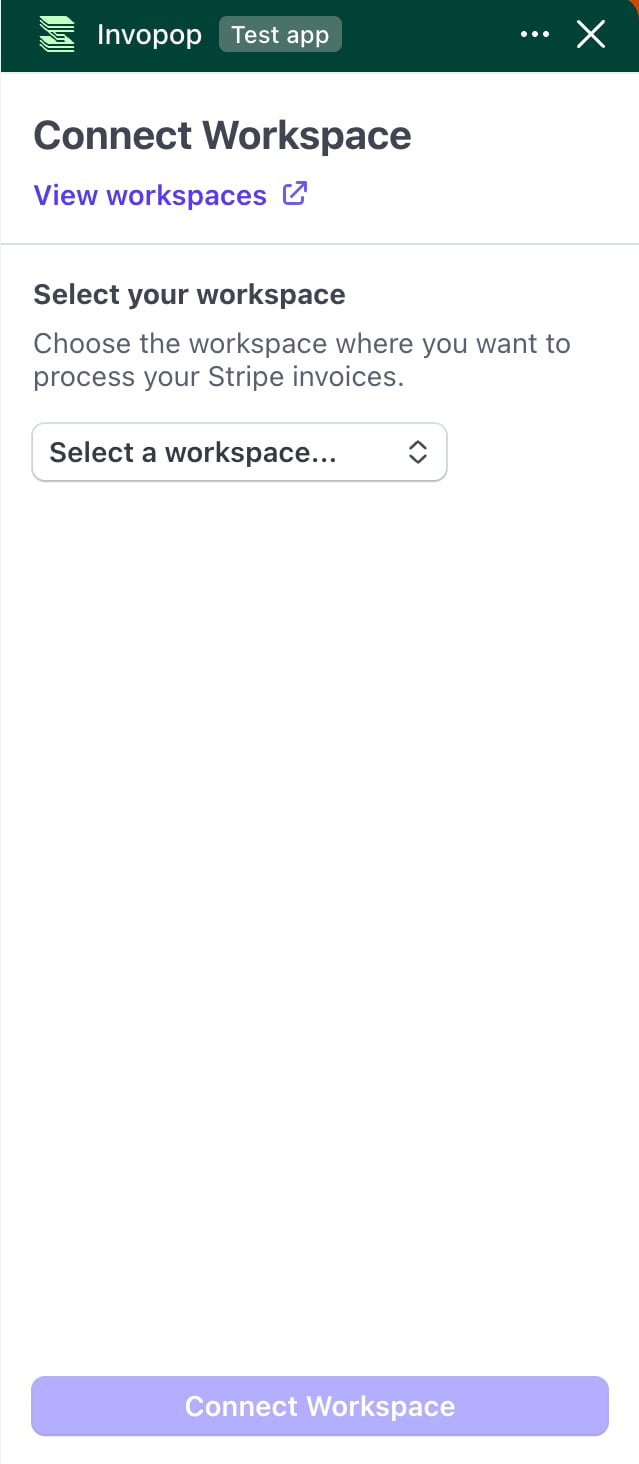
Choose your workspace
Configure your workflow
Stripe - Basic PDF invoice workflow
- Workflow
- Code
Show your tax ID on invoices
Invoice Tax Information section, enter your tax ID, set it as the default, and click Save.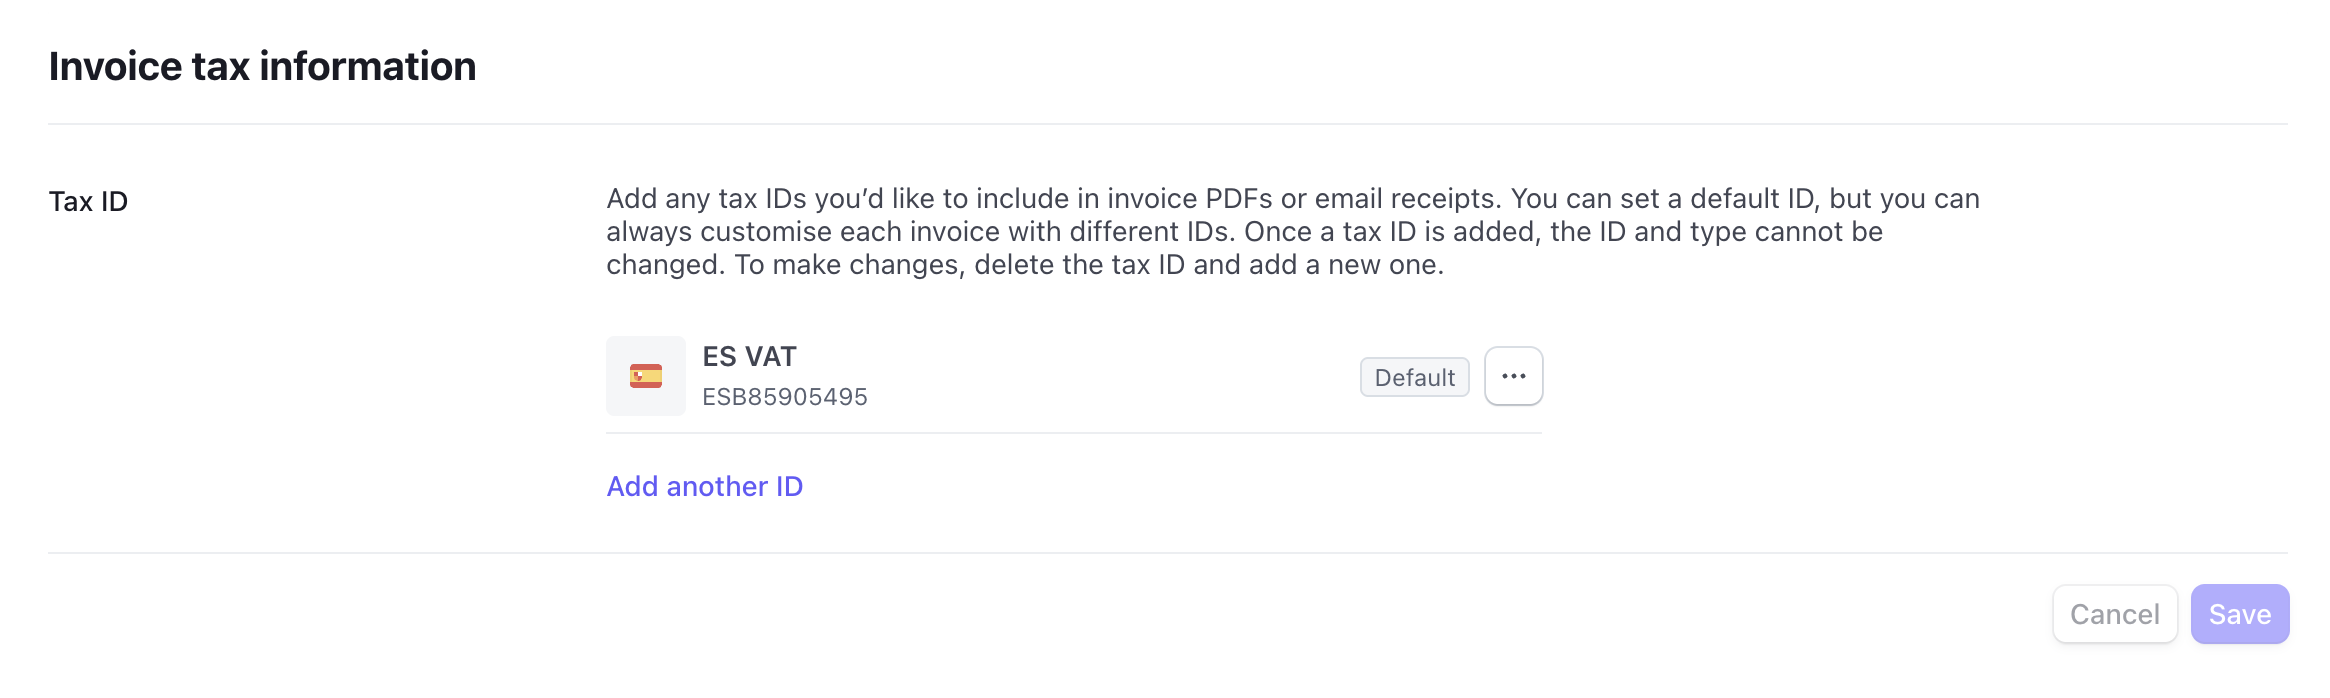
Show your tax ID on invoices
Verify your setup
- Navigate to Stripe app settings
- Confirm your workflow configuration is correct
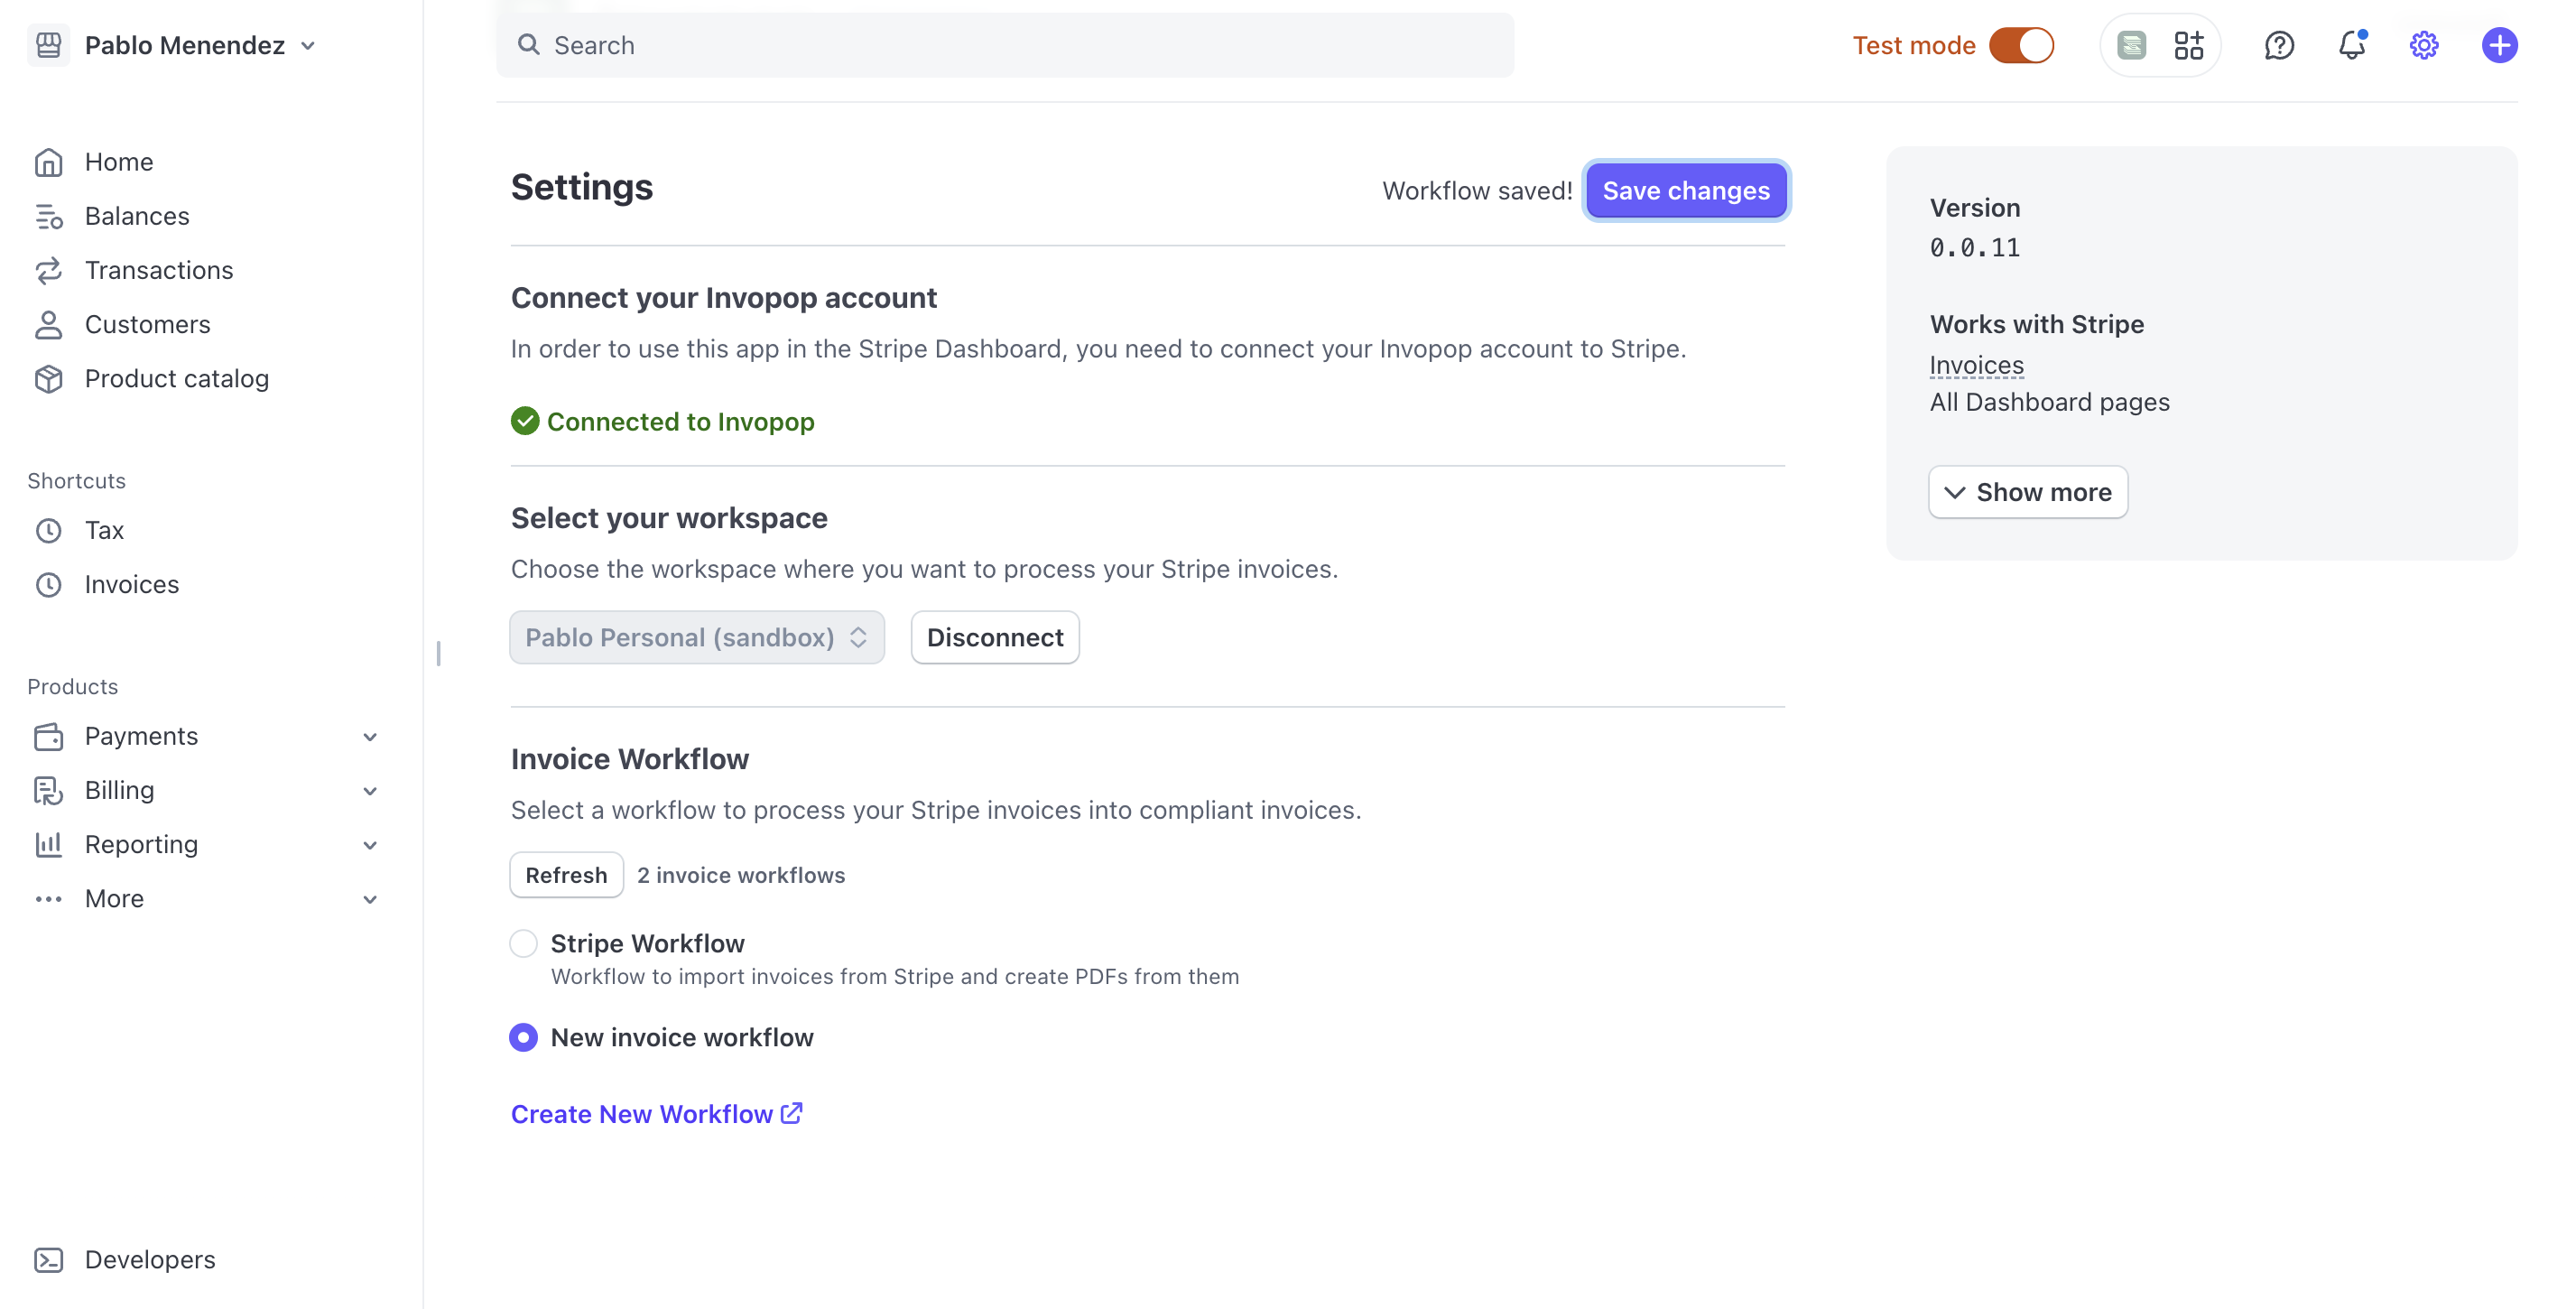
Review your configuration
Country workflows
Each country needs its own steps between the Stripe import and the send. Two things are worth knowing before you pick one:- Your tax ID must reach the invoice. Stripe only attaches your account tax ID when you set it as the default (see Show your tax ID on invoices). Without it, country steps fail with errors such as
supplier SIREN is required for B2B local invoices. - The regime comes from the supplier’s tax ID country. A workflow step for one country rejects invoices from another — see the FAQ on unexpected tax regime errors.
Europe (Peppol)

Europe (Peppol)
NA, and card payment instructions get payment terms. Your supplier must be registered on Peppol first — see the Peppol guide.Stripe - Peppol invoice workflow
- Workflow
- Code
France (Plateforme Agréée)

France (Plateforme Agréée)
- Workflow
- Code
Spain (VERI*FACTU)

Spain (VERI*FACTU)
es-verifactu-v1 addon, signs the invoice, submits it to the AEAT and generates the PDF.Stripe - VERI*FACTU invoice workflow
- Workflow
- Code
Monitor invoice processing
After setup, finalized Stripe invoices are imported into Invopop automatically and saved to theSales folder. Use the steps below to verify status, review details, retry processing, and import historical invoices.
Check invoice status in Stripe

Invoice processed successfully in Stripe
Check invoice status in Invopop
Sales and open the invoice to view its status. To review the underlying processing job, go to Workflows > History and open the job details.
Job details in Invopop
Troubleshoot import errors
- The invoice was not imported into Invopop because converting from Stripe to Invopop failed. Update the data in Stripe and click Retry in the Invopop panel.
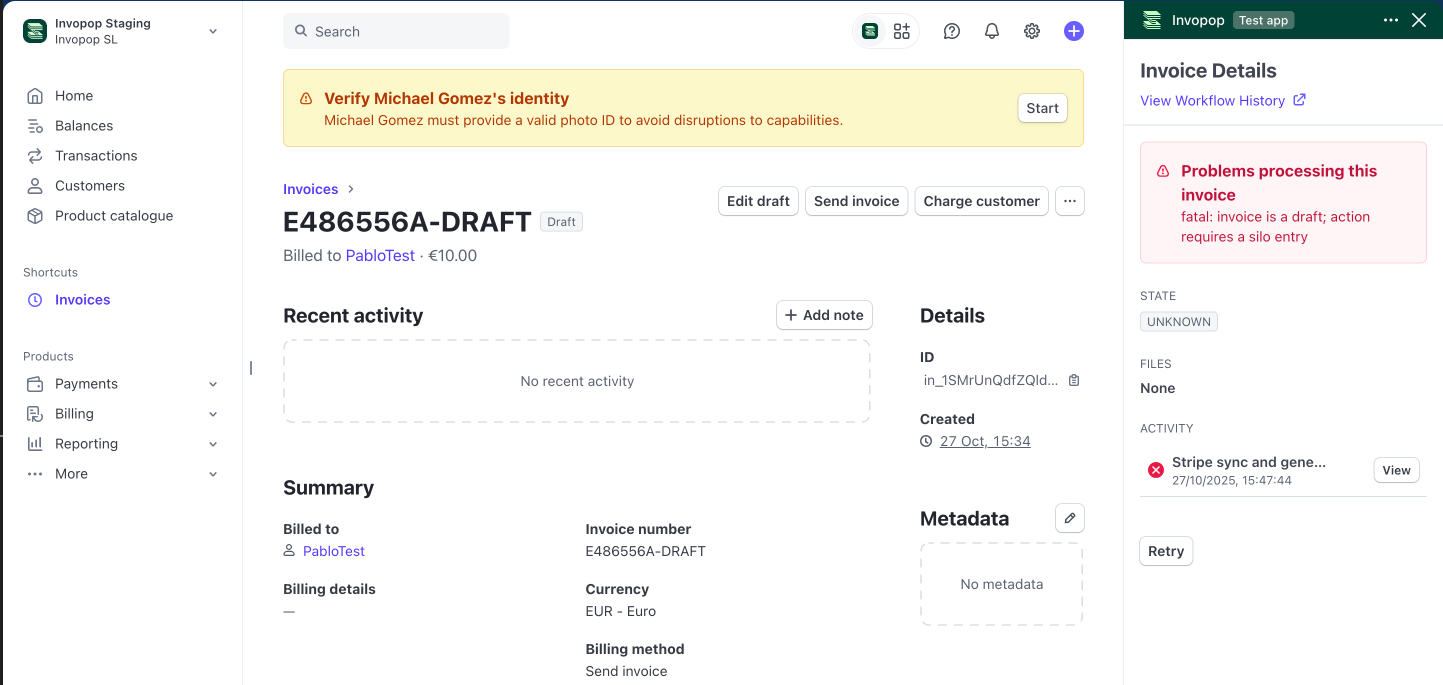
Retry invoice
- The invoice was imported into Invopop but submission to the tax authority failed. Correct the invoice in Invopop and re-run a workflow that omits the Import invoice from Stripe step to avoid reimporting the original data. Typical causes include missing required fields or invalid field formats.
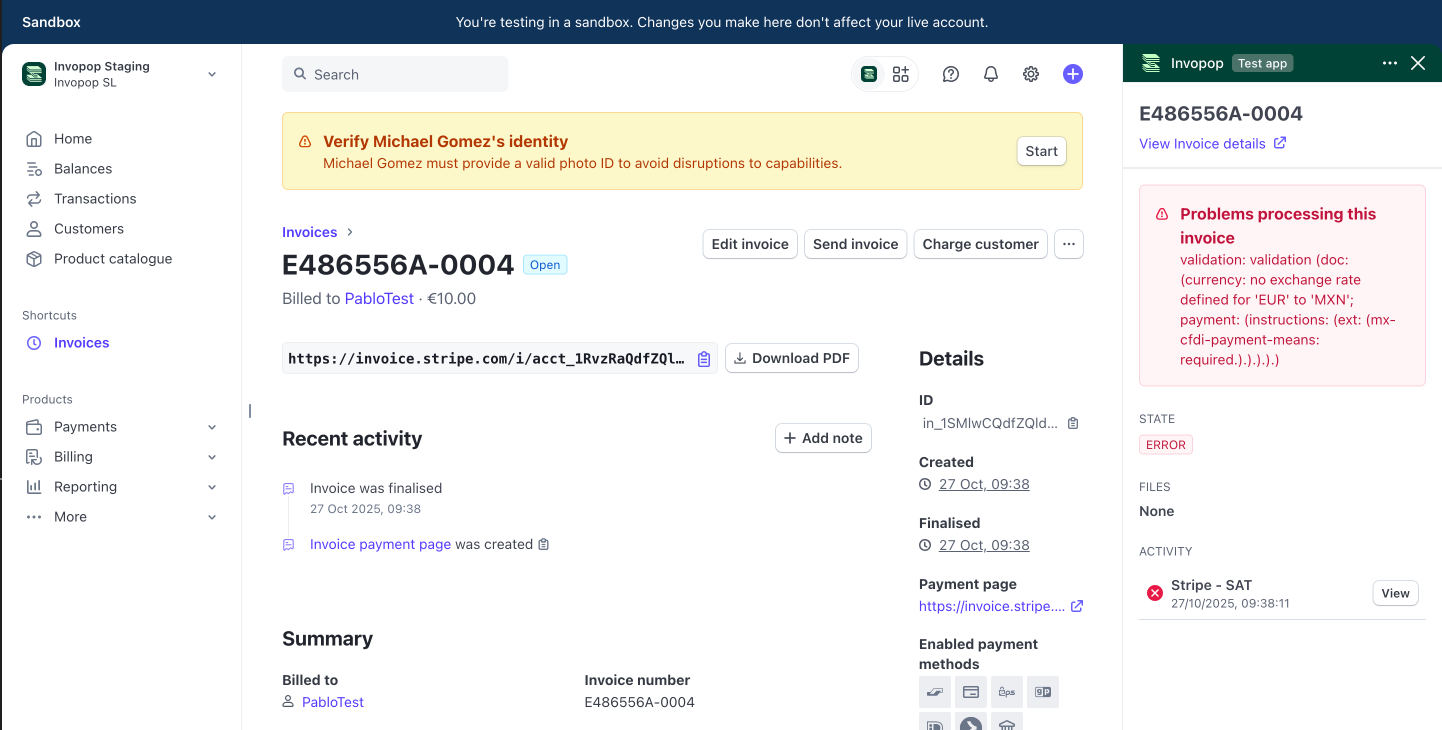
Incorrect invoice details
Get notified of failures
FAQ
Can I change the workflow that processes my invoices to a different one?
Can I change the workflow that processes my invoices to a different one?
- Go to Stripe app settings
- Select a different workflow
- Click Save changes
Select a different workflow in Stripe
- Navigate to the Apps section in your Invopop console
- Locate the Stripe app settings
- Select your new workflow

Select a different workflow in Invopop
How can I switch to a different Invopop workspace?
How can I switch to a different Invopop workspace?
- Go to Stripe app settings
- Click the Disconnect button
- Reconnect the app and select your new workspace
How can I add a Purchase Order number to the invoice?
How can I add a Purchase Order number to the invoice?
PO Number.You can add the custom field in any of these places:- The specific invoice
- The subscription
- An invoice template
Can I import historical invoices (issued before I connected Invopop)?
Can I import historical invoices (issued before I connected Invopop)?
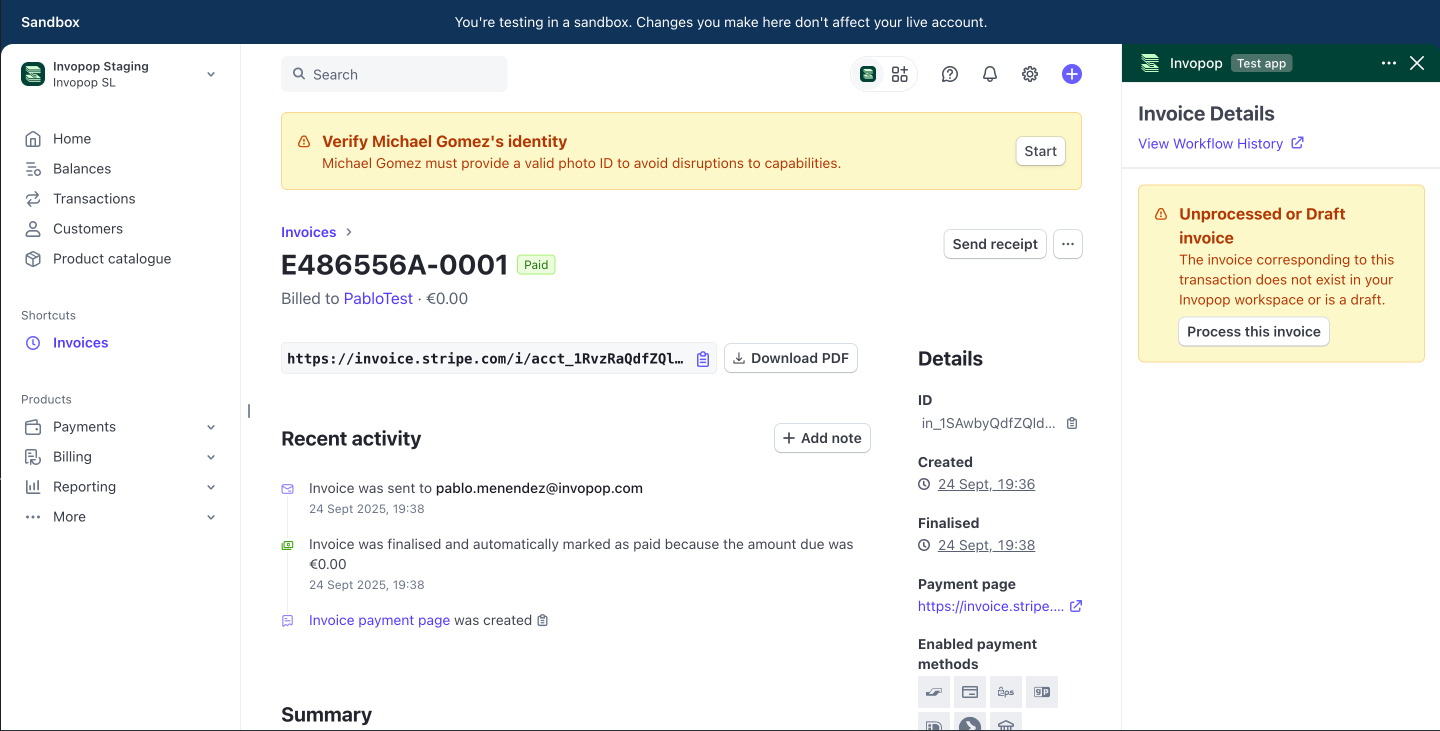
Import historic invoices
Can I import invoices when paid instead of when finalized?
Can I import invoices when paid instead of when finalized?
- Go to Stripe app settings
- In “Invoice Import Trigger”, select “When Paid” (instead of “When Finalized”).
- Click Save Changes.

Update invoice import trigger in Stripe
- Go to Configuration > Apps > Stripe > Configure.
- Click Update Settings.
- In “Invoice import trigger”, select “When Paid” (instead of “When Finalized”).
- Click Save.
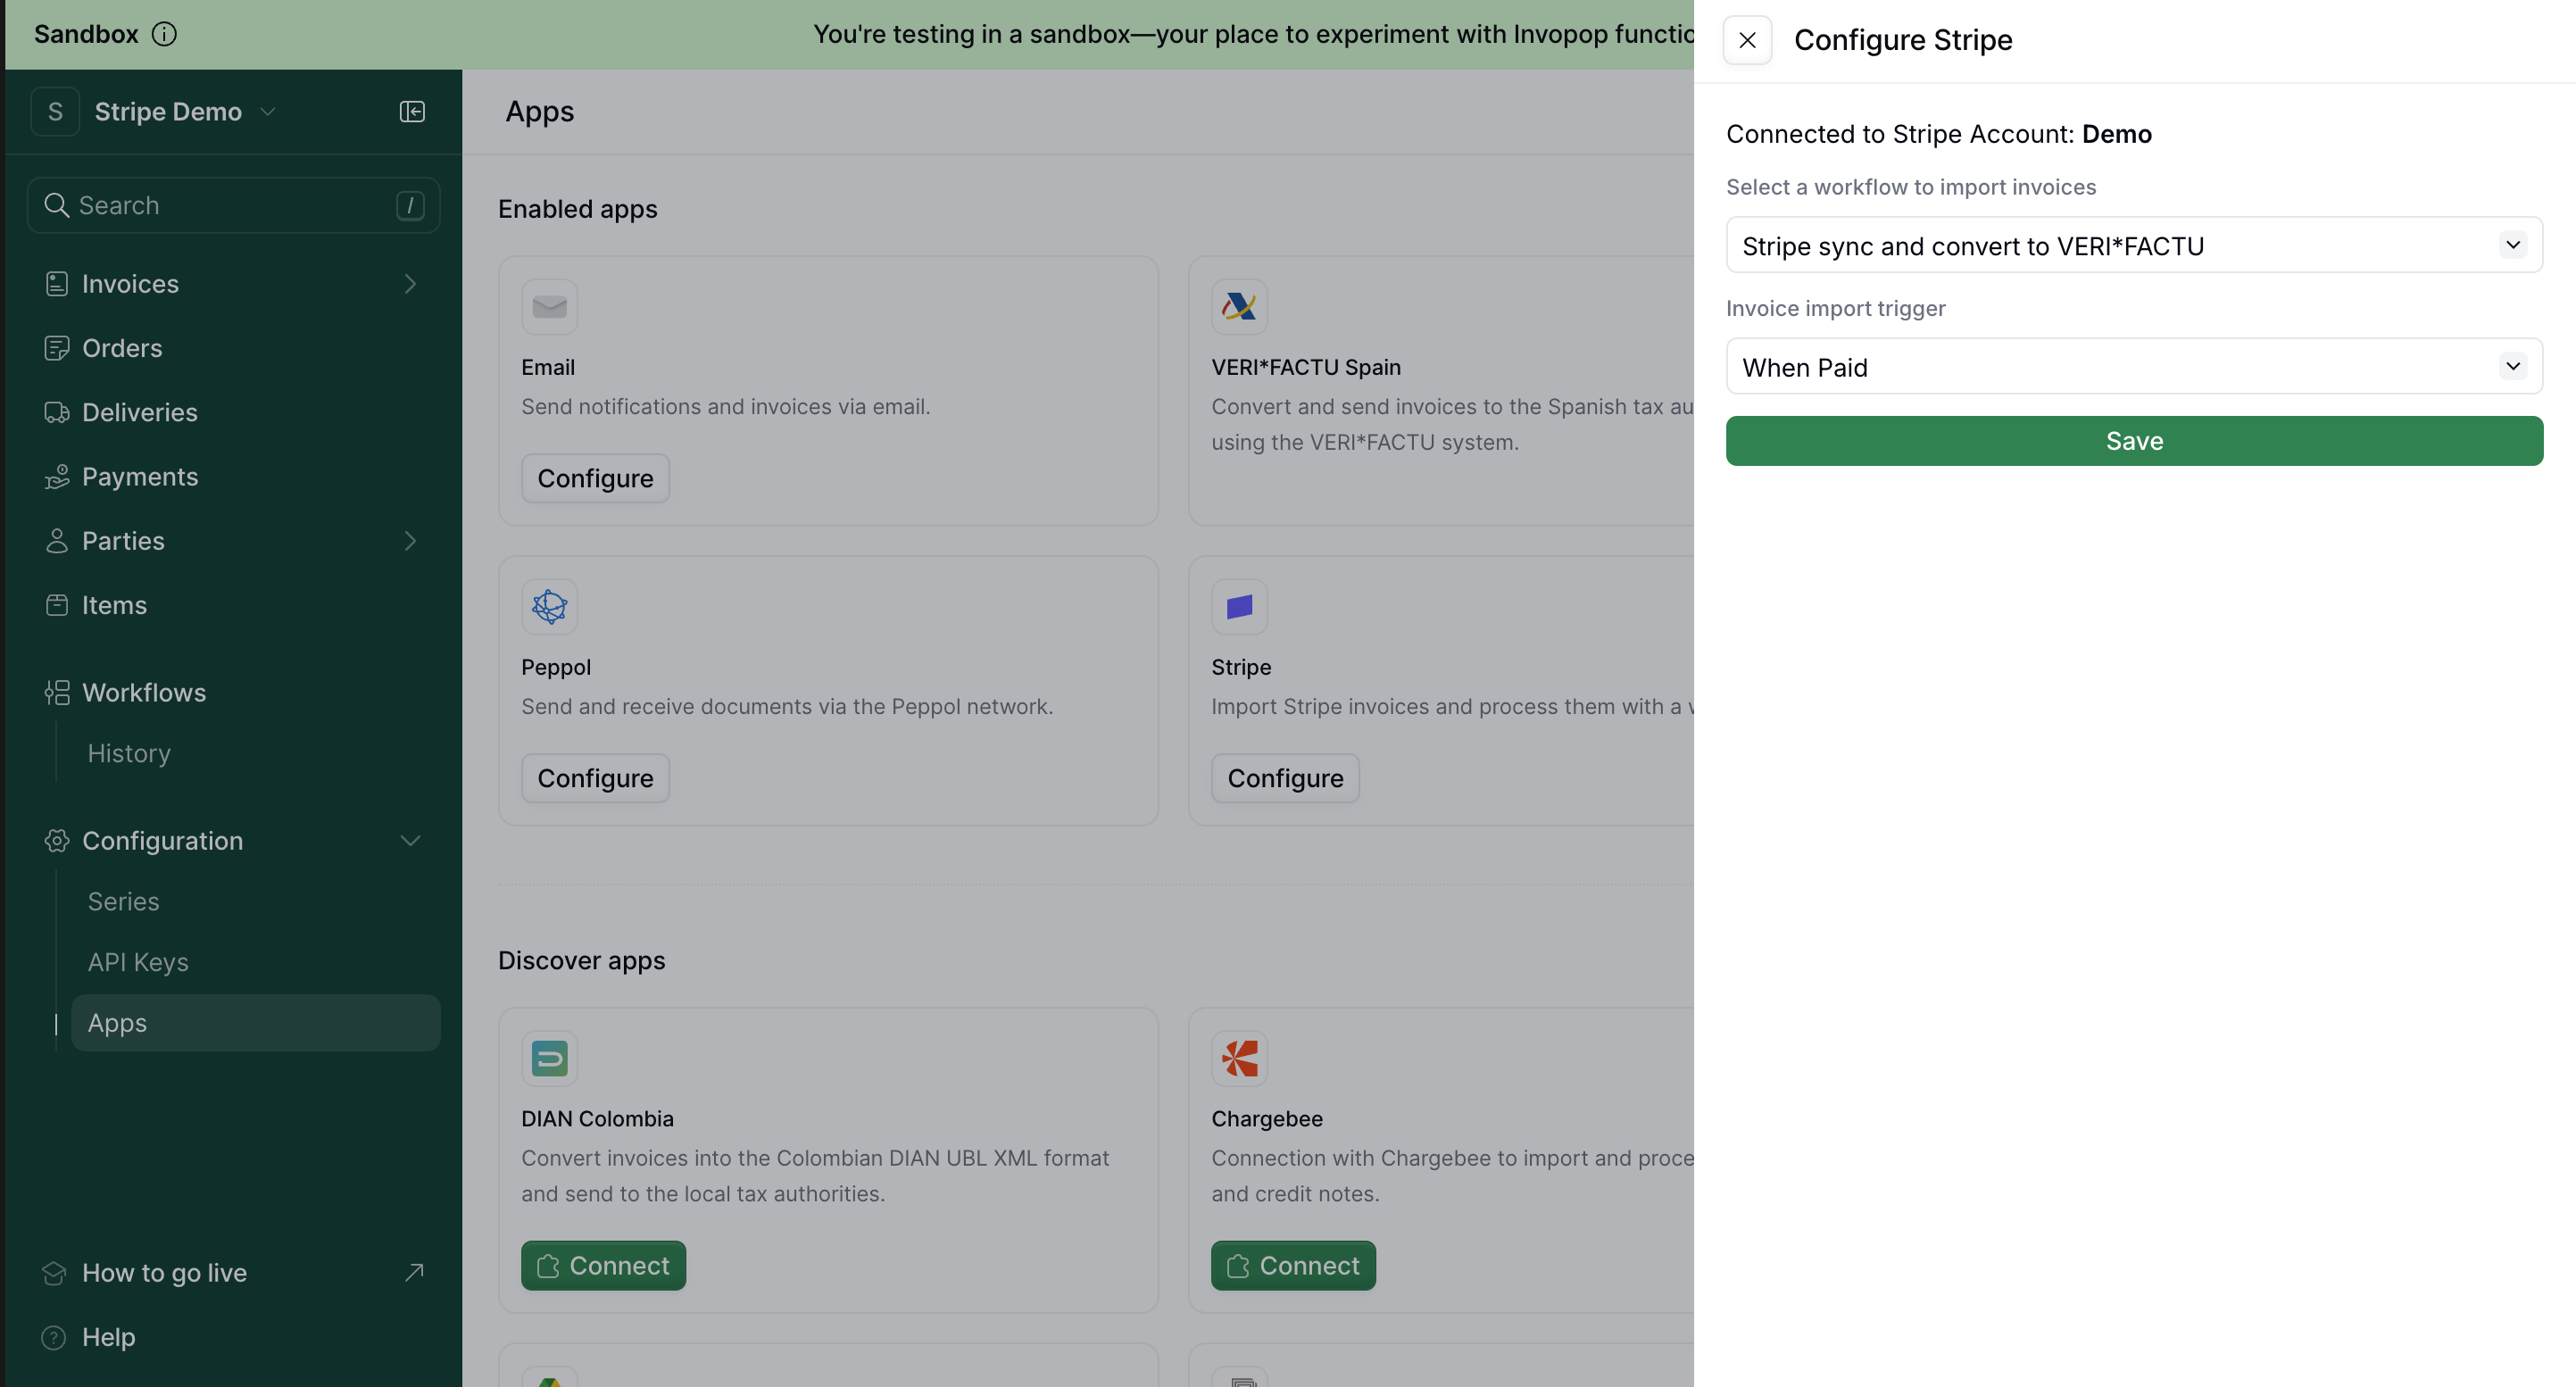
Update invoice import trigger
I get an "access denied: unexpected tax regime" error when processing invoices
I get an "access denied: unexpected tax regime" error when processing invoices