

Introduction
Before a supplier can issue electronic fiscal documents in Brazil — service invoices (NFS-e), product invoices (NF-e), or consumer invoices (NFC-e) — they must be registered with Invopop’s local partner, PlugNotas, who authenticates the supplier with the corresponding tax authority. In this guide you’ll learn how to register a supplier using the Documentos Fiscais Eletrônicos Brazil app, and how to unregister them when they should no longer issue documents from your workspace. Once a supplier is registered, continue with the companion guide: Brazil: Issuing invoices.Prerequisites
To register a supplier in Brazil, you will need:- Supplier details, including:
- name,
- CNPJ (Cadastro Nacional da Pessoa Jurídica),
- address,
- municipality code (IBGE),
- municipal registration number (for NFS-e),
- state registration number (for NF-e and NFC-e),
- whether the supplier opts into the Simples Nacional tax regime,
- whether the supplier benefits from a fiscal incentive, and,
- optionally, any special tax regime (MEI, estimated, coop…) the supplier is subject to.
- A certificate and password accepted by the municipality (for NFS-e) or the state (for NF-e and NFC-e) to send electronic fiscal documents in the name of the supplier.
Setup
There are three key processes to prepare:- connect the Documentos Fiscais Eletrônicos Brazil app,
- create the supplier registration workflow, and,
- configure the supplier post-registration workflow.
These instructions apply to both the sandbox and live environments. Please note that the sandbox environment is simulated, and most responses are mocked. You’ll still need to register suppliers in the sandbox, but the company details, certificates or passwords don’t need to be valid or real.
1
Connect the Documentos Fiscais Eletrônicos Brazil app
Enter the Configuration section, then tap Apps. Tap on the Connect button of the Documentos Fiscais Eletrônicos Brazil app.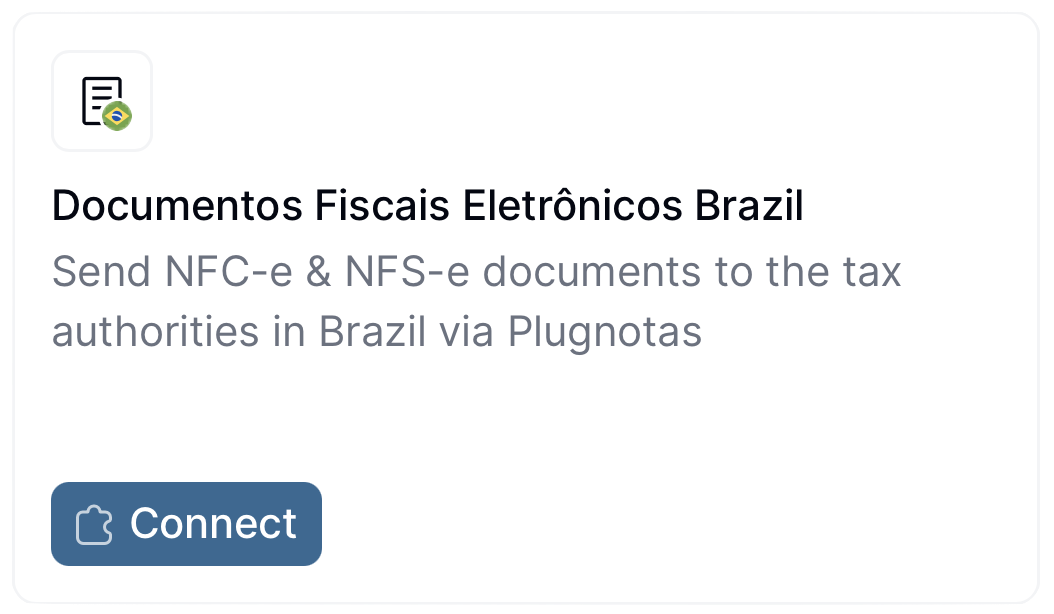
2
Create the supplier registration workflow
Follow one of the methods below and ensure to Save and Publish the workflow:
DF-e register supplier
Add to my workspace →
- Workflow
- Code
3
Configure the supplier post-registration workflow
Follow one of the methods below and ensure to Save and Publish the workflow:Now you need to go back to Configuration > Apps, tap the Configure button on the Documentos Fiscais Eletrônicos Brazil app, choose the “Post-registration workflow” we just created and Save the changes.
DF-e process supplier post-registration
Add to my workspace →
- Workflow
- Code
This workflow will automatically be executed once a supplier completes the registration process. You can customize it to suit your needs (e.g., adding a webhook, or an email notification after a supplier has been registered.)
Register a supplier
All operations described in this section can be performed manually via the Invopop Console, or programmatically via the API. The process is essentially the same in both cases, so we’ll demonstrate the manual method for this guide. Find the Parties section of the sidebar and click Suppliers. Tap the + New Supplier button to be presented with a new editor. Copy and paste the example provided below (for testing purposes only, in production you’ll need the details of an actual company). The example includes all the fields required to register a supplier for both NF-e/NFC-e and NFS-e issuance.Brazil supplier example for sandbox
The
br-nfse- identities and extensions configure service invoices (NFS-e), while the br-nfe- ones configure product and consumer invoices (NF-e/NFC-e) — omit the family the supplier won’t issue.See the br-nfse-v1 and br-nfe-v4 addons for the possible values.Processing state. Tap the Meta tab to see the registration link:
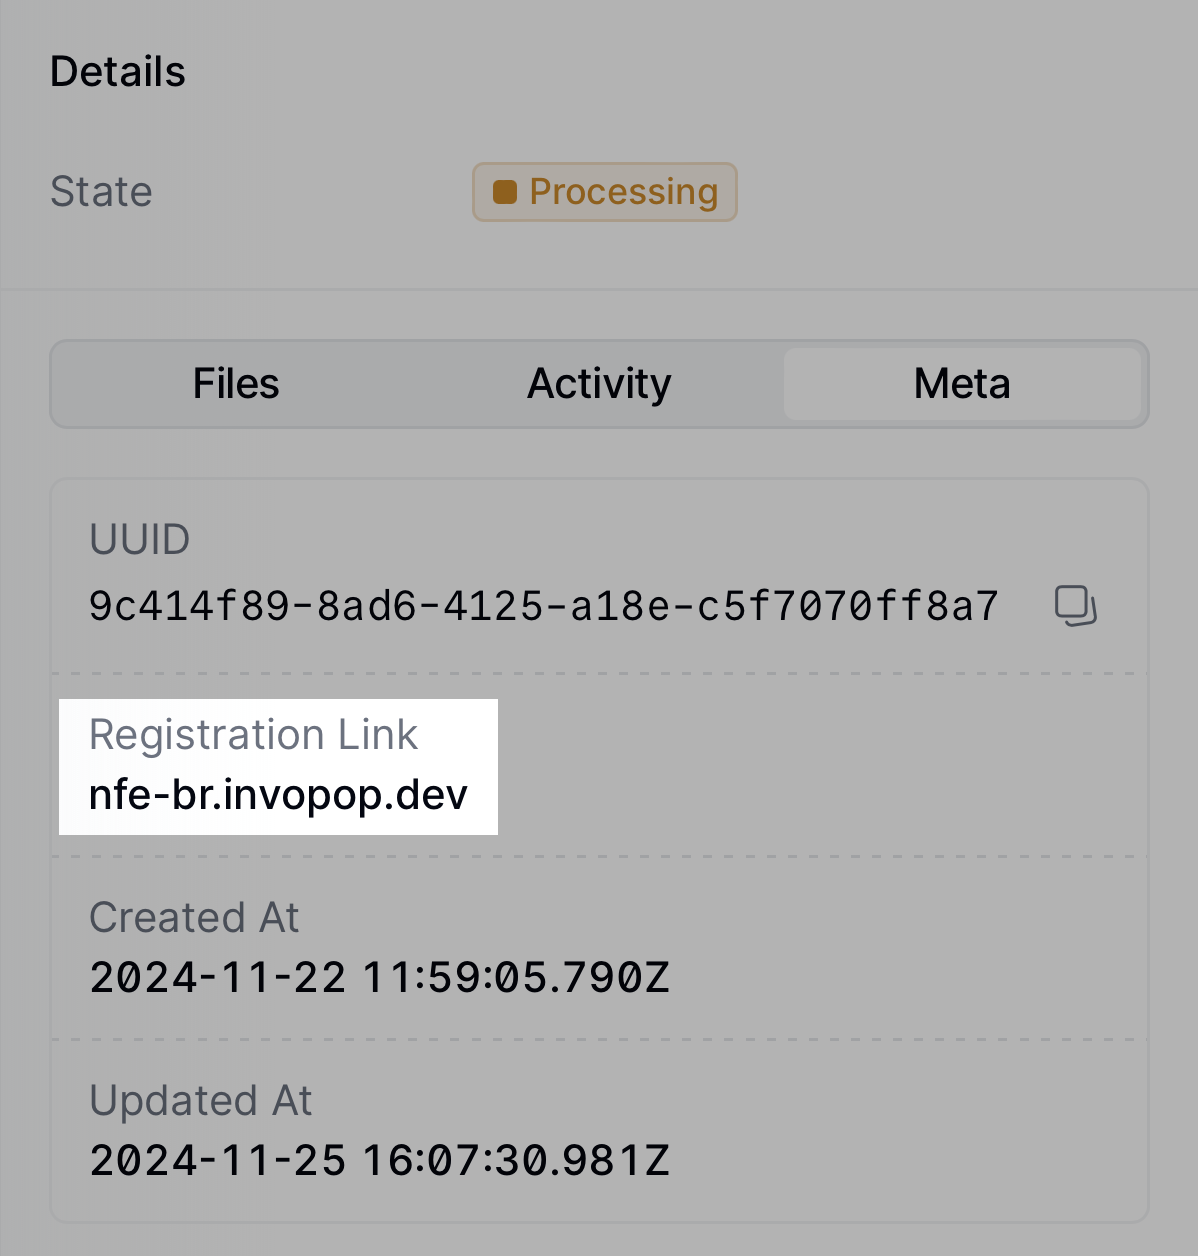
You can access the registration link via the API by fetching the silo
entry and reading the
meta row where
the key is set to registration-link.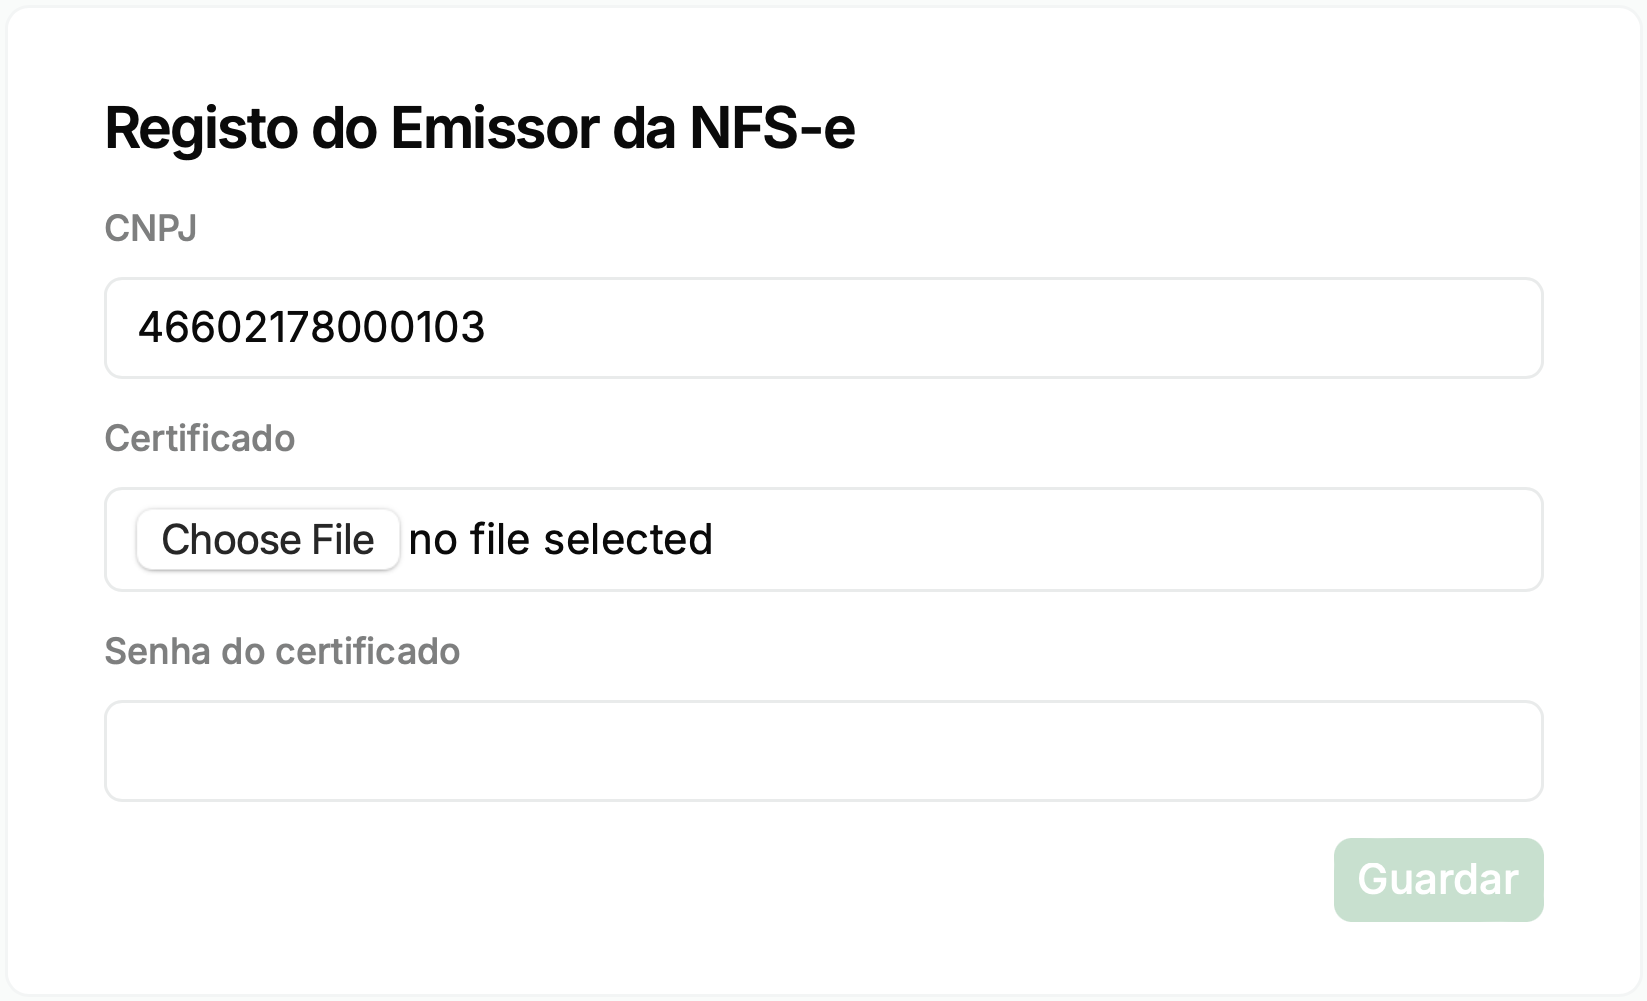
- Homologação (homologation): the tax authority’s test environment. Documents are processed end to end but have no fiscal validity. Note that not all municipalities offer a homologation environment for NFS-e.
- Produção (production): the real environment. Documents issued here are legally valid.
Registered.
From this point on, you can send invoices on behalf of the supplier. Head over to the DF-e issuing invoices guide to continue.
Switch between environments
In live workspaces, a supplier is registered in either homologation or production — never both at the same time. A common scenario is registering a supplier in homologation first to test the integration end to end, and then moving them to production to start issuing real documents. To switch a supplier from one environment to the other, run the registration process again:- Run the Register Supplier workflow over the supplier’s silo entry to obtain a new registration link.
- Open the registration link and select the new environment.
- Leave the certificate field blank to keep the current certificate (or upload a new one), and submit the form.
Sandbox workspaces are not affected: they always operate in simulation mode, and responses are mocked. To test against the tax authority’s real homologation environment, register the supplier in a live workspace with the homologation environment selected.
Unregister a supplier
Unregistering a supplier revokes their invoice issuing privileges from your workspace. You might need to unregister an entity because the supplier is no longer your client or because of a change in their Tax ID. To do so, use the following workflow template:DF-e unregister supplier
Add to my workspace →
- Workflow
- Code
FAQ
How do I onboard a new supplier in Brazil?
How do I onboard a new supplier in Brazil?
Upload the supplier’s A1 digital certificate (PFX or P12) plus password through the registration workflow. Invopop validates it against the relevant SEFAZ or municipal endpoint and activates the supplier for issuing.
How are supplier credentials stored in Invopop for Brazil?
How are supplier credentials stored in Invopop for Brazil?
A1 certificates (X.509 + private key, exported as PKCS#12) and their passwords are stored encrypted. Invopop uses them to sign documents and authenticate to the relevant SEFAZ or municipal endpoint on the supplier’s behalf.
🇧🇷 Invopop resources for Brazil
🇧🇷 Invopop resources for Brazil



Participate in our community
Ask and answer questions about invoicing in Brazil →