

Introduction
The SDI system operates using a standardized XML format called FatturaPA, which ensures all invoices contain the required information and comply with the strict validation rules established by the Italian tax authority (Agenzia delle Entrate). To ensure proper routing of invoices to the correct recipient, the SDI system uses a unique identifier called a Recipient Code, which is assigned to each registered SDI provider. To receive FatturaPA XML documents, Invopop uses the GOBL FatturaPA library to automatically process conversions into GOBL format. Detailed information about the SDI-specific extensions and validations can be found in:| - | Sandbox | Live |
|---|---|---|
| Supplier | Skip — Invopop simulates receiving environment | Must register Recipient Code at Agenzia Entrate |
| Environment | Test | Must select Production when registering SDI Customer |
Setup
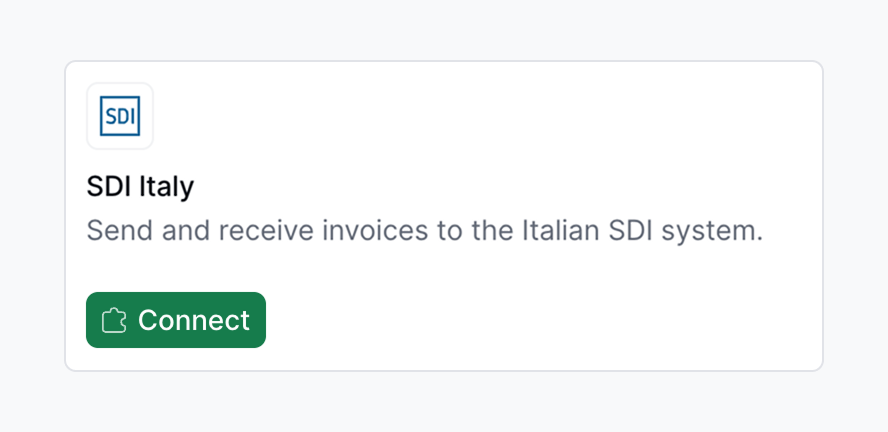
Connect the SDI Italy app
- Navigate to Configuration → Apps
- Locate SDI Italy in the app discovery list
- Tap Connect to activate
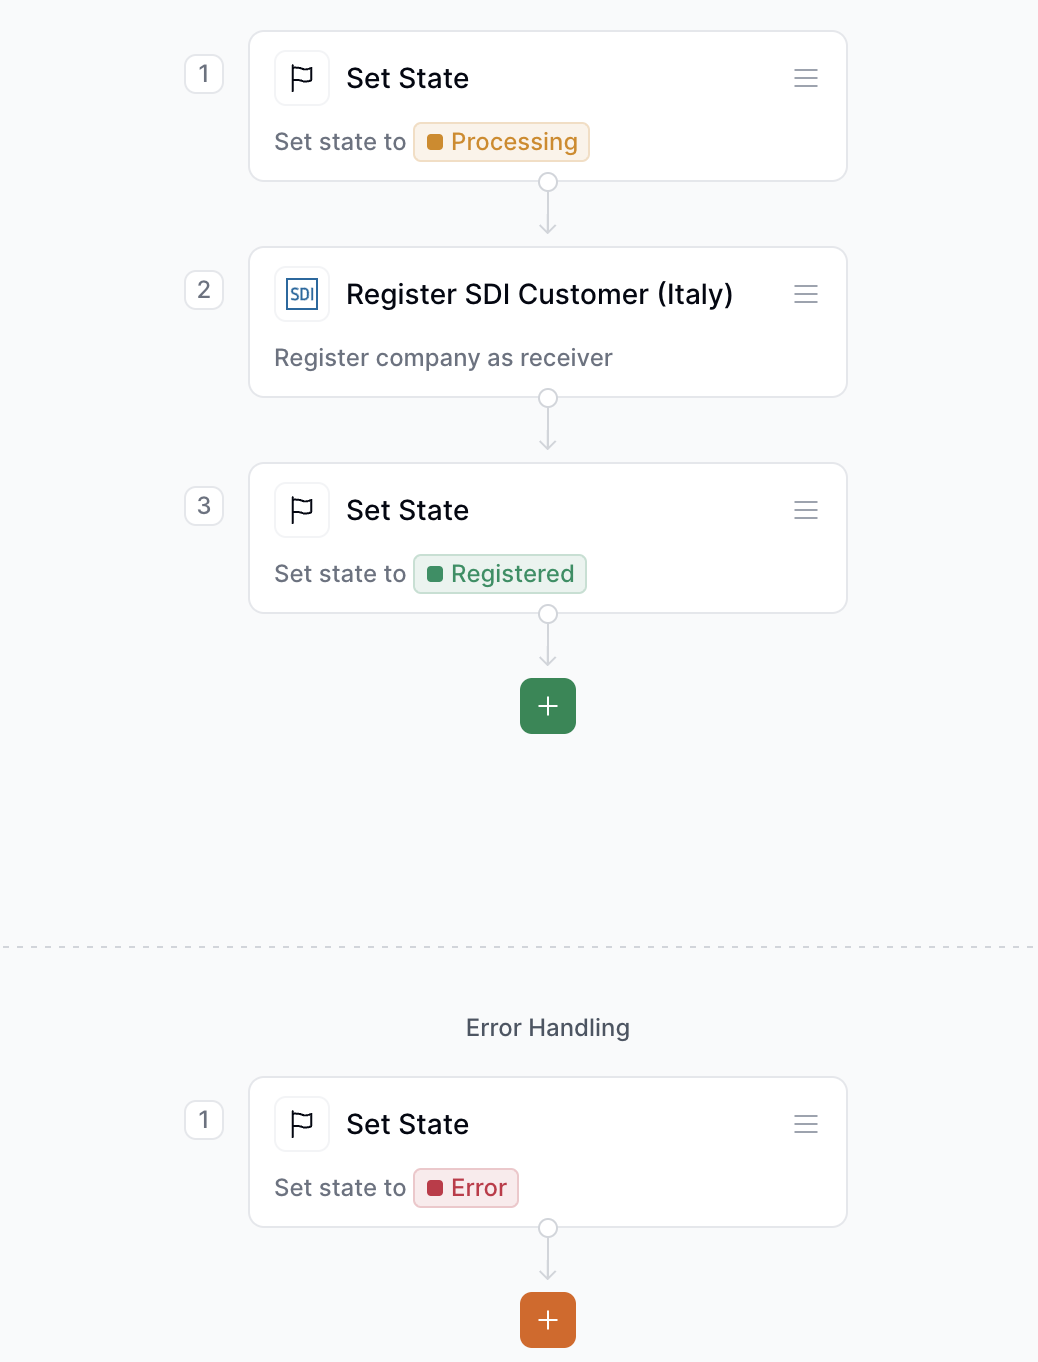
Set up the Customer Registration Workflow
Use this workflow to register a company to receive invoices through SDI.
- Template
- Code
- Build from scratch
SDI register party workflow
This workflow registers a company to receive electronic invoices through Italy’s SDI.
Import Invoices Workflow
Use this workflow to import and process invoices received through SDI. This workflow must be selected in the SDI Italy app configuration to automatically process incoming invoices.
- Template
- Code
- Build from scratch
SDI register customer
This workflow will convert received FatturaPA documents into our open source GOBL format.
Configure the app for receiving invoices
To start processing incoming invoices navigate to Configuration → Apps, find the SDI Italy app and tap Configure and select the appropriate Import Invoices workflow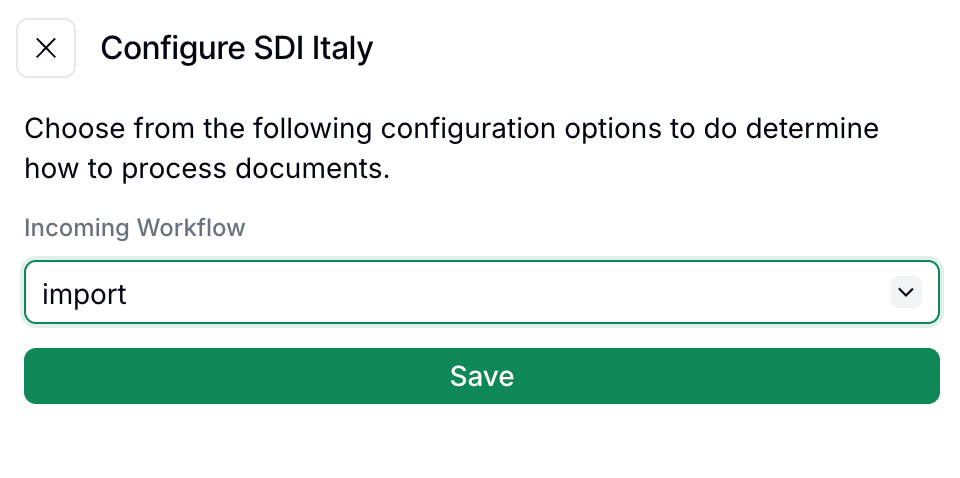
Register with Italian tax authority (live only)
In Sandbox skip this step, as Invopop simulates the receiving environment.
- Access the Italian tax authority’s website and log in with valid credentials for the company being registered.
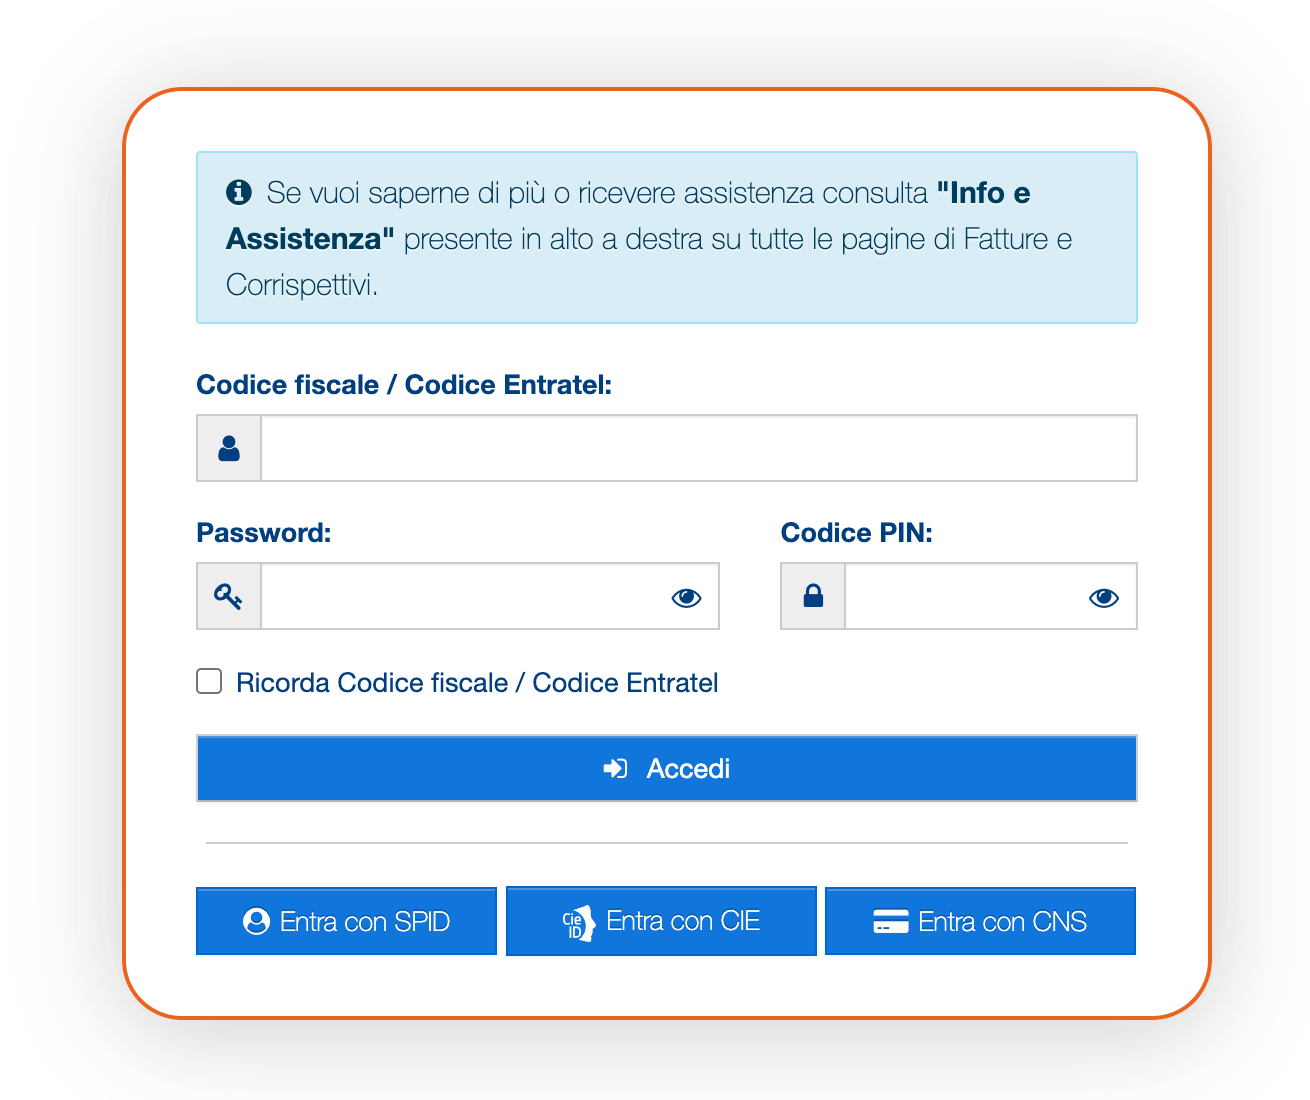
- Tap on the Fatture e Corrispettivi section.
- In the box Fatturazione elettronica, tap on Registrazione delle modalità di ricezione della fattura elettronica.
- Select the Recipient Code (Codice Destinatario) option and enter the code
JKKZDGRprovided by Invopop - Tap on Conferma
Run the Customer Registration workflow in Invopop
In Invopop, execute the SDI register customer workflow on the supplier’s silo entry to complete the setup for that company.
Receiving Invoices
Once registered, any invoices addressed to the registered companies with the Recipient Code will be automatically received and processed through the Import Invoices workflow configured in the app settings. Received invoices will appear in your Expenses folder. If errors occur during the import process, they will trigger the rescue steps in the workflow, allowing users to check what went wrong and take appropriate action.FAQ
How do I import received invoices in Italy?
How do I import received invoices in Italy?
Register the recipient with SDI using Invopop’s Recipient Code (
JKKZDGR) and run the Customer Registration workflow. Invopop automatically receives matching invoices and routes them through the configured Import workflow.How does Invopop convert received Italian invoices into GOBL?
How does Invopop convert received Italian invoices into GOBL?
Inbound FatturaPA XMLs are parsed via
gobl.fatturapa. The original signed XML is preserved as a silo entry attachment alongside the GOBL representation.What happens if a received invoice contains errors?
What happens if a received invoice contains errors?
If an invoice received through SDI contains errors:
- The import process will still attempt to convert it to GOBL format
- Any validation errors will be logged, and the rescue steps in your workflow will be triggered
- You can review the errors and decide how to handle the invoice
How quickly are invoices received after being sent by suppliers?
How quickly are invoices received after being sent by suppliers?
Invoices are typically received within minutes after being sent by suppliers through SDI. The automatic import process in Invopop processes them as soon as they are received by our system.
Can I register multiple companies to receive invoices?
Can I register multiple companies to receive invoices?
Yes, multiple companies can be registered to receive invoices through a single Invopop workspace. For each company, you must:
- Register the Recipient Code
JKKZDGRwith the Italian tax authority for that specific company - Have its tax ID registered using the Customer Registration workflow in Invopop
- Use the same Import Invoices workflow configured in the app settings
What format do received SDI invoices arrive in?
What format do received SDI invoices arrive in?
Signed FatturaPA XML (versions 1.2.x), conforming to the Agenzia delle Entrate schema. The signature is XAdES; SDI’s own Notifica di Esito Committente envelopes the document during transmission.
🇮🇹 Invopop resources for Italy
🇮🇹 Invopop resources for Italy

Participate in our community
Ask and answer questions about invoicing in Italy →