Introduction
Chorus Pro is a mandatory service provided by the French government for invoicing French public institutions. Before a supplier can issue invoices through the platform, they need a Chorus Pro technical account and must be registered with Invopop using the Chorus Pro app. In this guide you’ll learn how to create the Chorus Pro credentials and register a supplier. Once a supplier is registered, continue with the companion guide: Chorus Pro issuing invoices.Prerequisites
To register a supplier with Chorus Pro, you will need:- A Chorus Pro account for the supplier (or a sandbox account for testing — see below).
- The supplier’s VAT number.
Setup
Configure your Invopop Workspace for Chorus Pro supplier registration. Complete these steps:Connect the required apps
- Go to Configuration > Apps in the Console.
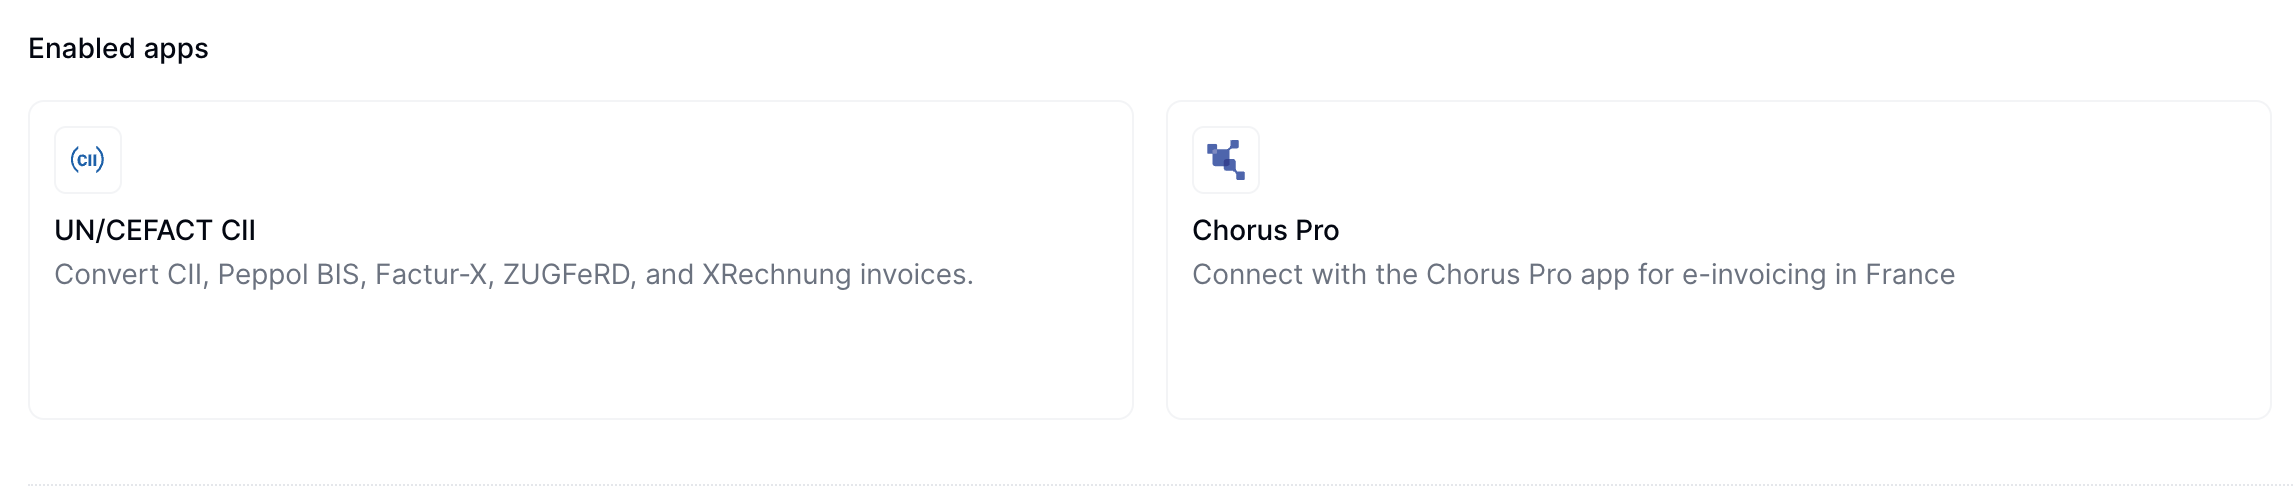
- Find UN/CEFACT CII in the app list and click Connect to activate the app.
- Find Chorus Pro in the app list and click Connect to activate the app.
Configure the supplier registration workflow
Chorus Pro supplier registration workflow
- Workflow
- Code
Chorus Pro credentials
This section explains what suppliers need to configure within their Chorus Pro account to enable integration with Invopop. To configure Chorus Pro, complete these steps:Create a Chorus Pro account
Convert a Chorus Pro test SIREN into a GOBL party
Convert a Chorus Pro test SIREN into a GOBL party
Navigate to API settings
- Go to Domains > Connections in the main menu
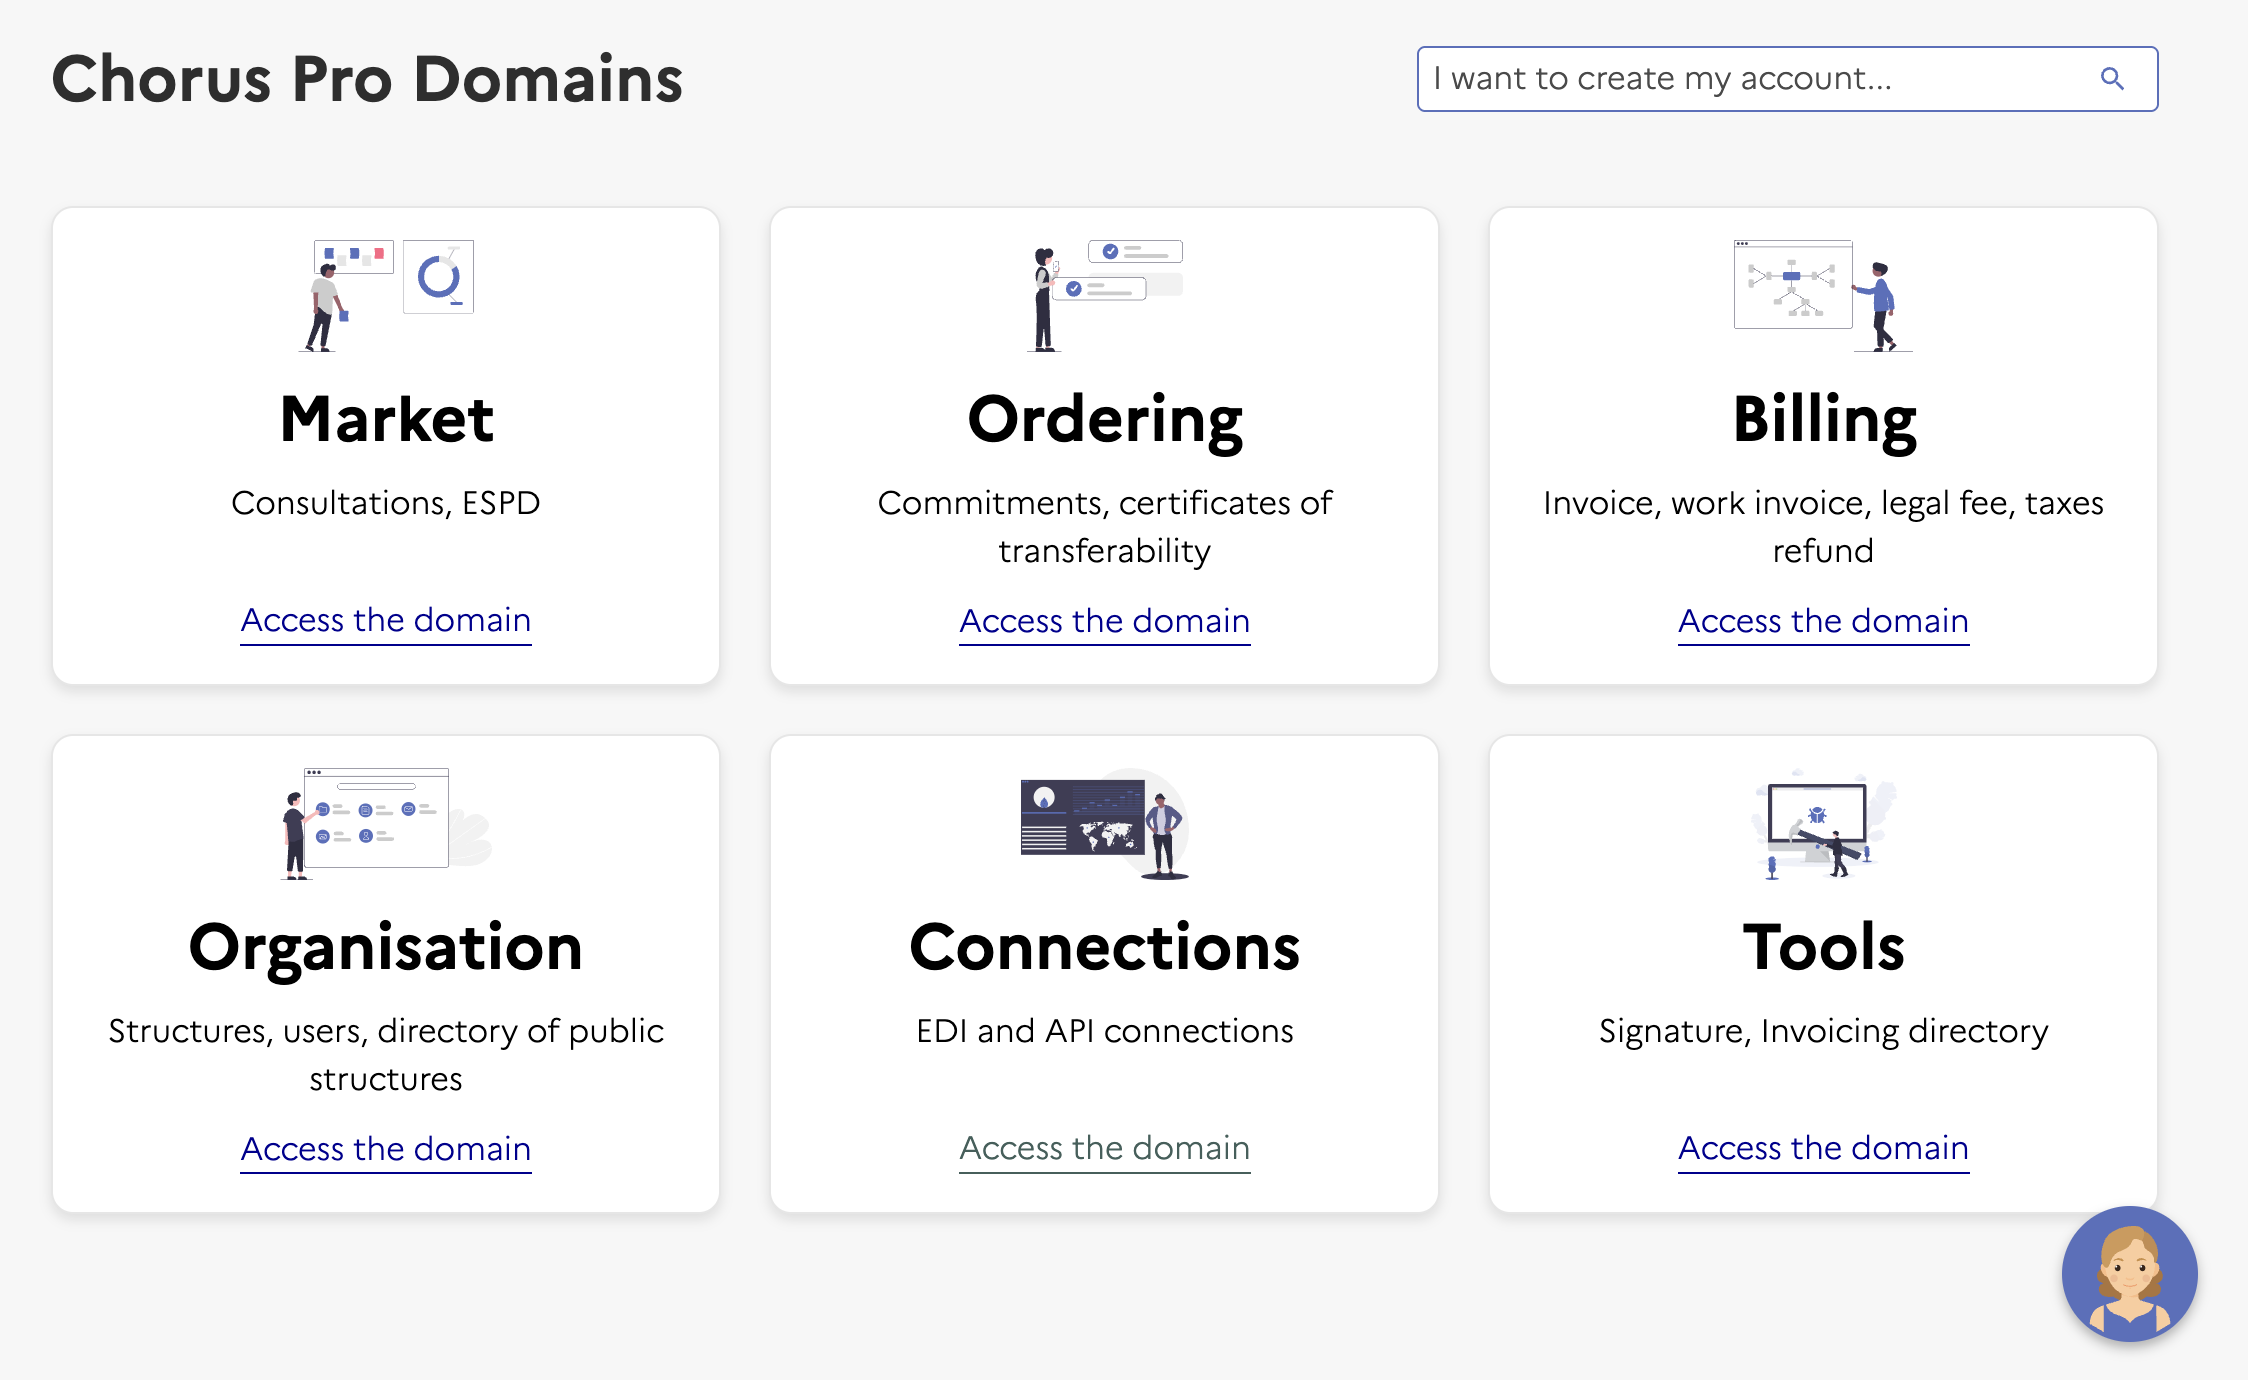
Navigate to Domains → Connections
- Click Access Service in the Technical Account section (bottom left)
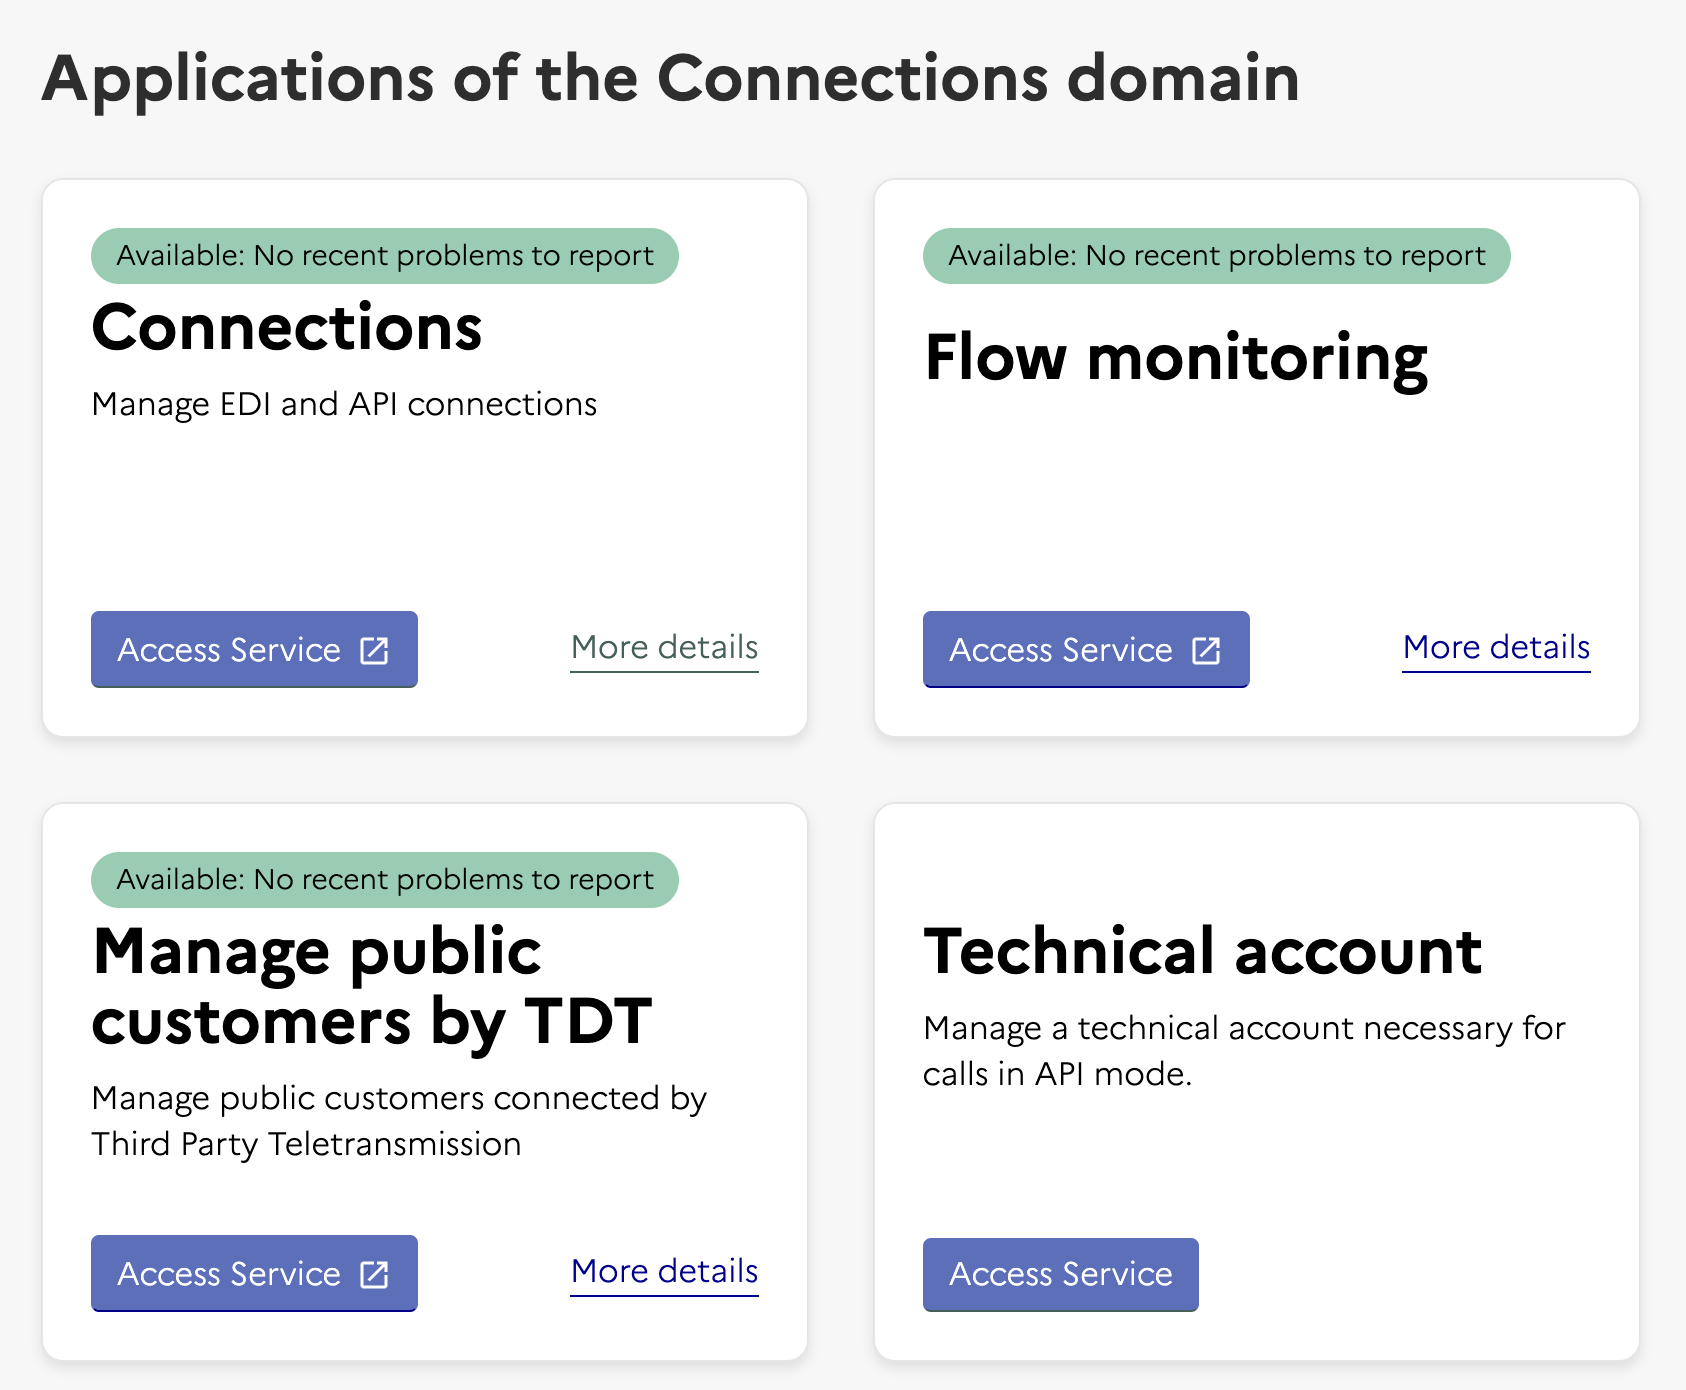
Navigate to Technical Account
Create a technical account
- Set the type of request to Creation of a technical account
- Select your company in the company field
-
This creates a login and password. Copy these credentials as you’ll need them when registering with Invopop
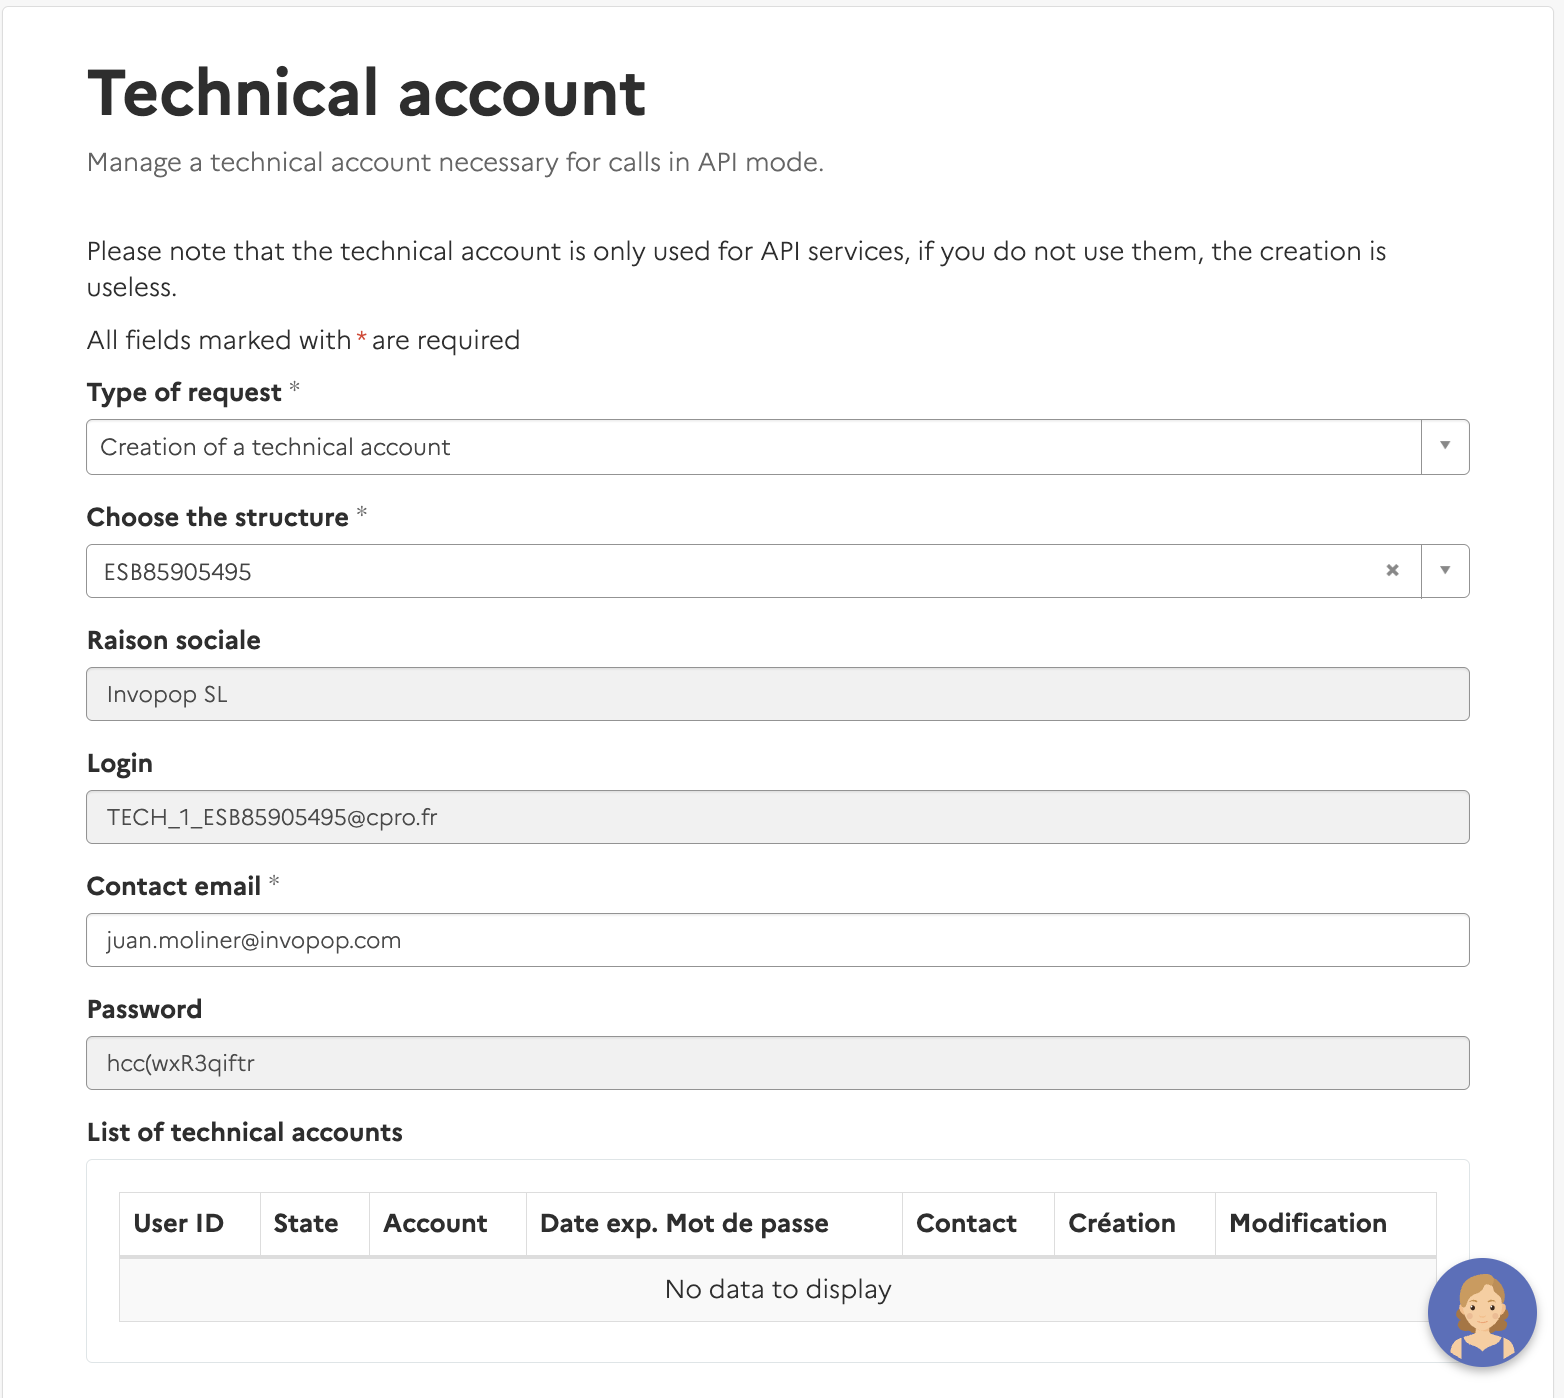
Technical Account Creation
Register a supplier
Now that you have a technical account, you can register a supplier with Chorus Pro.Upload a Supplier
Empty.
Supplier registration
Send the Supplier to the registration workflow
- The supplier’s silo entry UUID from the previous step
- The Supplier Registration workflow ID from the Setup section
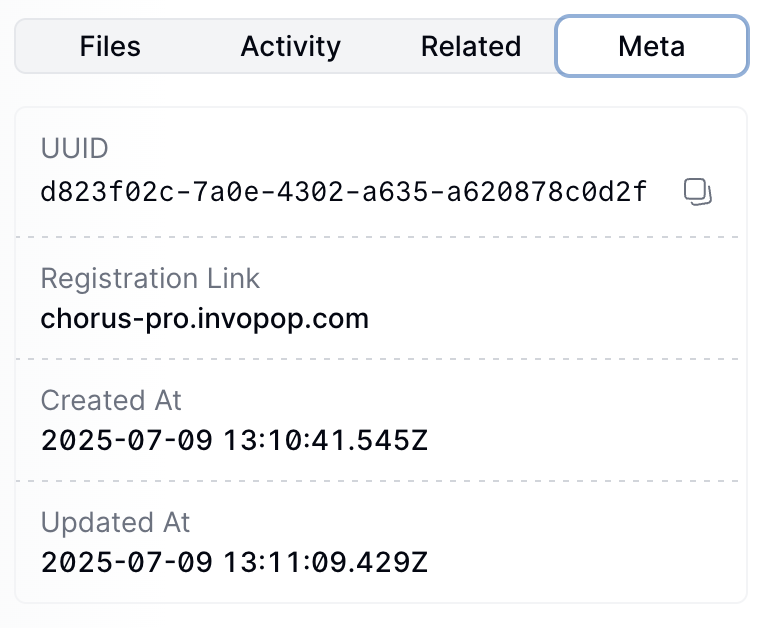
Complete Chorus Pro Authentication
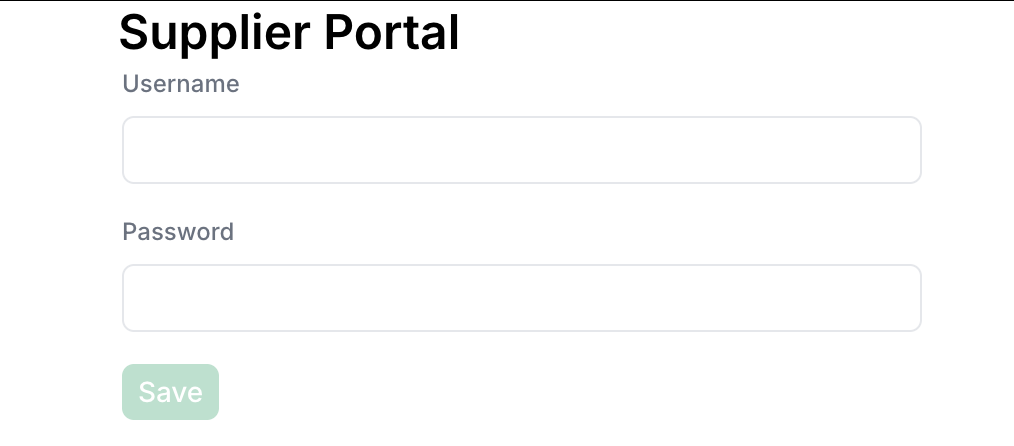
Registered when authentication is complete.username(string): The supplier’s Chorus Pro username.password(string): The supplier’s Chorus Pro password.
FAQ
How do I onboard a new supplier in France?
How do I onboard a new supplier in France?
How are supplier credentials stored in Invopop for France?
How are supplier credentials stored in Invopop for France?
What happens if my supplier registration fails?
What happens if my supplier registration fails?
What credentials does Chorus Pro require to authenticate a supplier?
What credentials does Chorus Pro require to authenticate a supplier?
How do I register for a Peppol inbox in Invopop?
How do I register for a Peppol inbox in Invopop?
ubl-invoice doc group) and ready to receive invoices.I get 'XXXX:XXXXXXXXX is already registered' when registering a supplier — what now?
I get 'XXXX:XXXXXXXXX is already registered' when registering a supplier — what now?
9925 VAT scheme rather than the default 0208).How do I assign multiple inboxes to a single supplier?
How do I assign multiple inboxes to a single supplier?
What are Participant IDs?
What are Participant IDs?
- Scheme — identifies the type of identifier (e.g.
9920for Spanish VAT,0208for Belgian KBO/BCE) - Code — the actual identification number
0208 but some entities are only registered under 9925 (VAT). If you hit a “receiver not found” error, the recipient may be registered under an alternative scheme.What visibility level should I set on my Peppol Party?
What visibility level should I set on my Peppol Party?
smp— SMP only, for testingsmp+sml— SMP and SML, useful when you only want to sendsmp+sml+peppol— SMP, SML, and the Peppol Directory, recommended for both sending and receiving (and for being discoverable in the Directory)
🇫🇷 Invopop resources for France
🇫🇷 Invopop resources for France
| Compliance | Invoicing compliance in France Compliance timeline |
| Apps | France Peppol Chorus Pro France |
| Guides | Chorus Pro — Supplier registration · Issuing invoices PA Guide — Registration · Invoicing · Status · Reporting |
| FAQ | France FAQ |
| GOBL | France Tax Regime Chorus Pro Addon French Factur-X Addon |
| GitHub | gobl.xinvoice |