

Introduction
The Spanish Tax Agency (AEAT) requires that companies and self-employed individuals (autónomos) formally authorize Invopop to issue invoices on their behalf. To comply with this regulation, the company’s legal representative or autónomo must sign an agreement granting Invopop consent to generate and manage invoices in their name. This signed authorization ensures that all invoicing activities carried out by Invopop are legally valid and recognized by the AEAT. For this process, the supplier can sign the agreement PDF with a valid digital certificate, such as one issued by the FNMT, or a handwritten signature with a company stamp (sello de empresa), in which case the user must provide a valid ID such as DNI, NIE or passport. In the case of self-employed individuals (autónomos) a company stamp is not required. This guide will…- Walk you through the process of creating the workflows necessary to onboard yourself and/or your suppliers (in a white-label setup)
- The process of completing the supplier onboarding wizard,
- Explaining the approval process and what to do in case of rejection.
Set-up
Connect the VERI*FACTU app
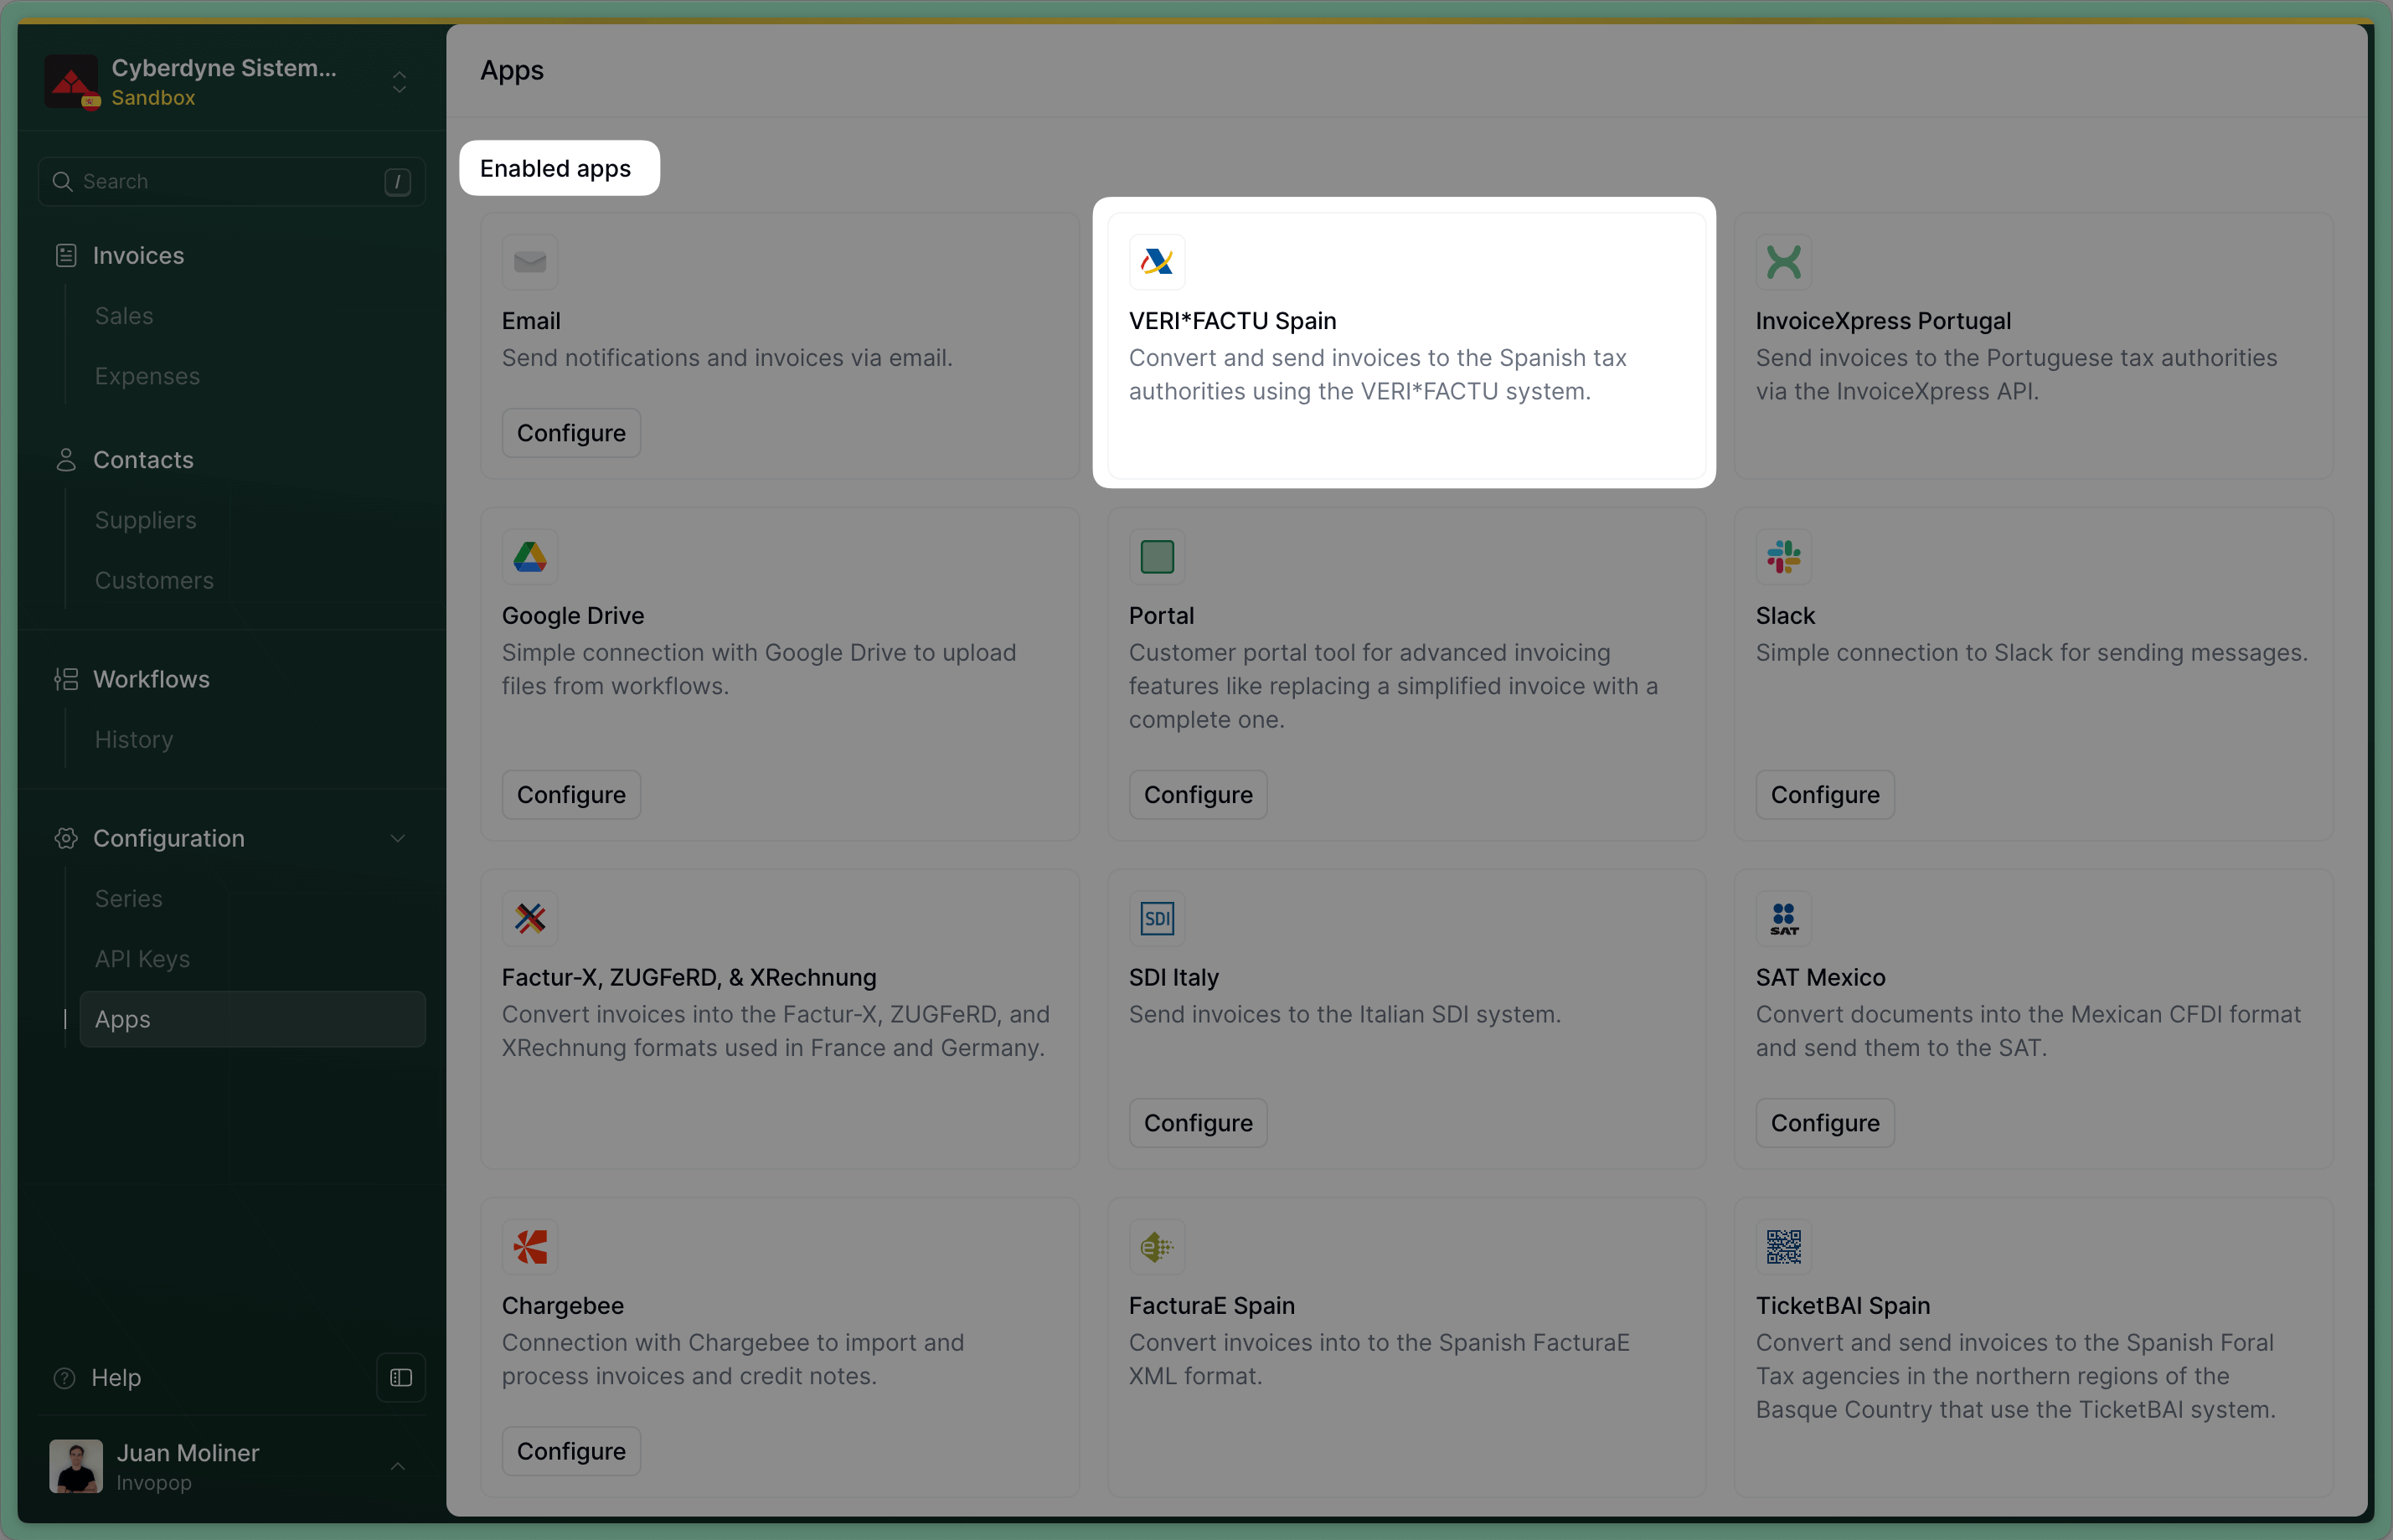
- Go to Configuration → Apps in the Console.
- Find VERI*FACTU Spain in the app list.
- Click Connect to activate the app.
Create a supplier registration workflow
- Template
- Code
- Build from scratch
VERI*FACTU supplier registration workflow
Create a supplier entry
Whether you issue invoices on behalf of third parties (white label) or under your own name, the process is essentially the same.Upload a supplier
name and tax_id (the supplier will be able to supplement the information as required by the AEAT). To reduce user input errors, it’s recommended filling the fields as required by the AEAT:Spanish company
Spanish company
- Company information: name, NIF (tax identification number), and address
- Legal representative information: full name, government ID type and number (DNI, NIE, or passport), and address
Spanish autónomo
Spanish autónomo
folder to suppliers to have the party appear in this section. It should appear with an Empty status unless set otherwise.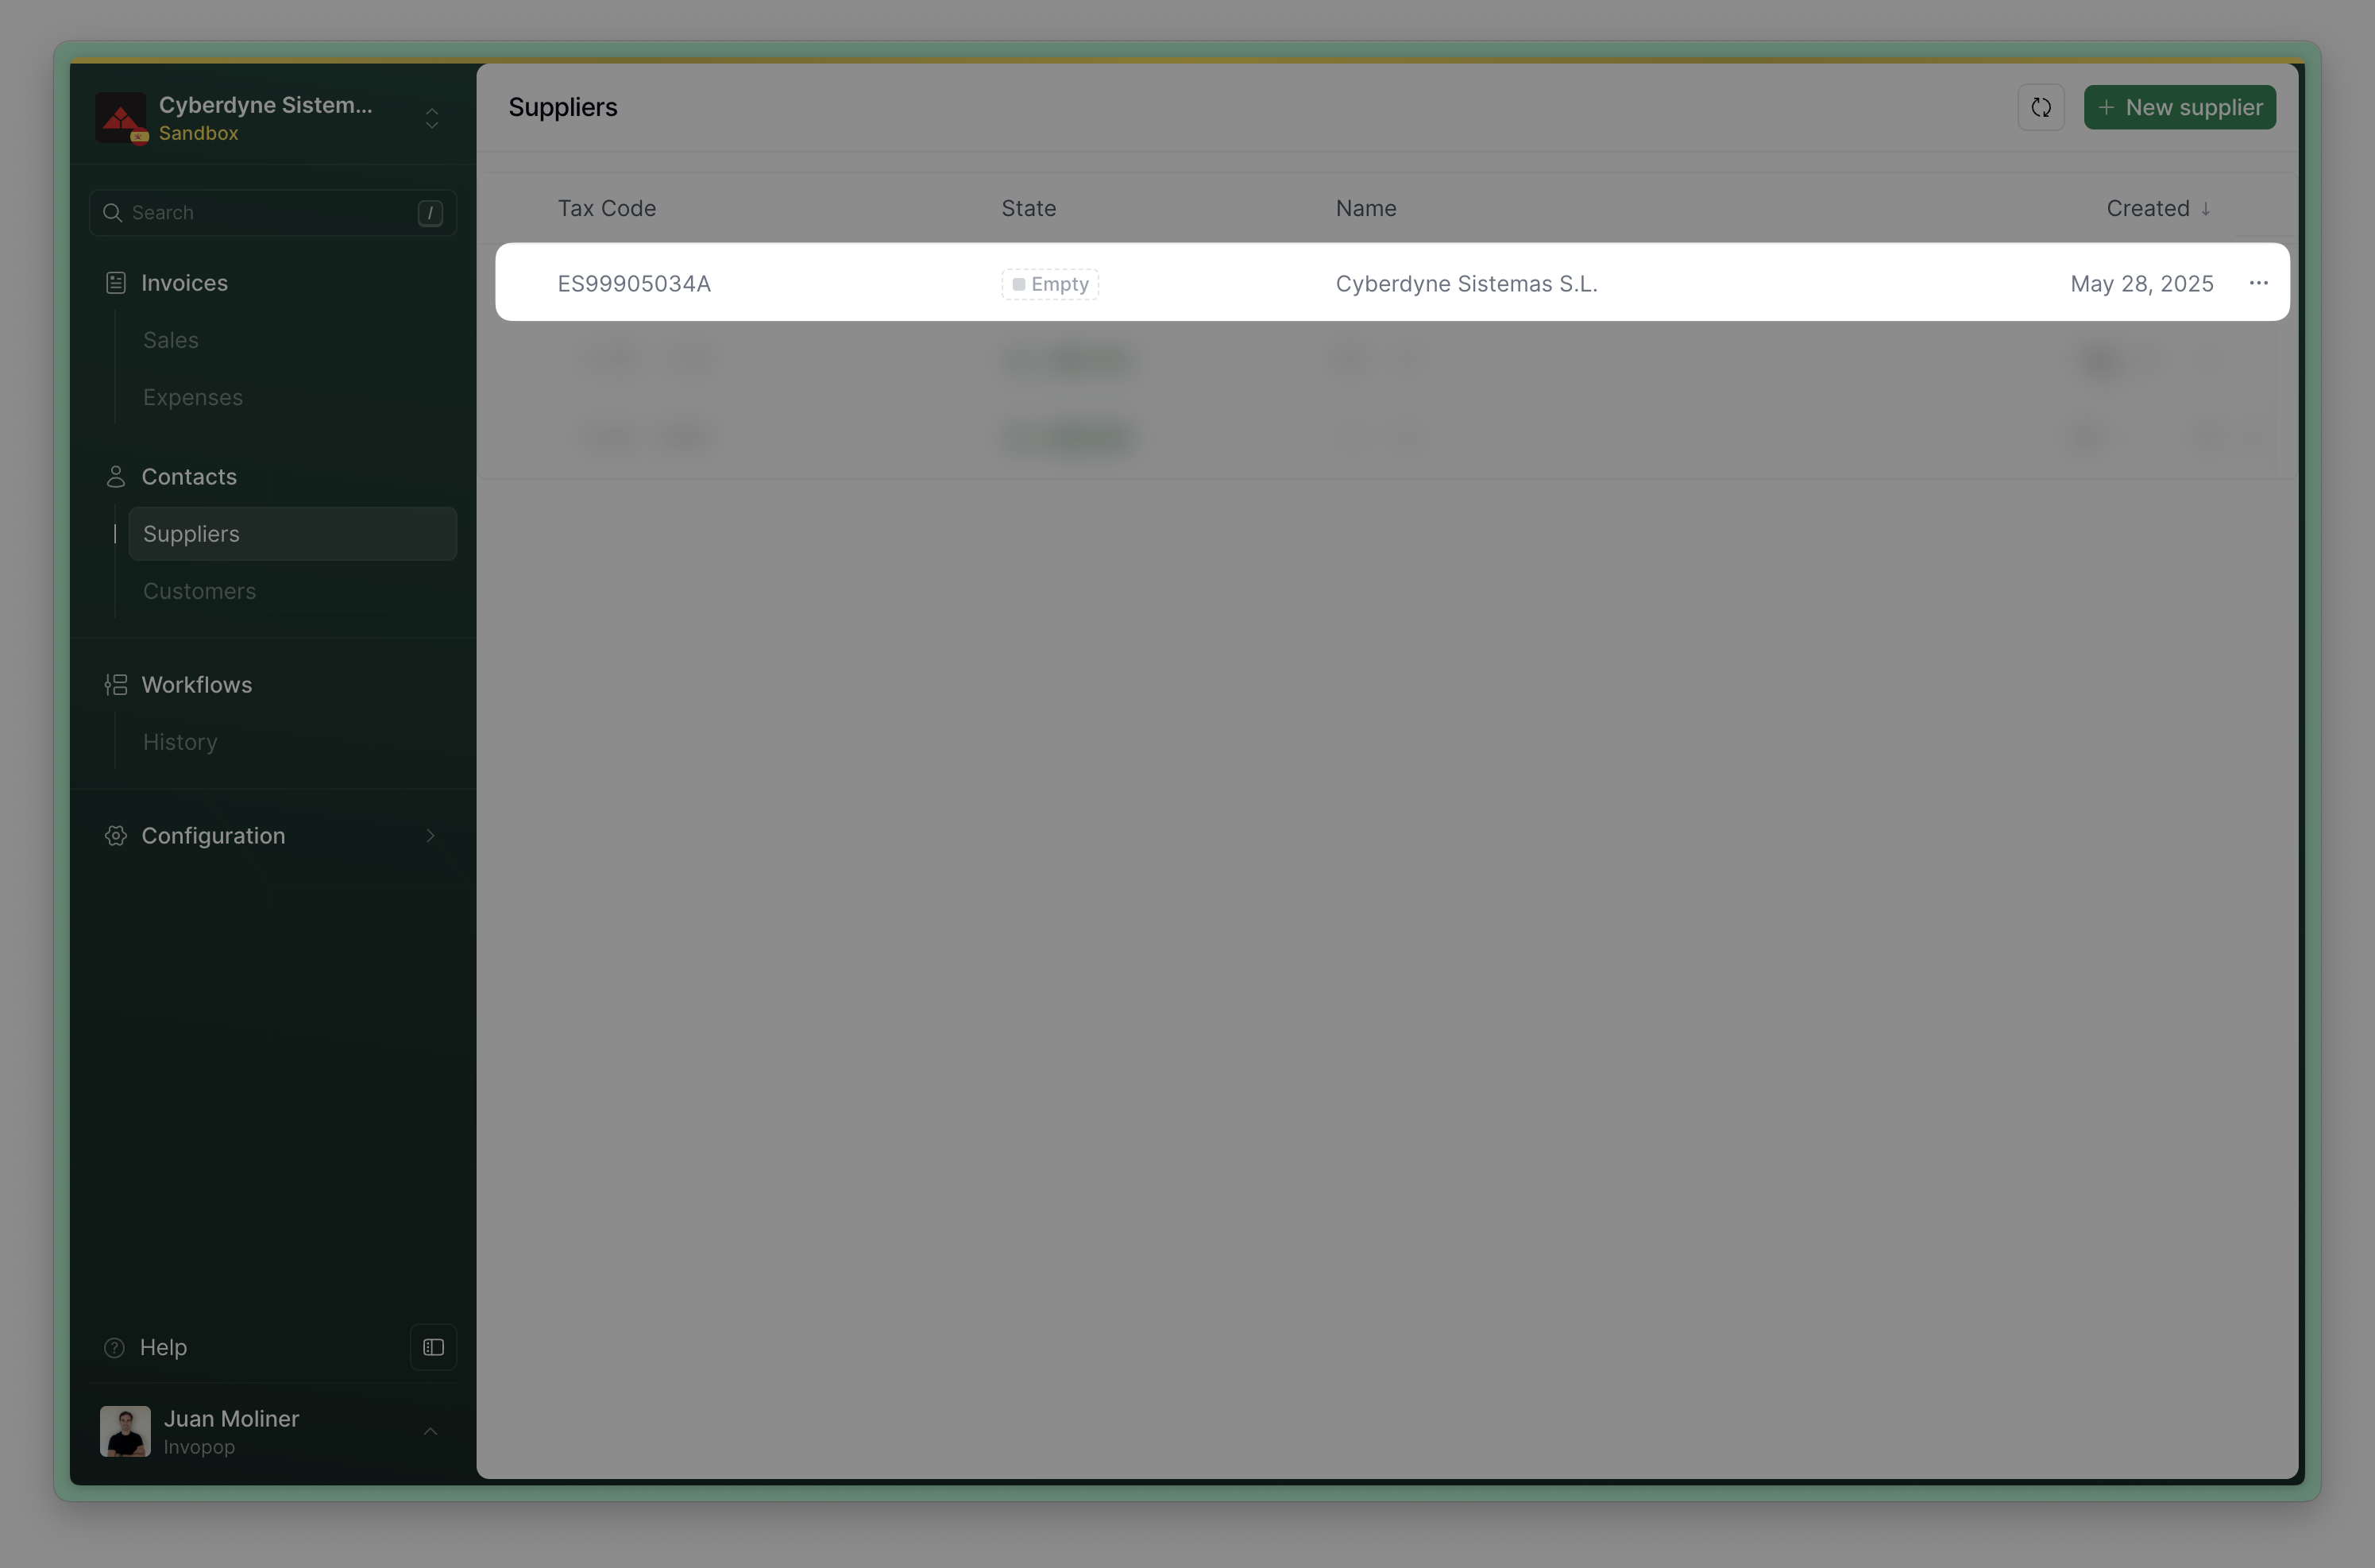
Send the supplier to the registration workflow
- Via API - Send the supplier to the registration workflow using the Create a job endpoint using the
IDs of the silo entry and supplier registration workflow. - Via Console - From the Silo Entry select “Run workflow” and select the supplier registration workflow.
Processing while waiting for supplier registration and verification.Complete the registration workflow
- Your own company
- Third-party companies
Wait for approval
Registered. If not successful because the supplier did not complete the process or their documentation was rejected, the status will change to Rejected, and you can inspect the job history of this document to see the reason.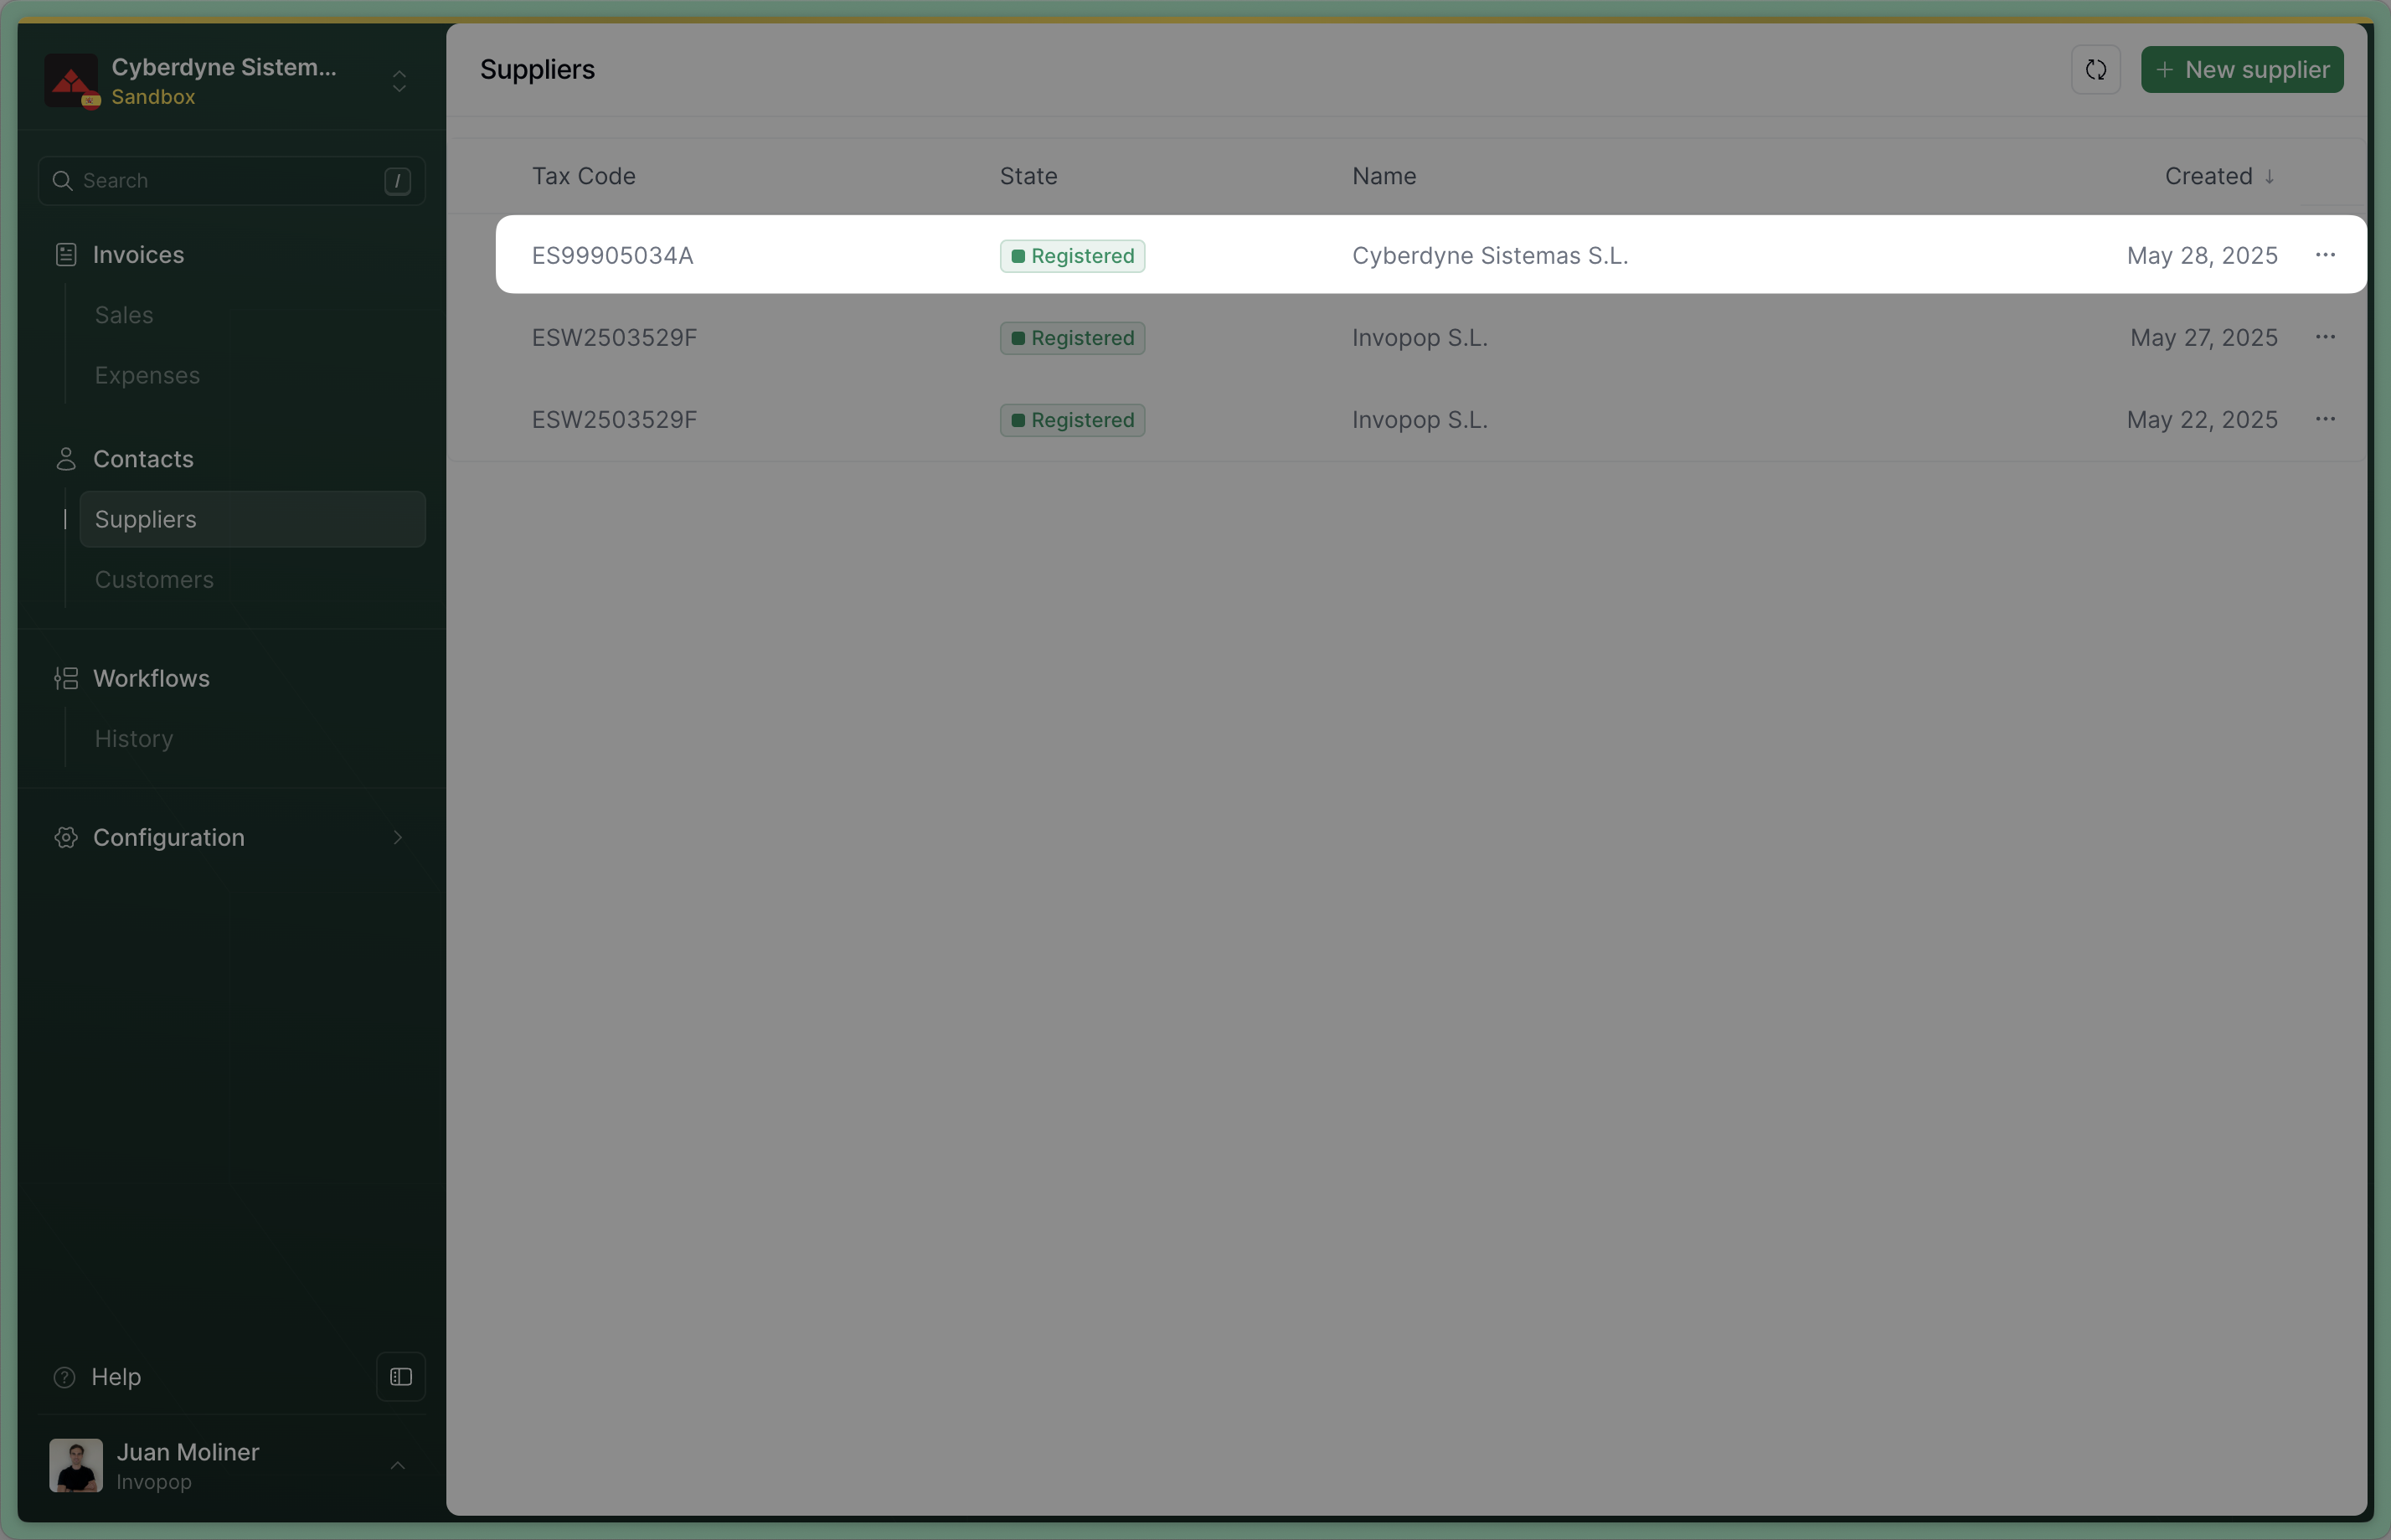
How VERI*FACTU supplier registration works
The process is best explained looking at the workflow steps: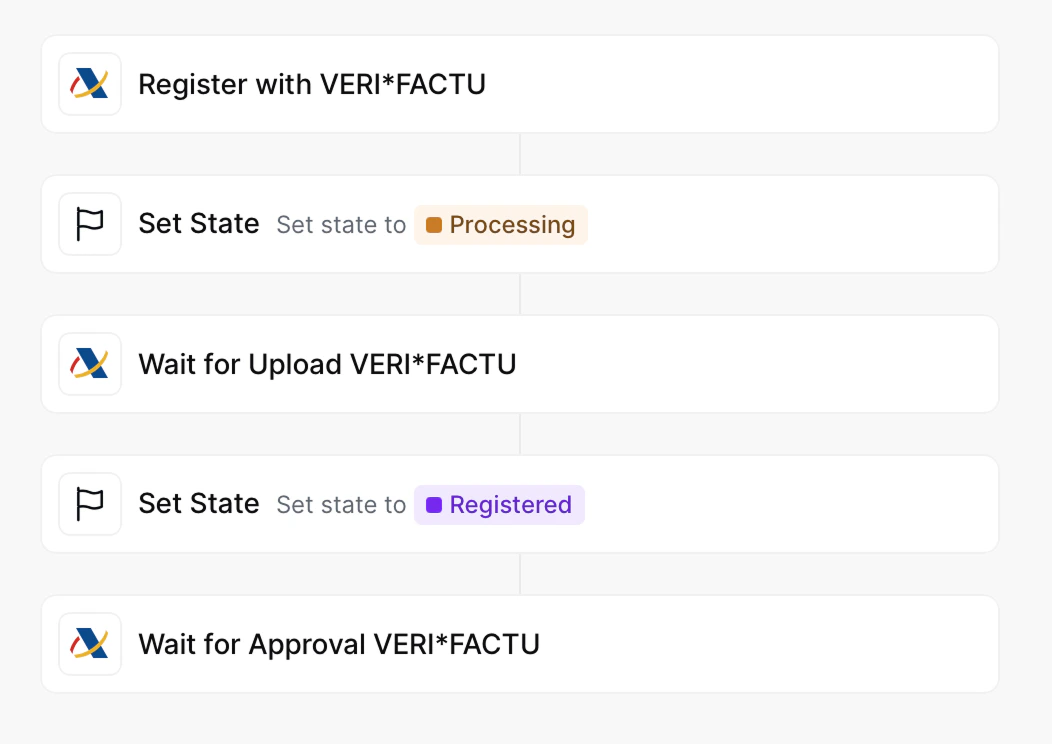
- Register supplier will generate a unique URL and add it into a
urlkey value within themetaproperty. You would add a webhook after this step to notify the supplier. - Set state to Processing labels the silo entry so you know it’s in process of registration.
- Wait for supplier registration waits for the supplier to upload the required documents (signed agreement and ID). The supplier will be entitled to issue invoices through VERI*FACTU immediately after the documents are uploaded.
- Set state to Registered labels the silo entry so you know registration is complete.
- Wait for supplier approval In live environments, Invopop will review the documents provided by the supplier in less than 72 hours. In sandbox, you can configure the workflow step to accept or reject providers. Open rejection the workflow will error with a
KOand the reason for rejection can be reviewed in the Supplier or in the executed job. The supplier’s invoice issuing entitlement will be revoked immediately.
KO will be generated, triggering the error flow. Then these steps will be run:
- Unregister supplier from VERI*FACTU will clean up all registration processes and entitlements. You will be able to re-register the party later.
- Set state to Rejected labels the silo entry so you know the registration was rejected (due to timeout or incorrect documentation).
Register a Supplier
Suppliers need to provide the following documents for Invopop to issue invoices on their behalf:- A signed direct representation agreement. If the supplier is a self-employed individual (autónomo), stamping is unnecessary.
- A copy of signatory’s fiscal ID (DNI/NIE or passport in the case of non-residents) if the agreement is not signed with a valid digital certificate such as one from the FNMT.
Onboard suppliers through the supplier registration wizard
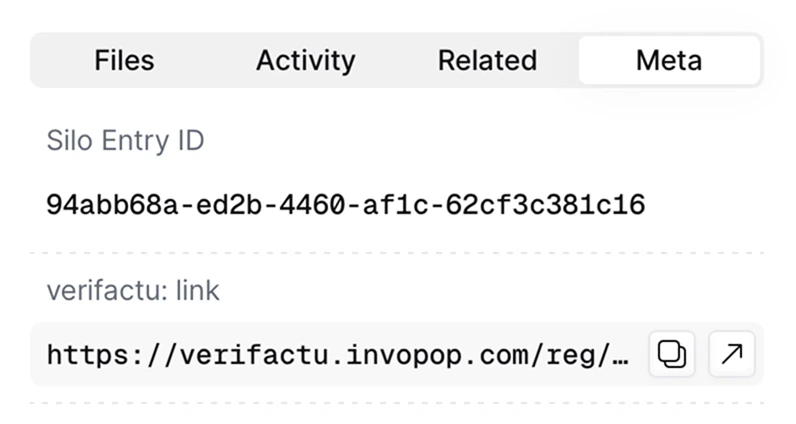
The supplier registration wizard walks you (or your customers) through the necessary legal requirements to issue VERI*FACTU invoices. Each issuer must submit a signed representation agreement between Invopop and the issuer, along with documentation proving their legal authority to enter into such an agreement. Once you run the Supplier Registration Workflow, you will find thelink_url in the meta property of the supplier entry. Here is an example API response:
Example supplier meta registration link
Example supplier meta registration link
Meta tab in the right sidebar of the supplier’s entry.
This wizard can be embedded as an iframe to onboard your customers without leaving your product or platform.
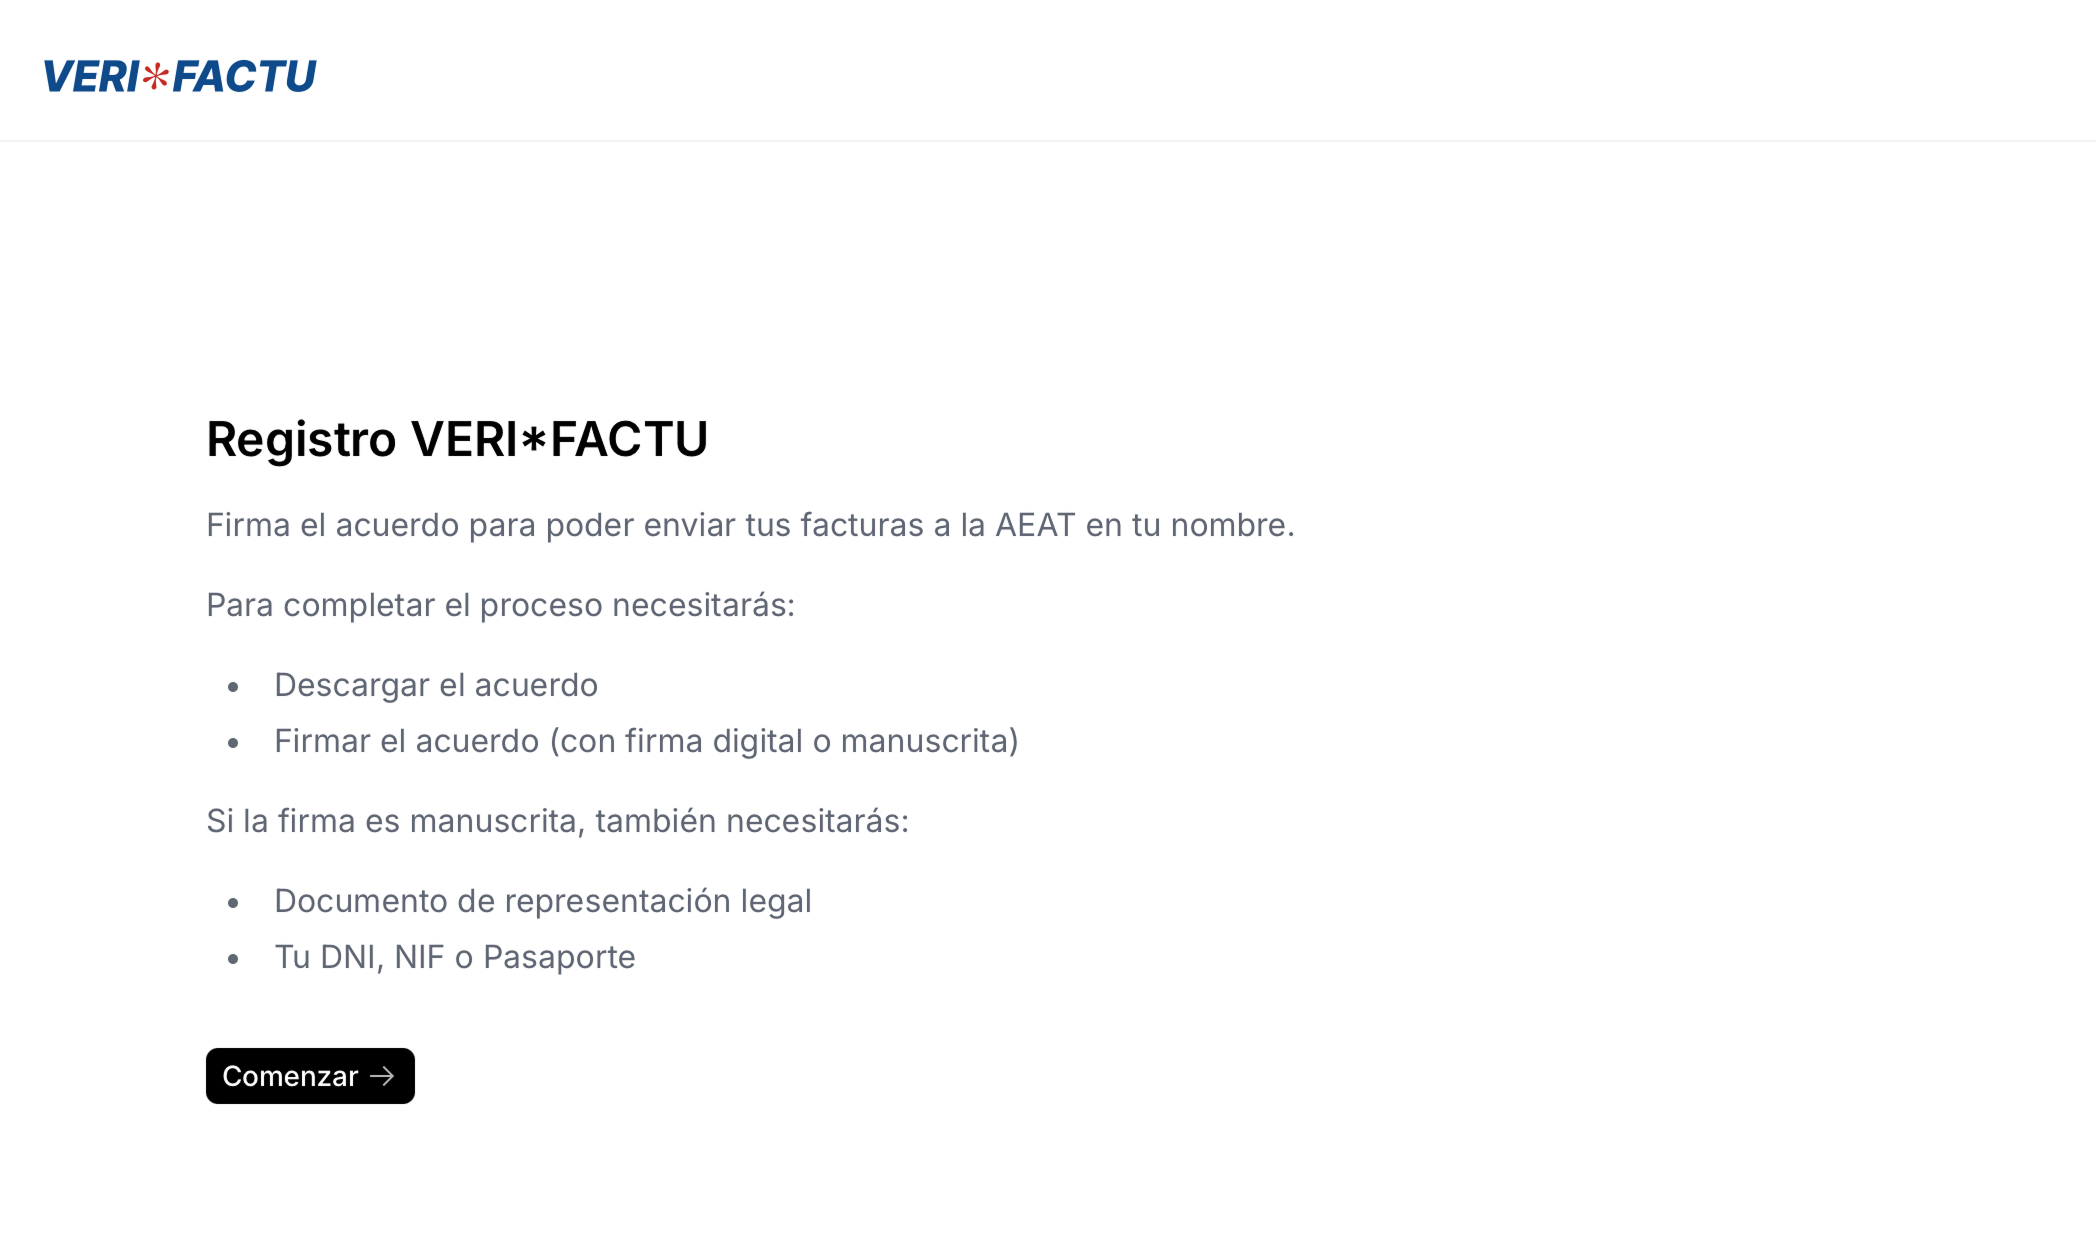
Welcome screen
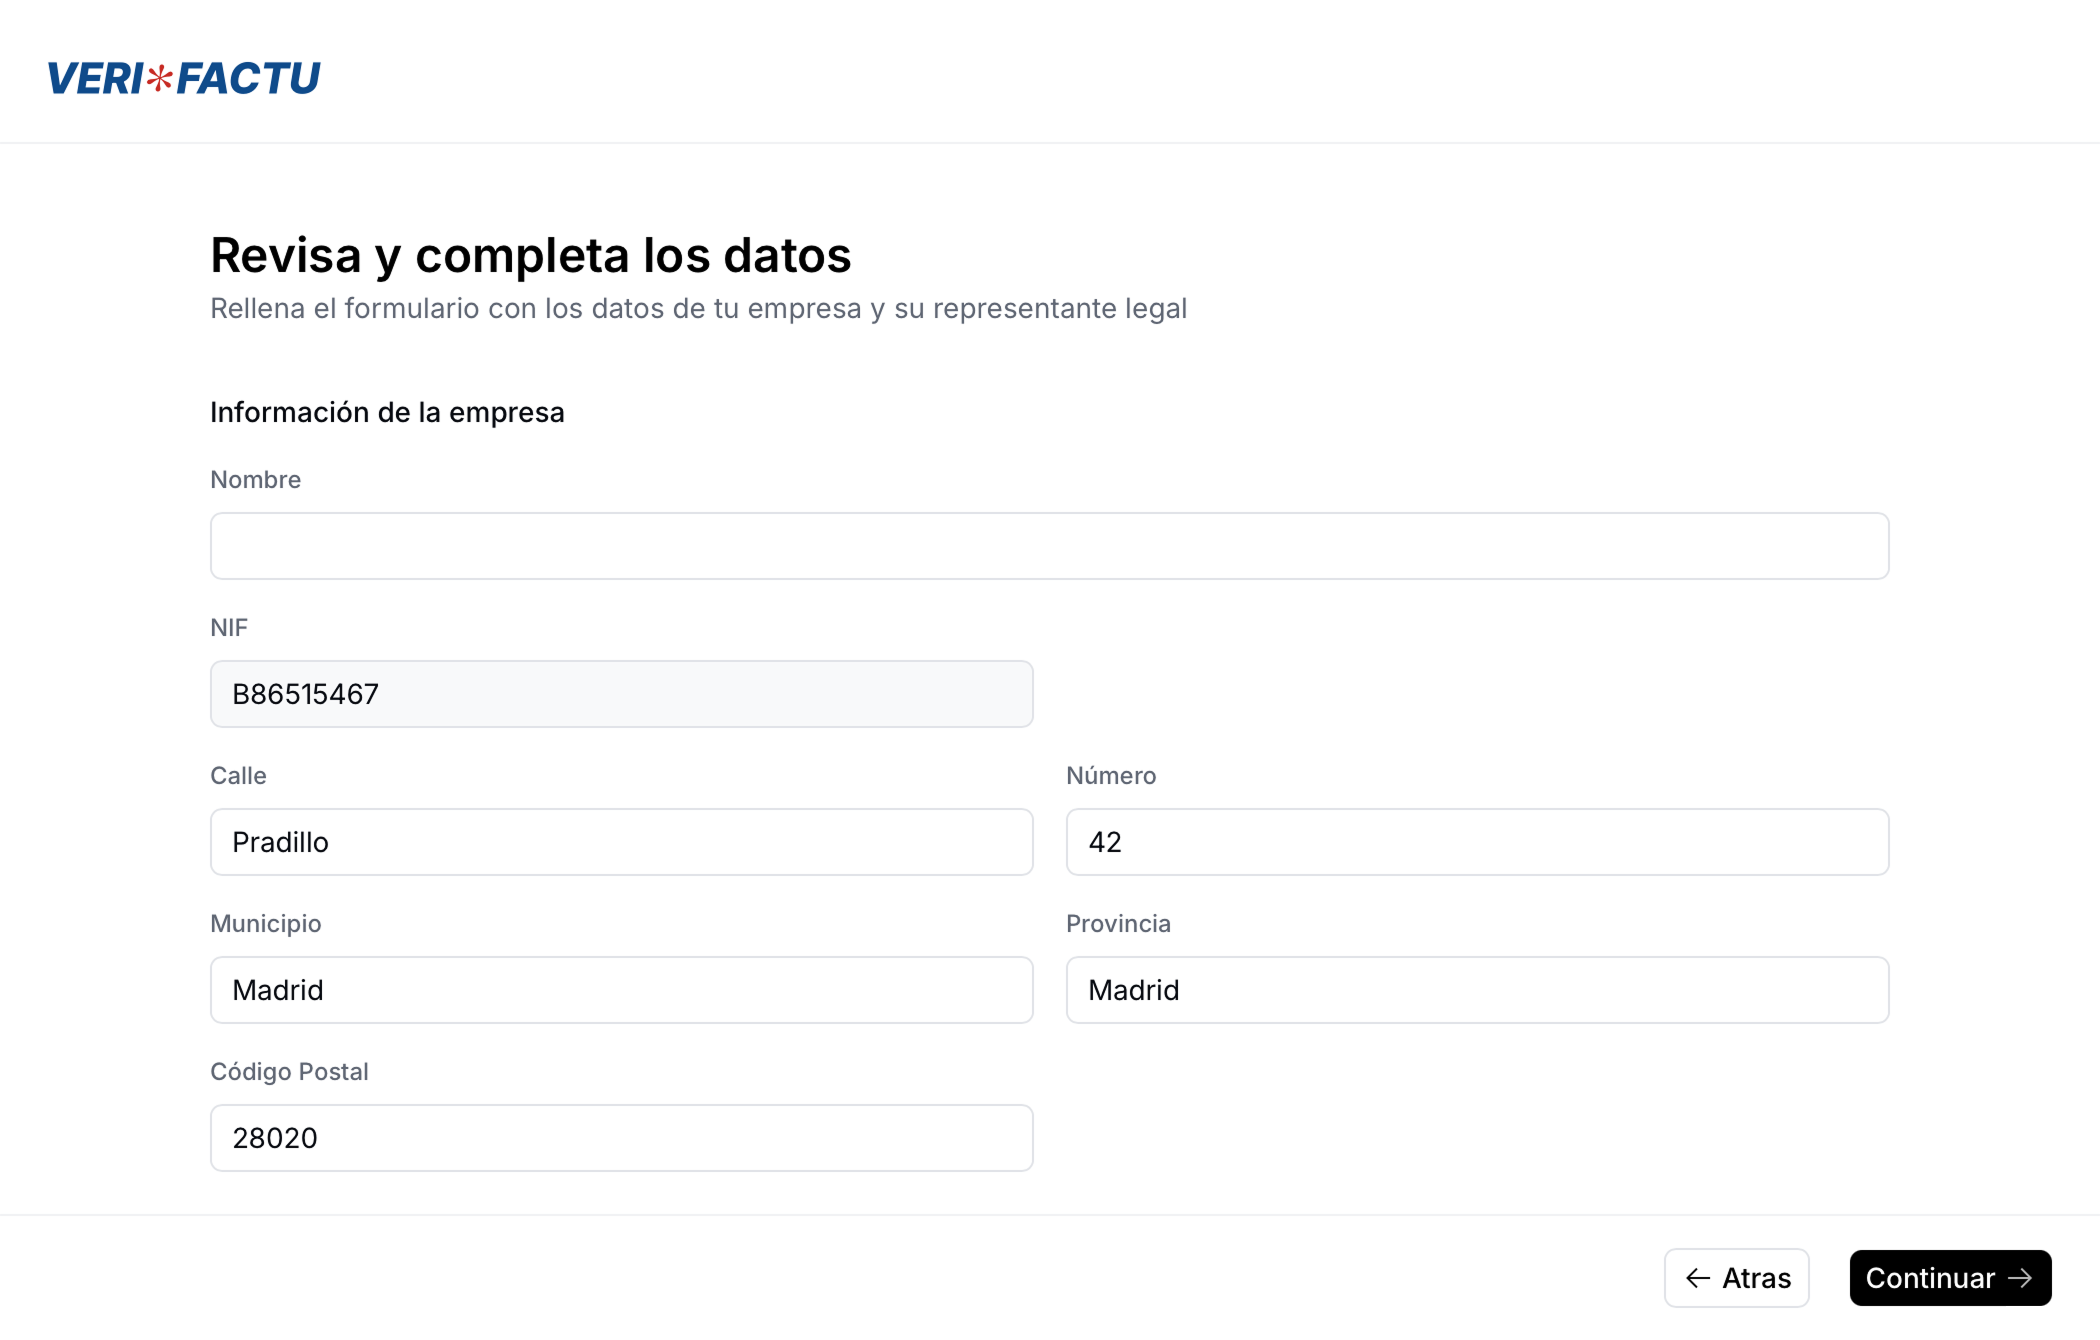
Information verification
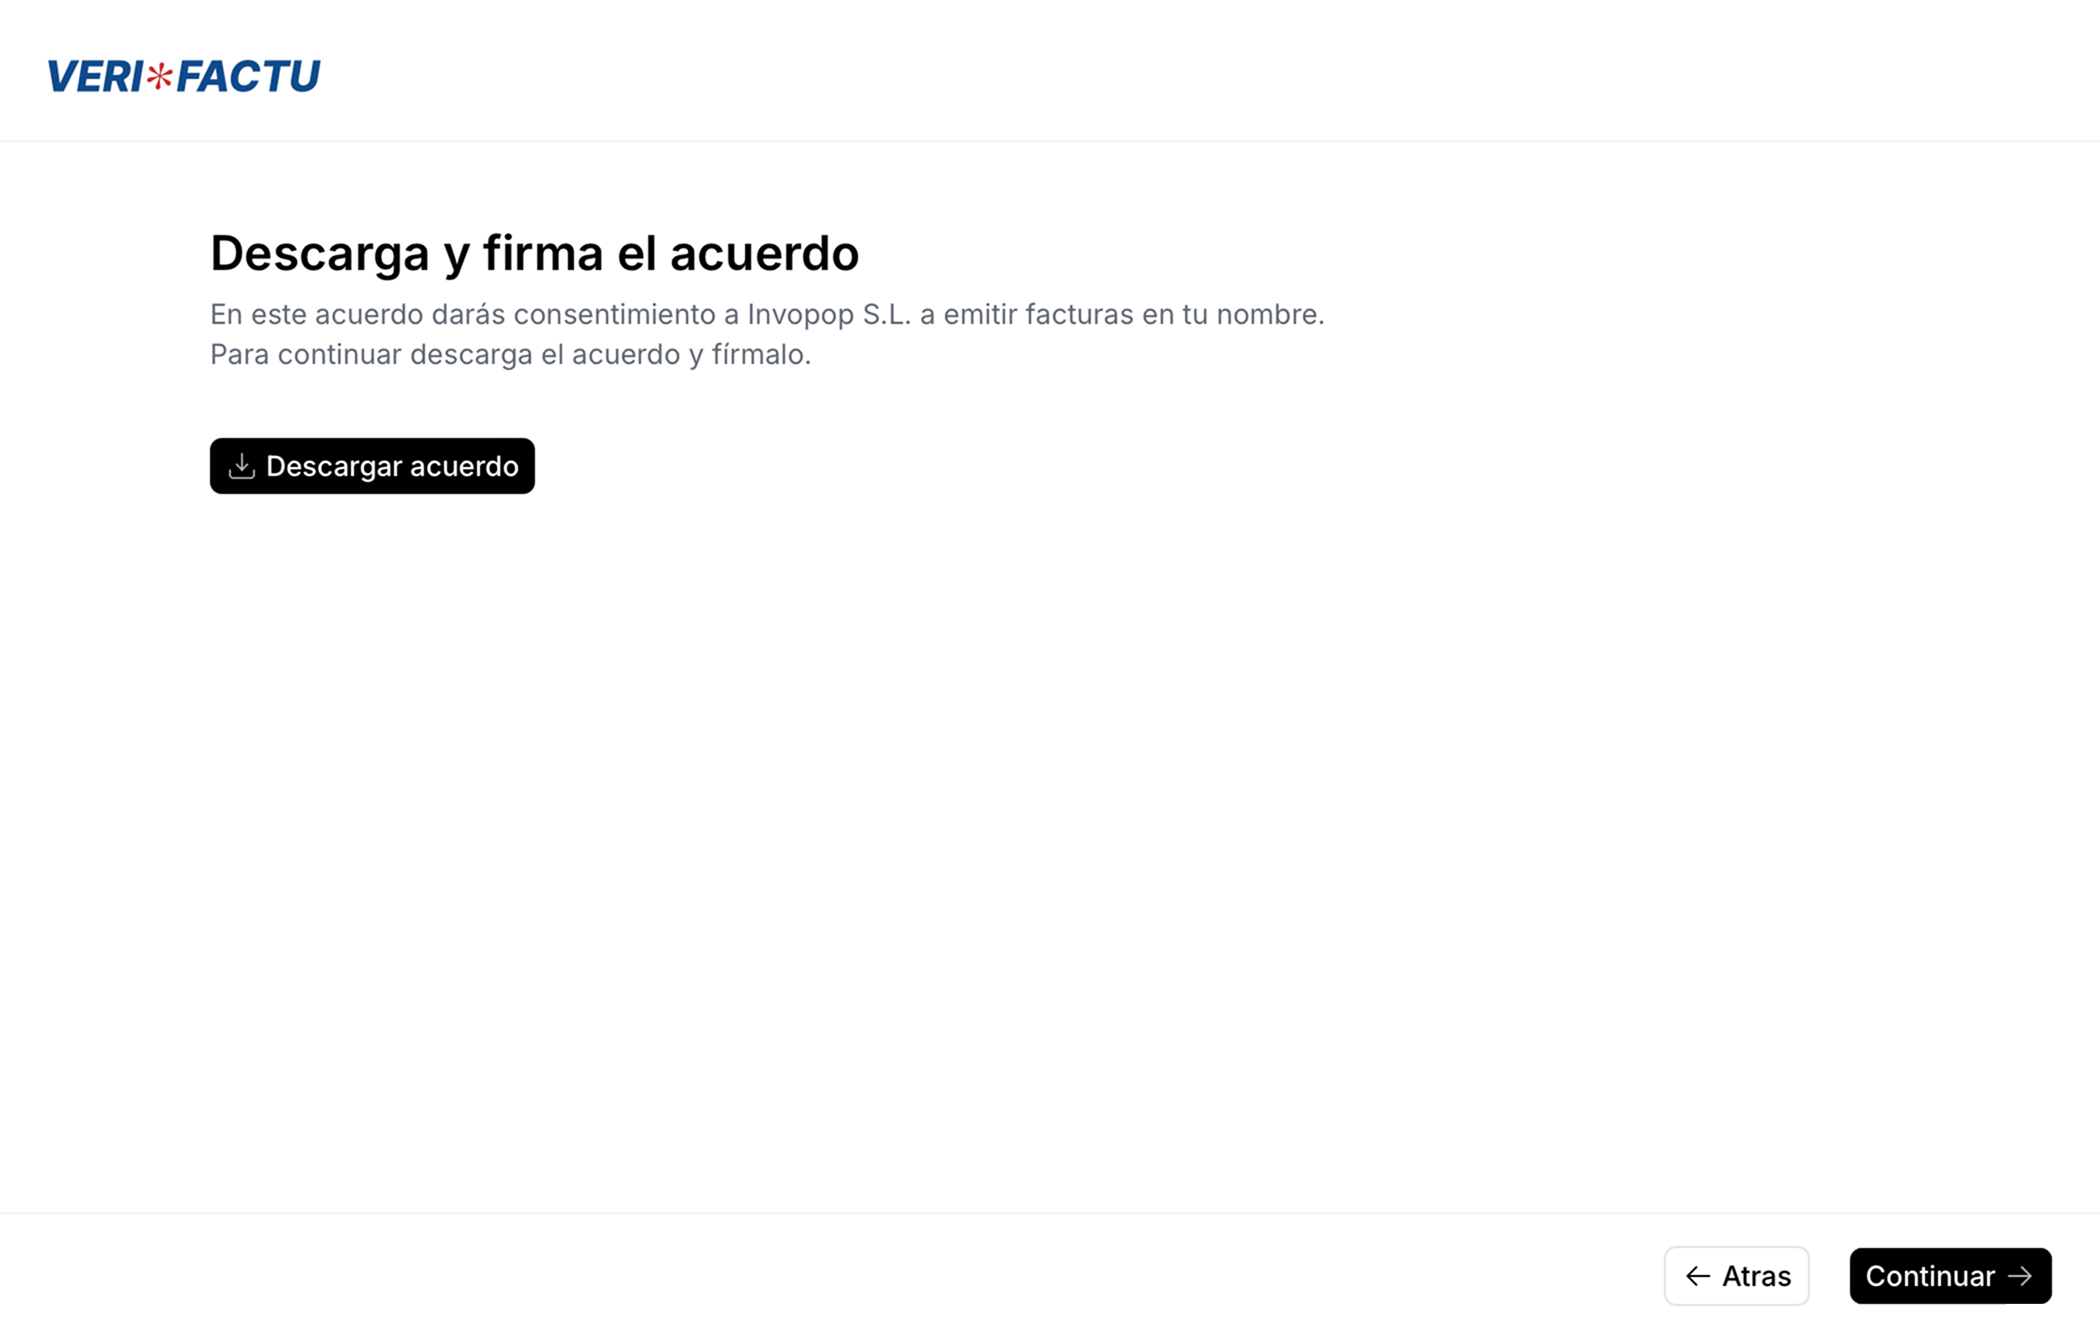
Download agreement
- Self-employed individuals (autónomos)
- Signed agreement (handwritten signature or e-signature with the FNMT’s Certificado Electrónico de Ciudadano)
- National ID (DNI/NIE) if handwritten signature.
- Companies
- Signed agreement (handwritten signature or e-signature with the FNMT’s Certificado Electrónico de Representante)
- If handwritten signature, legal representative’s ID (DNI/NIE/passport) and company stamp.
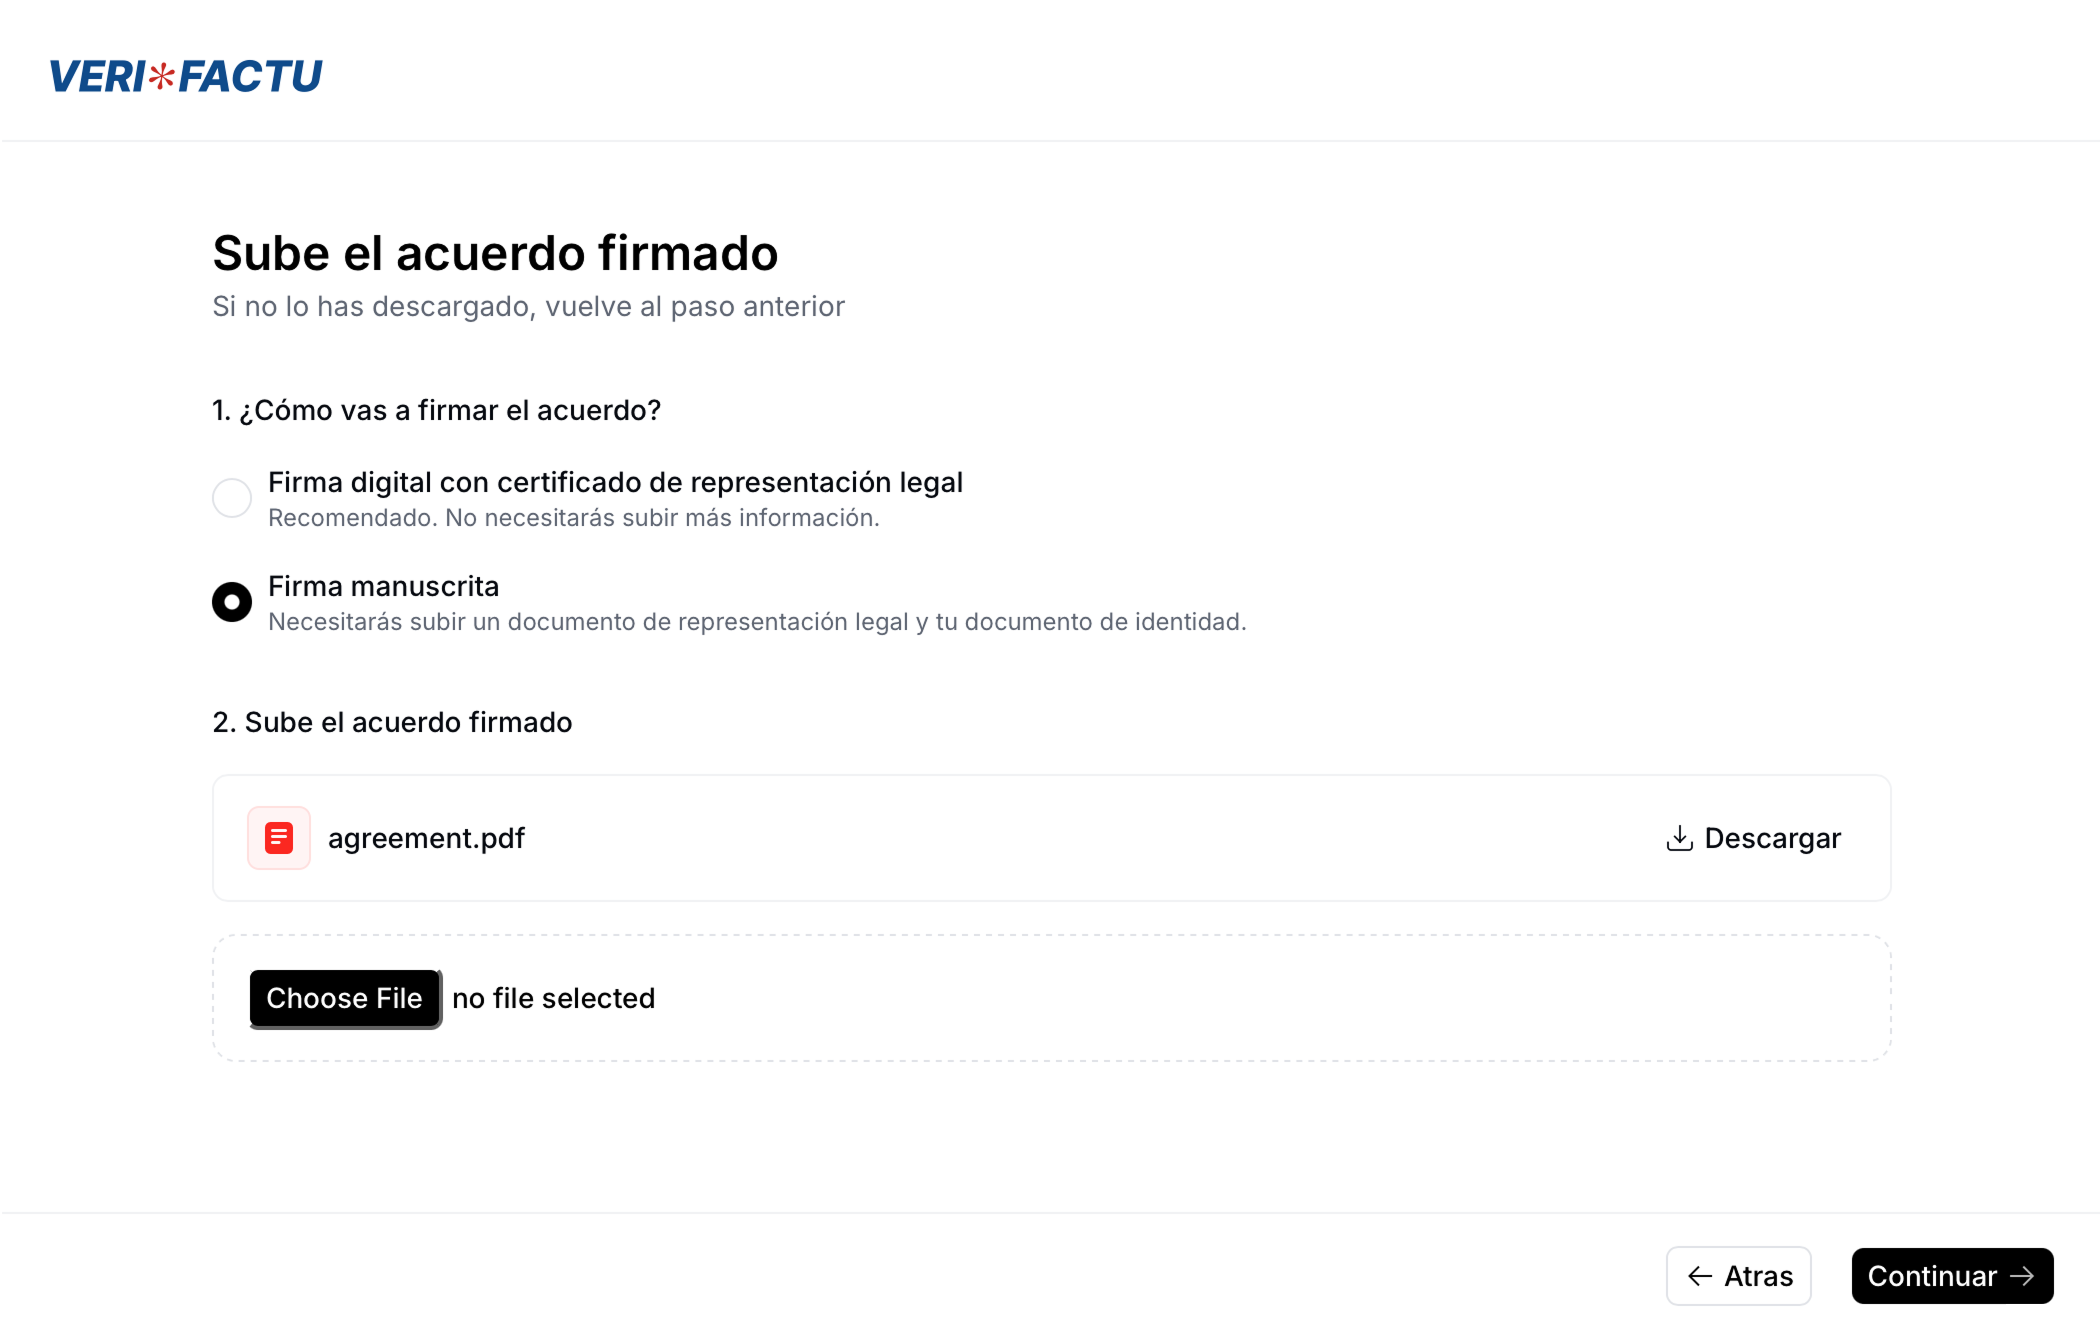
Upload signed agreement
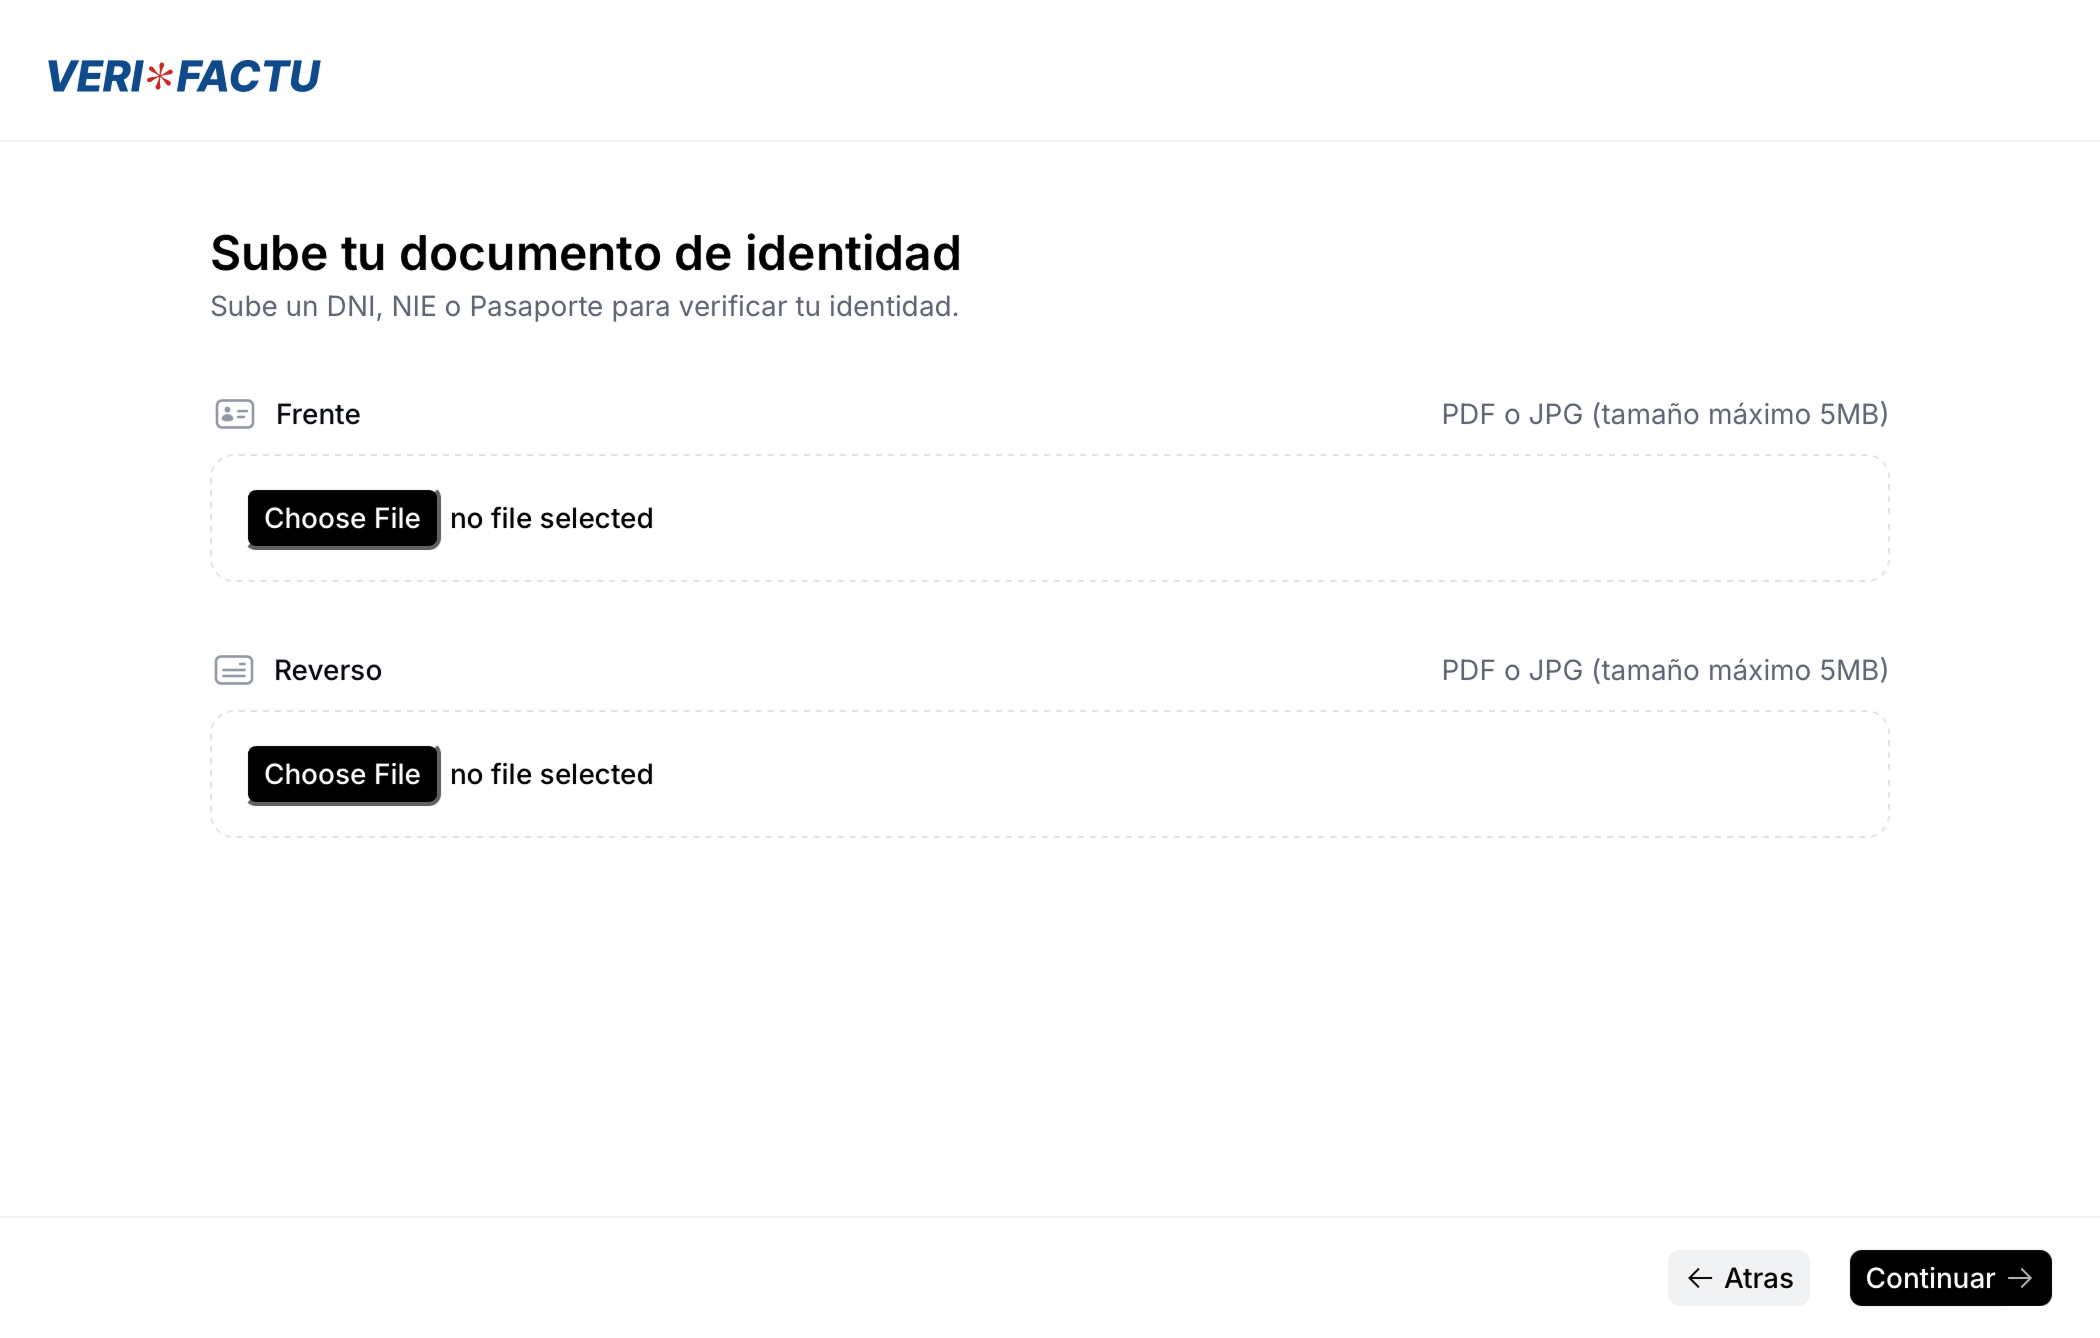
Upload ID
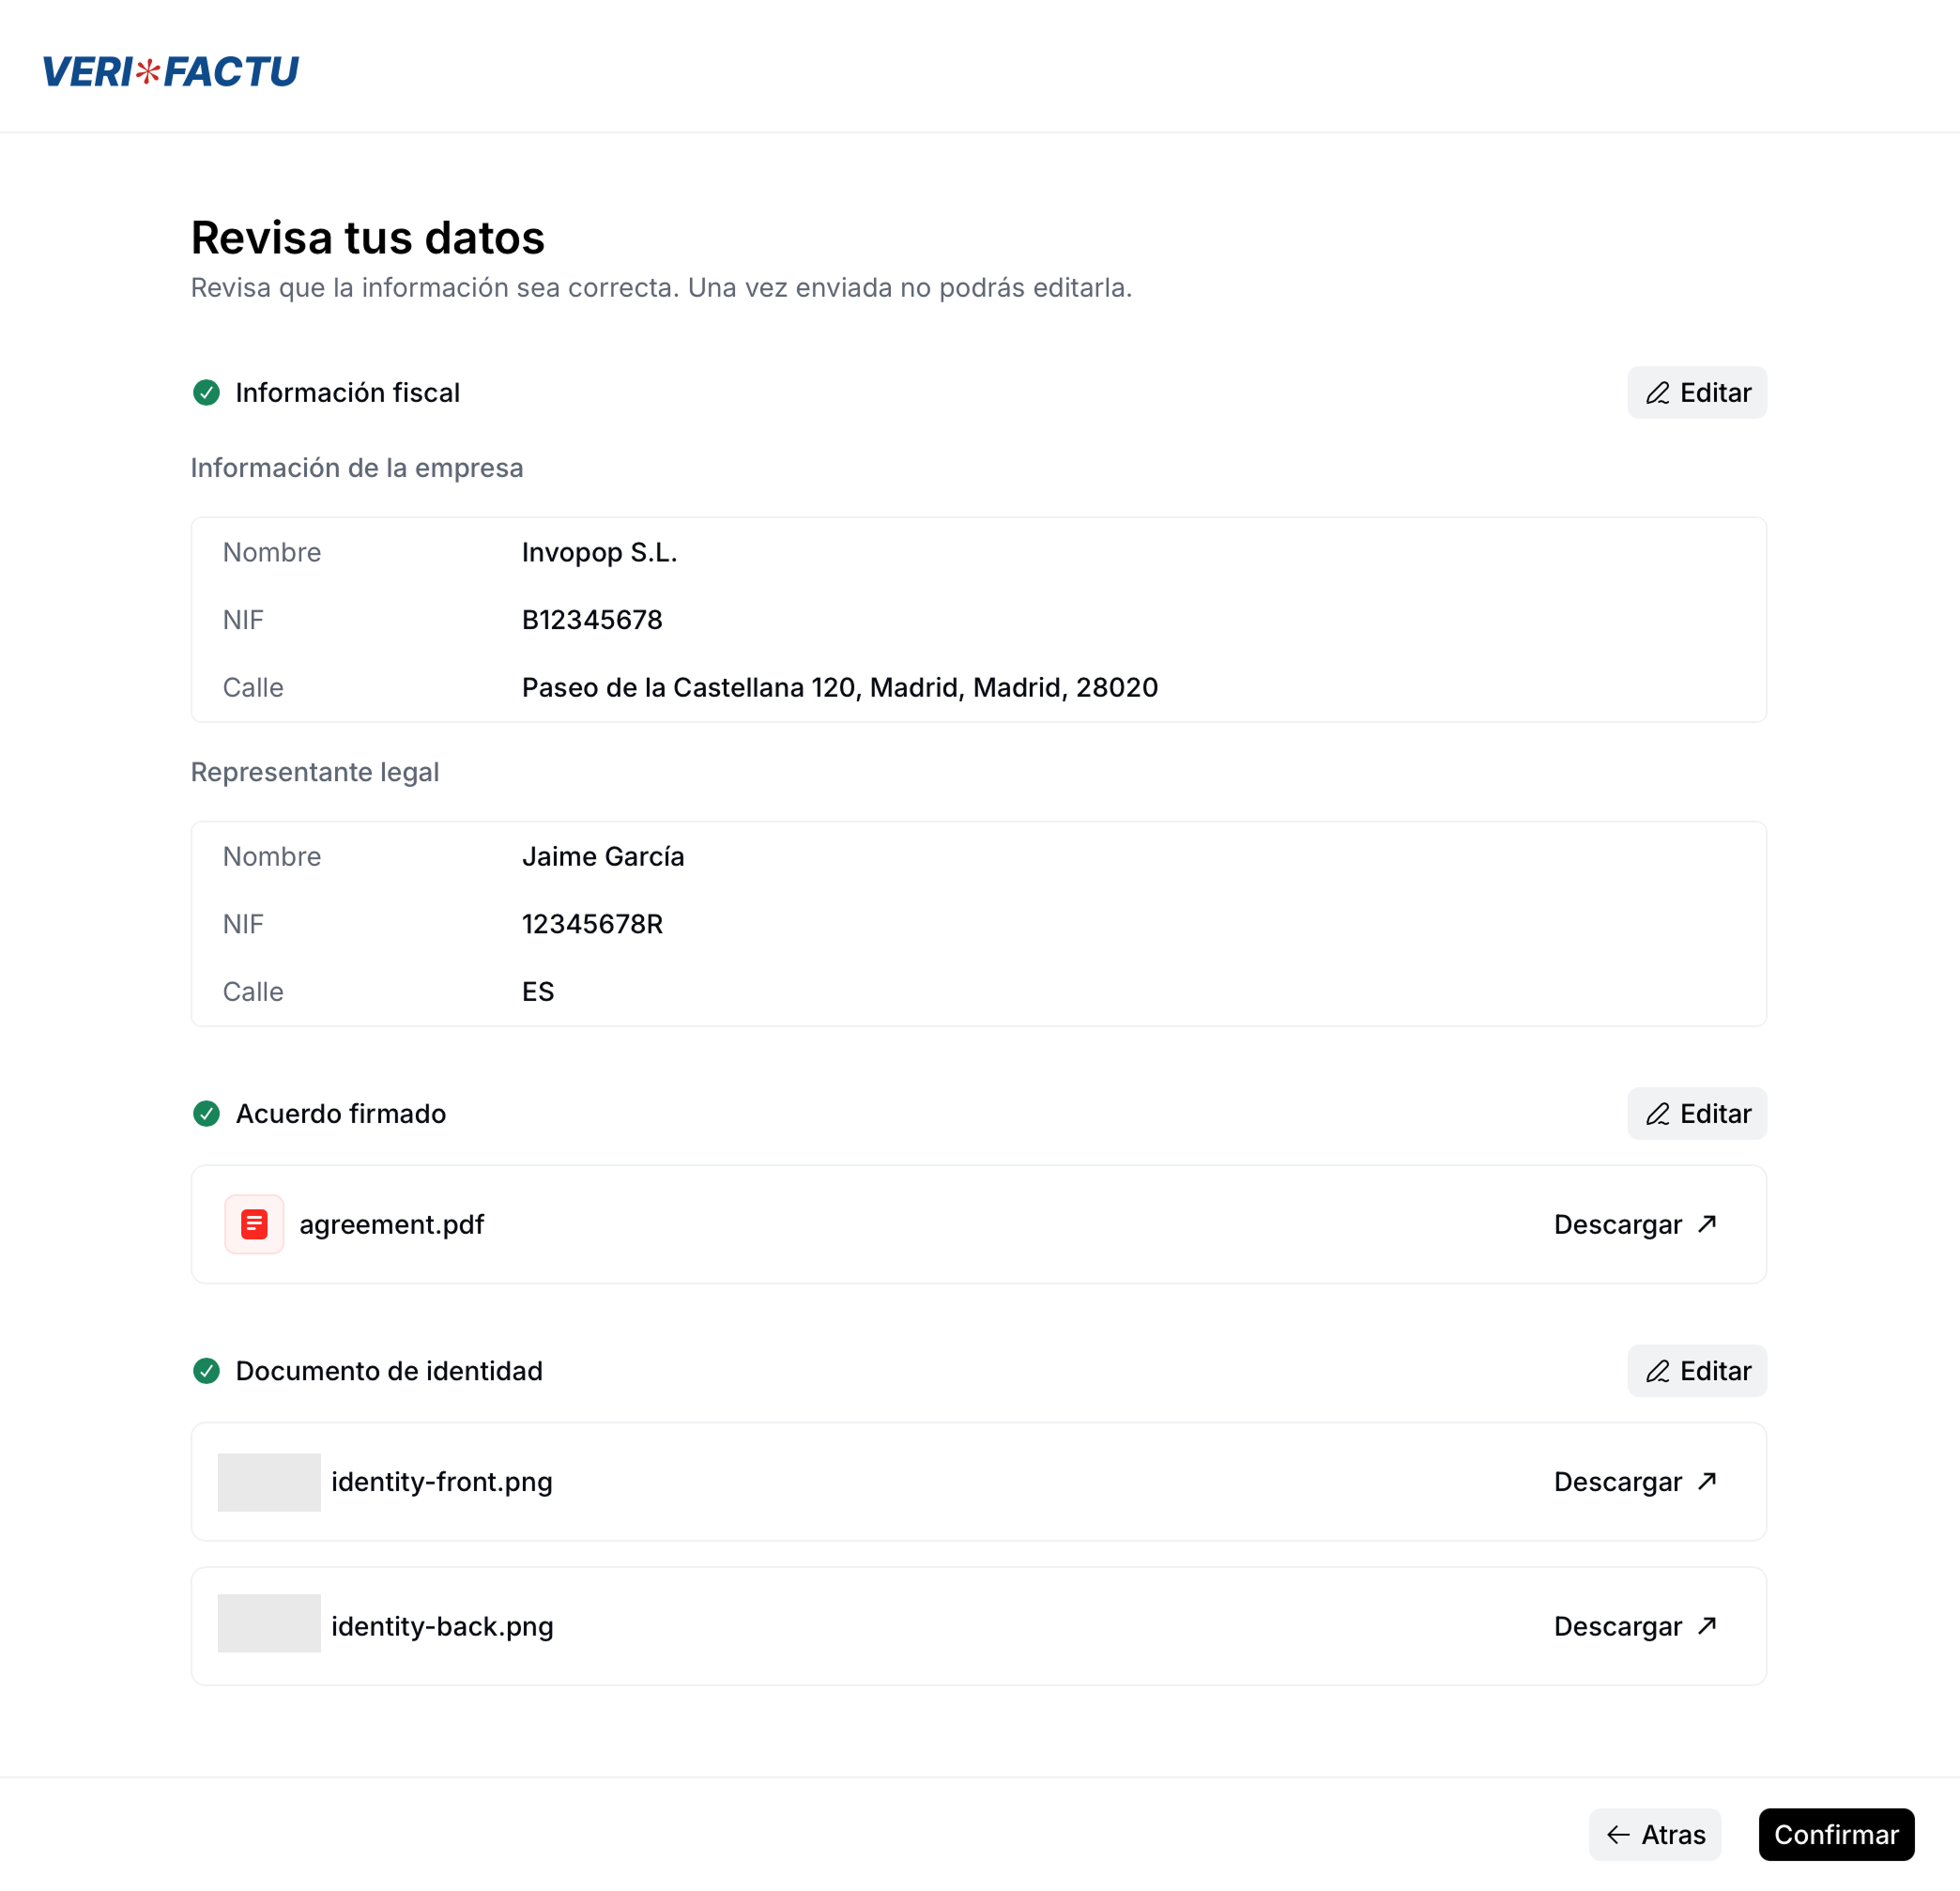
Review details
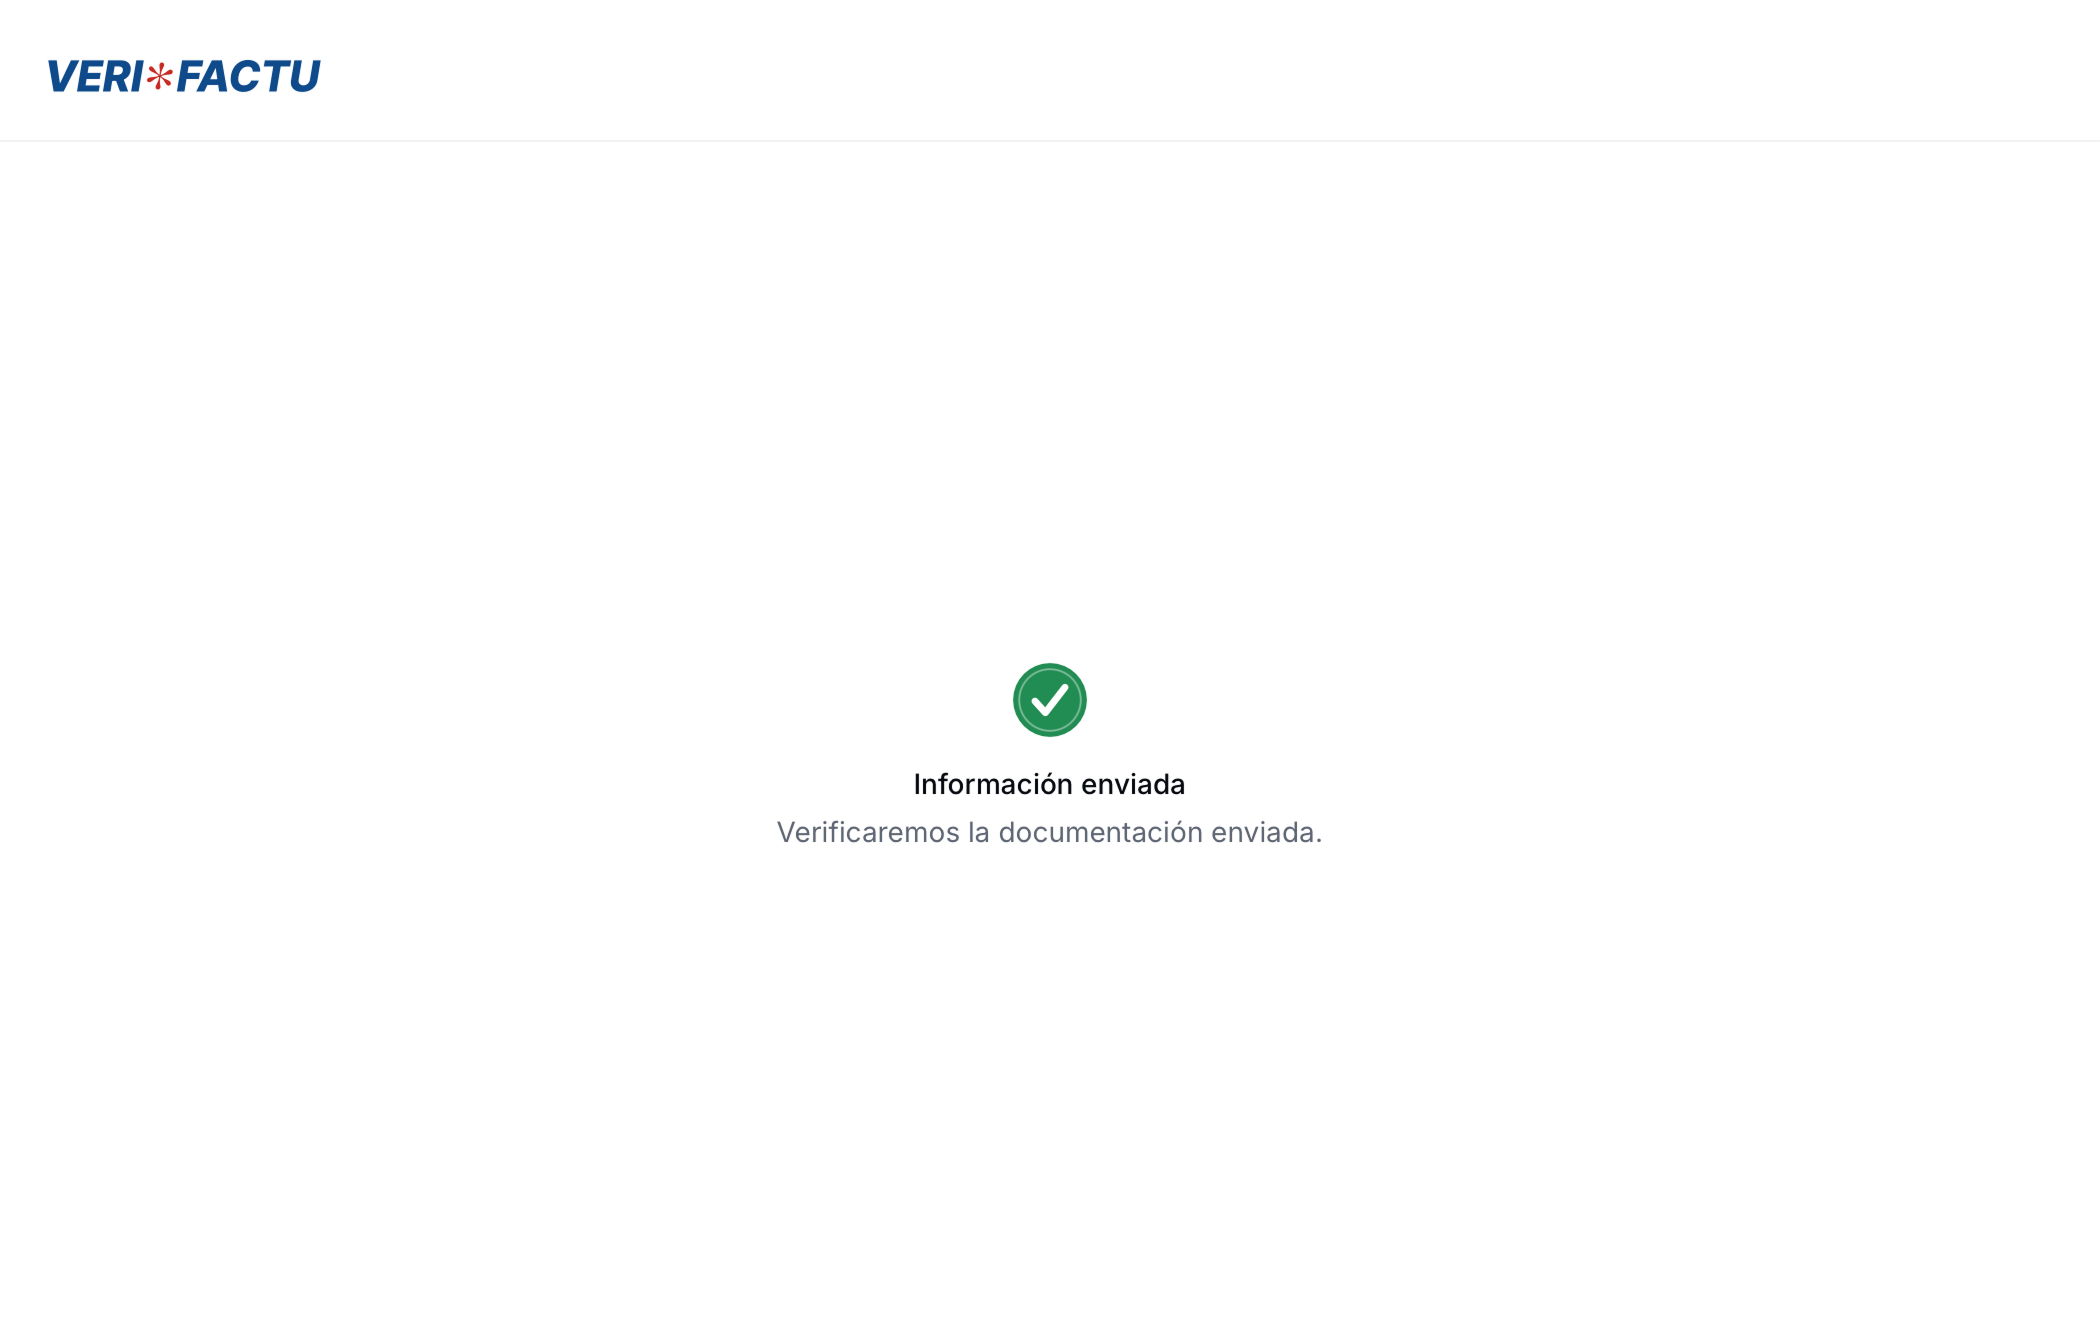
Confirmation screen
Onboard suppliers through the API
If you have special needs regarding the onboarding of suppliers for VERI*FACTU (such as using third party identity verification services), it’s possible to implement your own onboarding process through the API. The process would be the following:-
Create a supplier entry
/silo/v1/entries/{id}
Besides the supplier’s basic information, the entry should contain apeopleobject containing a person who will act as the legal representative of the supplier. -
Create a job
/transform/v1/jobs/{id}
Using the supplier registration workflow ID and Silo Entry ID. -
Generate agreement PDF
/apps/verifactu/v1/entry/{silo_entry_id}/agreement
The agreement file will be created with the supplier’s data. -
Upload agreement PDF
/apps/verifactu/v1/entry/{silo_entry_id}/agreement
Upload the agreement into the supplier’s silo entry. -
Upload identity images
/apps/verifactu/v1/entry/{silo_entry_id}/identity
Upload the ID into the supplier’s silo entry (can be DNI, NIE or Passport). -
Confirm upload
/apps/verifactu/v1/entry/{silo_entry_id}/confirm
Call this endpoint to confirm that everything has been prepared correctly and the supplier is ready to start operating.
Unregister a supplier
Unregistering a supplier is essentially revoking their invoice issuing priviledges. You might need to unregister an entity because the supplier is no longer your client or because of a change in their Tax ID. To do so, use the following workflow template:- Template
- Code
- Build from scratch
VERI*FACTU unregister supplier
Legal information
VERI*FACTU self certification process
VERI*FACTU self certification process
VERI*FACTU representation agreement
VERI*FACTU representation agreement
Valid digital signatures for the VERI*FACTU's Supplier Agreement PDF
Valid digital signatures for the VERI*FACTU's Supplier Agreement PDF
- AC ABOGACÍA
- ANF AC
- ANF CA
- BEWOR
- CAMERFIRMA
- CENTRO TECNOLÓGICO DEL NOTARIADO
- CERES FÁBRICA NACIONAL DE MONEDA Y TIMBRE - REAL CASA DE LA MONEDA, E.P.E, M.P. (FNMT-RCM)
- CONSORCI AOC (CATCERT)
- DEH ONLINE
- DIGITEL TS
- DIRECCIÓN GENERAL DE LA POLICÍA
- DOCUTEN
- EADTRUST
- EDICOM
- ESFIRMA
- FIRMAFY
- FIRMAPROFESIONAL, S.A.
- INDIZE
- IZENPE, S.A.
- LLEIDANET PKI
- LOGALTY SERVICIOS DE TERCERO DE CONFIANZA S.L.
- MINISTERIO DE DEFENSA DE ESPAÑA
- PERMISSO
- REGISTRADORES DE ESPAÑA
- SECTIGO
- SIA
- SIGNATURIT- IVNOSYS
- SIGNE AUTORIDAD DE CERTIFICACIÓN
- SIGNICAT SPAIN
- UANATACA
- VALIDATED ID
- VINTEGRIS
FAQ
What are the most common reasons for failing supplier approval?
What are the most common reasons for failing supplier approval?
- The uploaded document is not signed (they upload the unsigned template).
- Users upload a handwritten signature without and ID.
- The electronic signature is made with an FNMT certificate.
- The agreement is missing a date or location.
- The name is entered as an email address.
What happens if a supplier does not complete their registration within the allotted wait time?
What happens if a supplier does not complete their registration within the allotted wait time?
Error state. We currently recommend sending a reminder to the supplier through a webhook.The registration link will not expire and the entity will still be able to upload their registration documents which will be validated. Should you choose to run this workflow again using this supplier, the supplier will be accepted or rejected immediately because the required documentation has already been provided and validated.What happens if a supplier validation is rejected?
What happens if a supplier validation is rejected?
Error state. We currently recommend sending a notification to the supplier through a webhook within the Error Handling section.Afterwards, if you wish to re-register the supplier with new documents, you must:- Unregister the supplier using the Unregister Supplier workflow.
- Re-run the Register supplier workflow.
Continue to override the old one. See the image below for reference: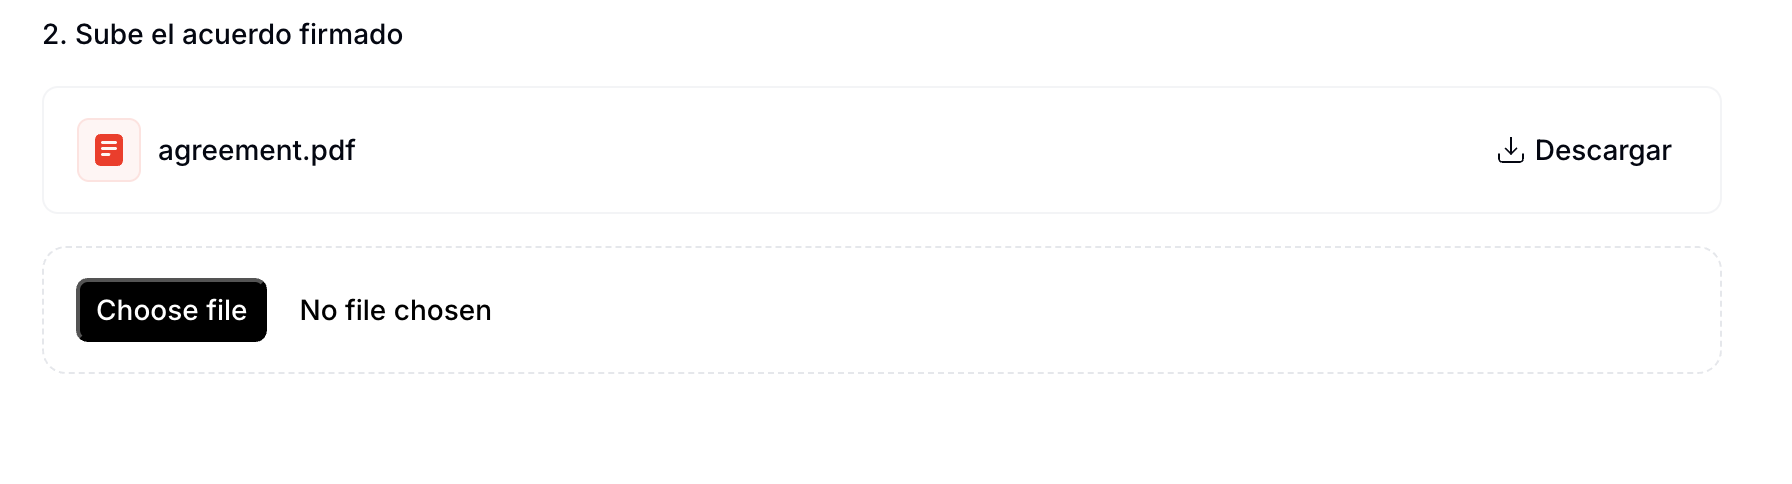
What is the minimum information required to register a supplier?
What is the minimum information required to register a supplier?
- Name
- NIF
- Address
- Full name
- Government ID type and number
- Address
What methods are available to sign the PDF supplier agreements?
What methods are available to sign the PDF supplier agreements?
What is the file size limit for the documents provided in the supplier registration flow
What is the file size limit for the documents provided in the supplier registration flow
How do I register a supplier with VERI*FACTU?
How do I register a supplier with VERI*FACTU?
🇪🇸 Invopop resources for Spain
🇪🇸 Invopop resources for Spain
